Learn to code in a visual world where creativity meets logic!
Unleash Your Creativity with turtleSpaces: Code, Create, Conquer!
Launch webLogo Now!
Hey teens, educators, digital artists, and parents—ready to dive into a vibrant world where your imagination fuels epic creations? With turtleSpaces, you’ll master the super-fun Logo programming language to craft jaw-dropping 2D and 3D art, music, games, and simulations that’ll blow your mind!
Why turtleSpaces Rocks for YOU:
Teens: Coding is your superpower!
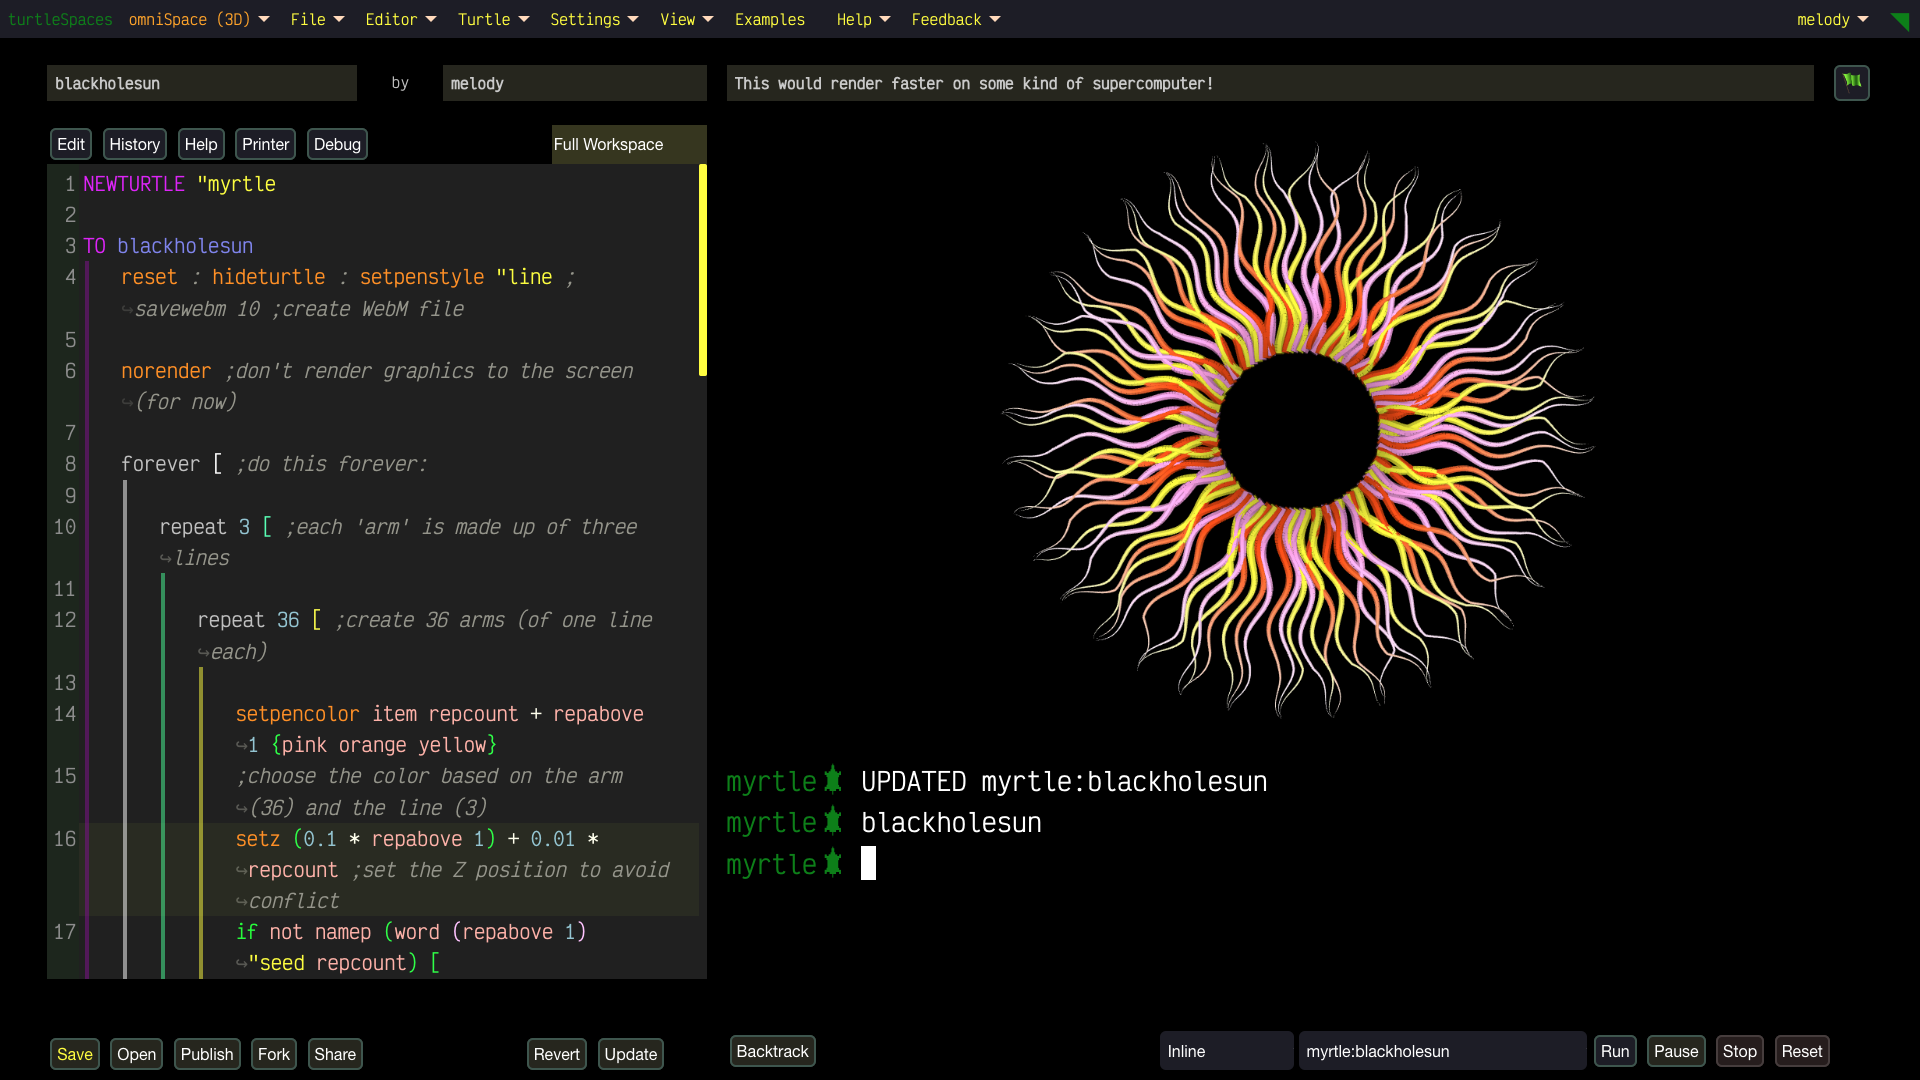
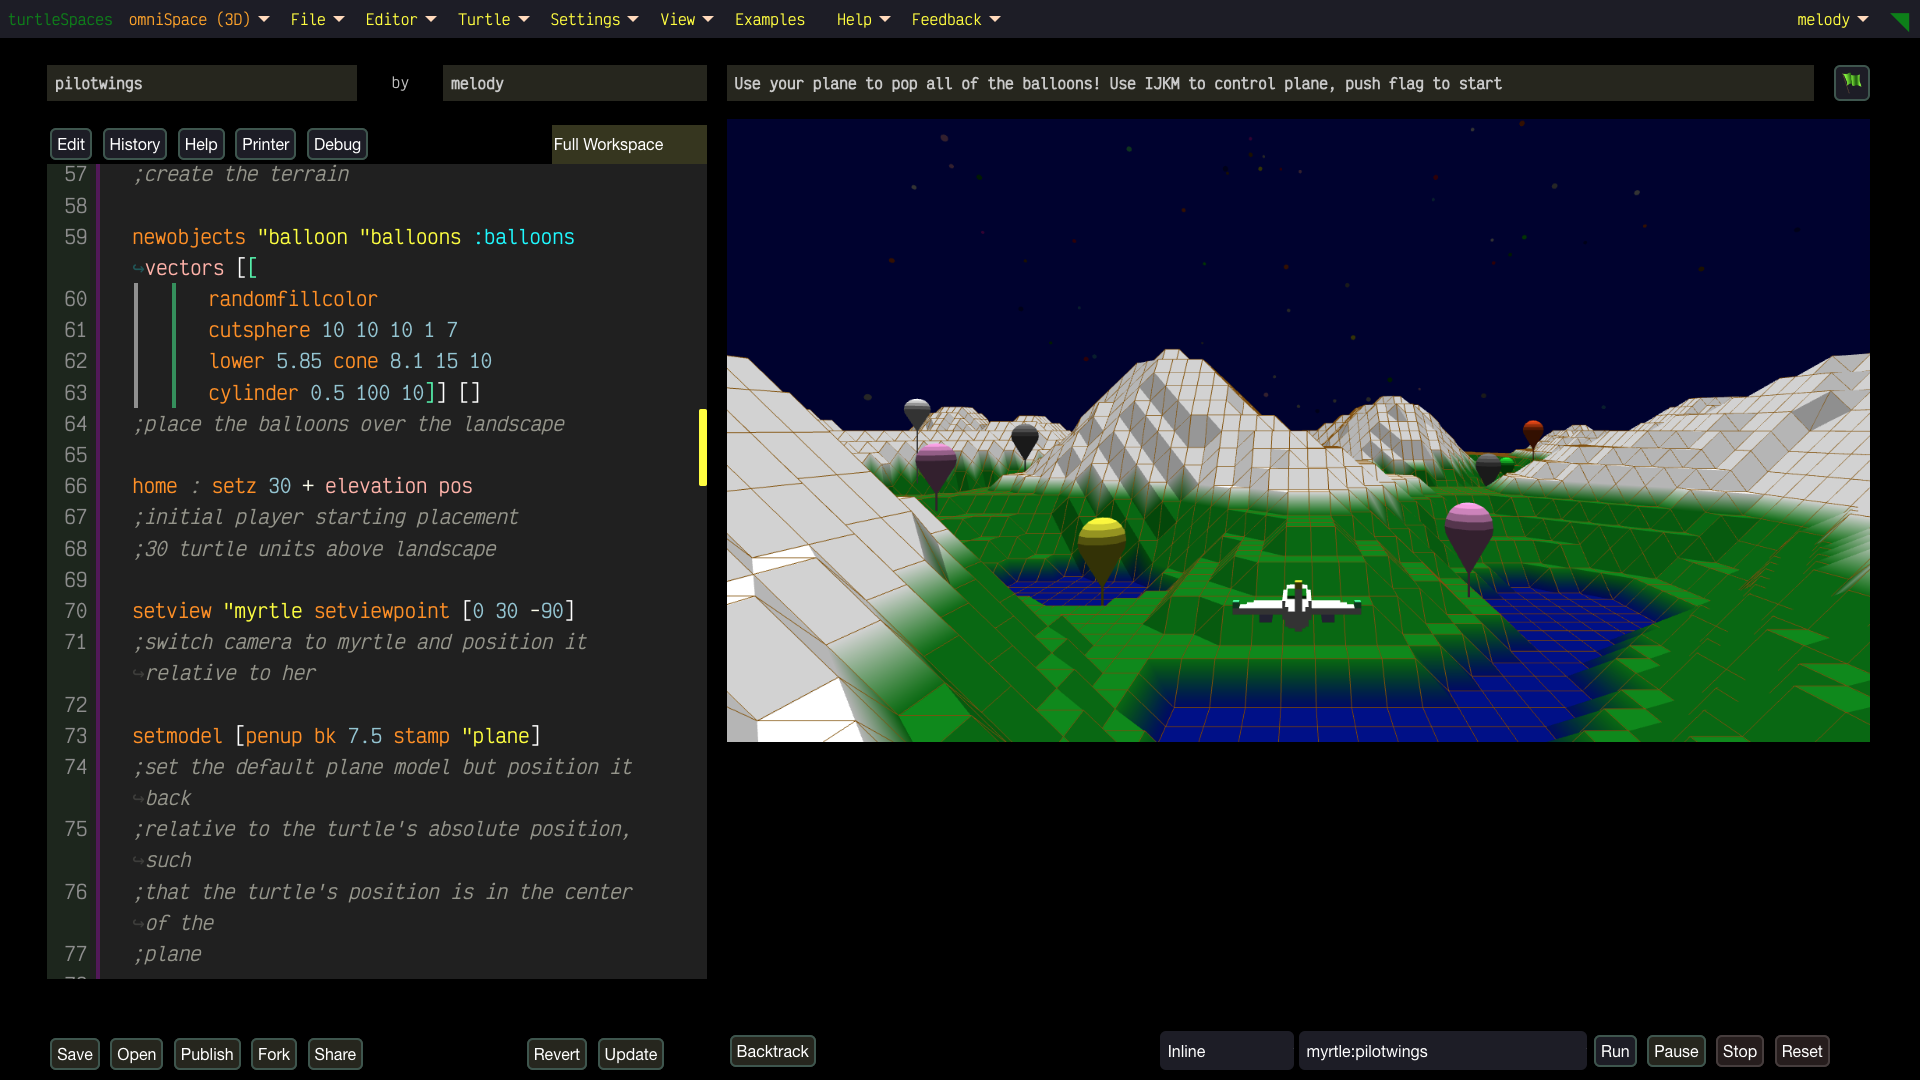
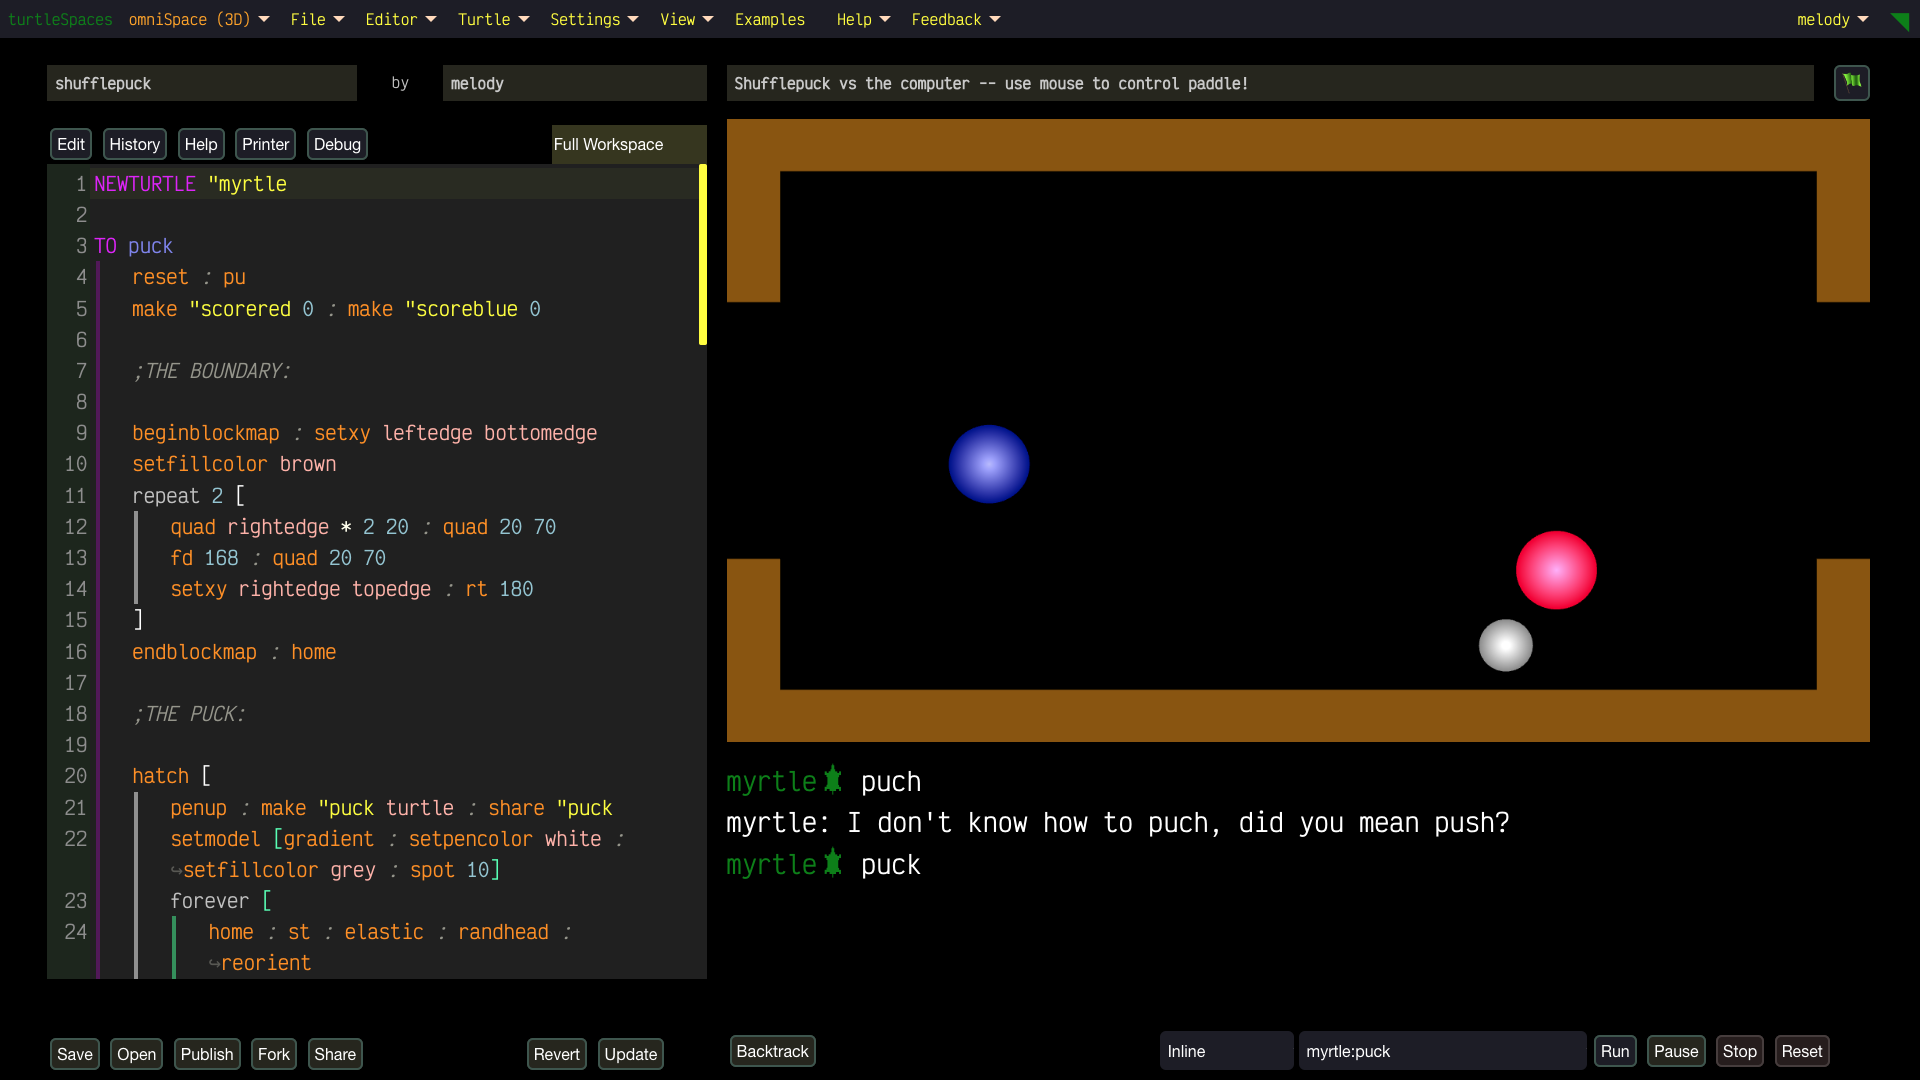
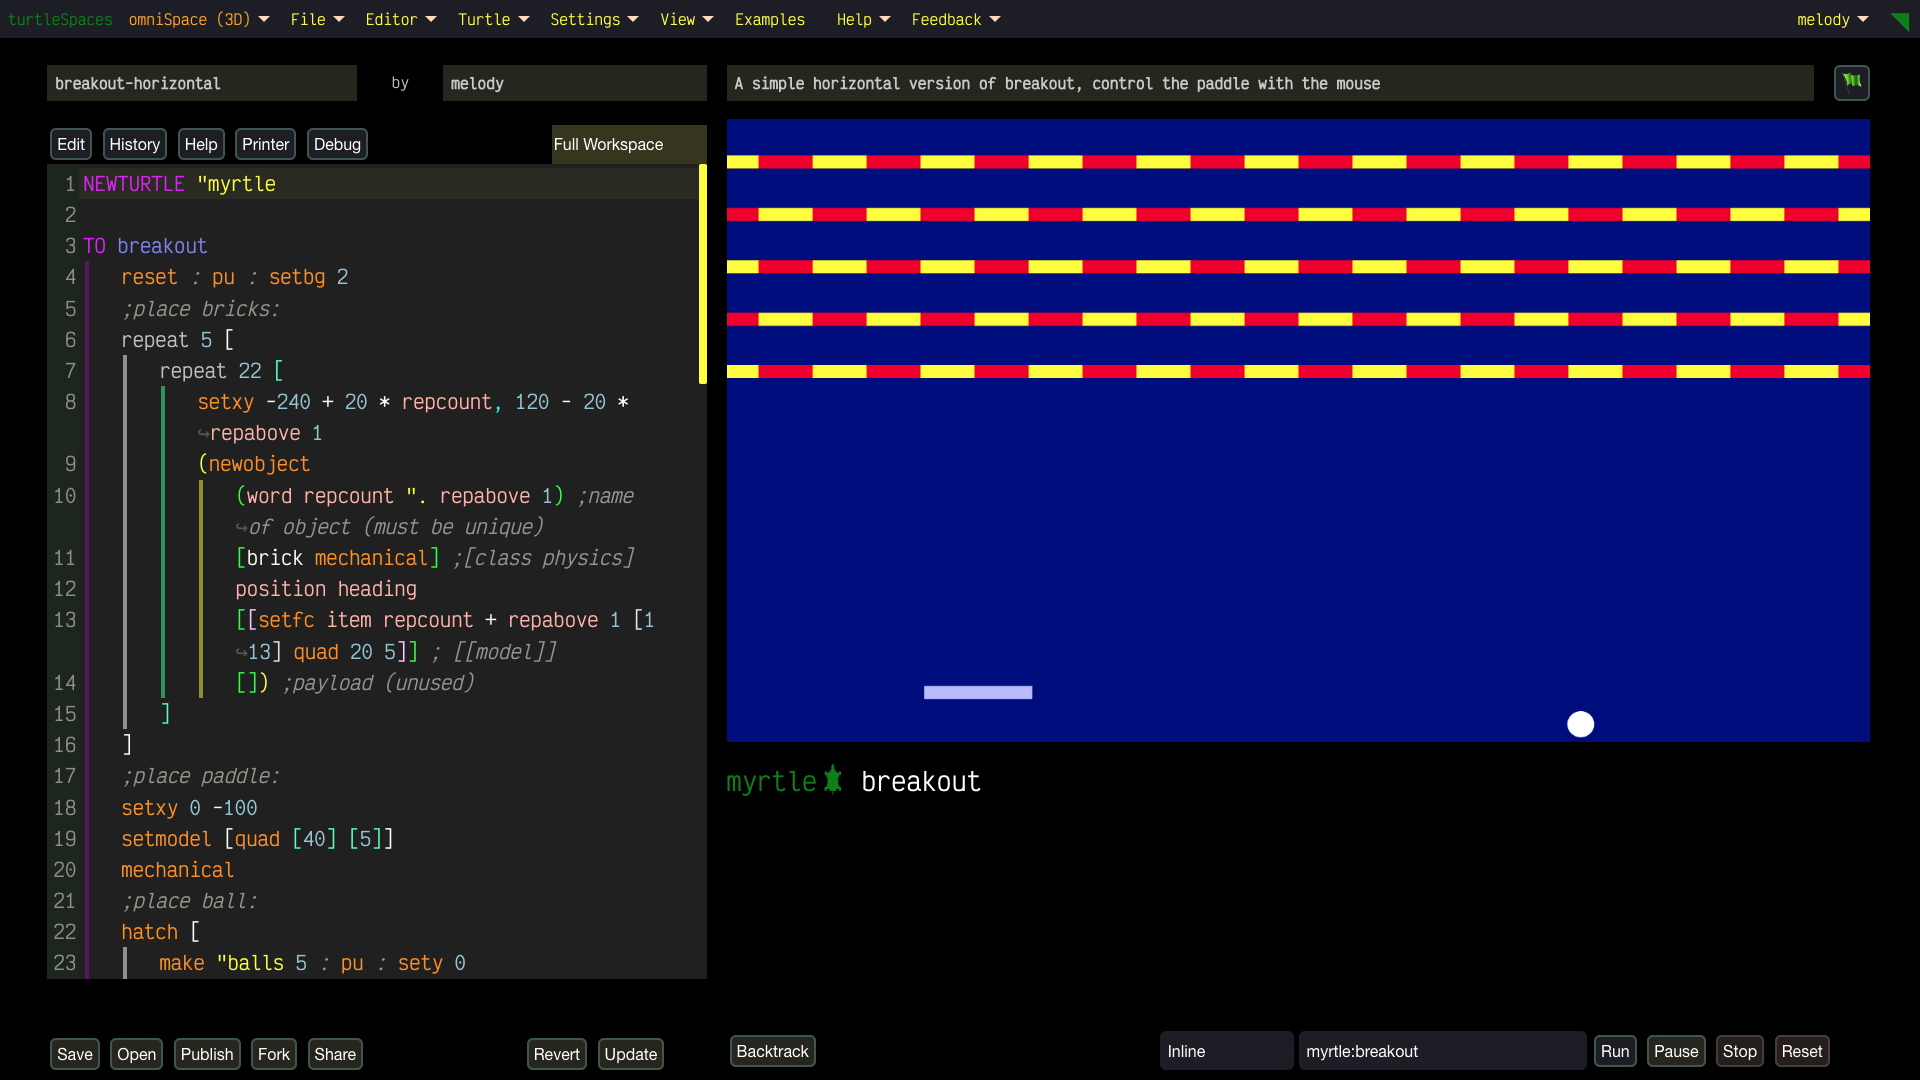
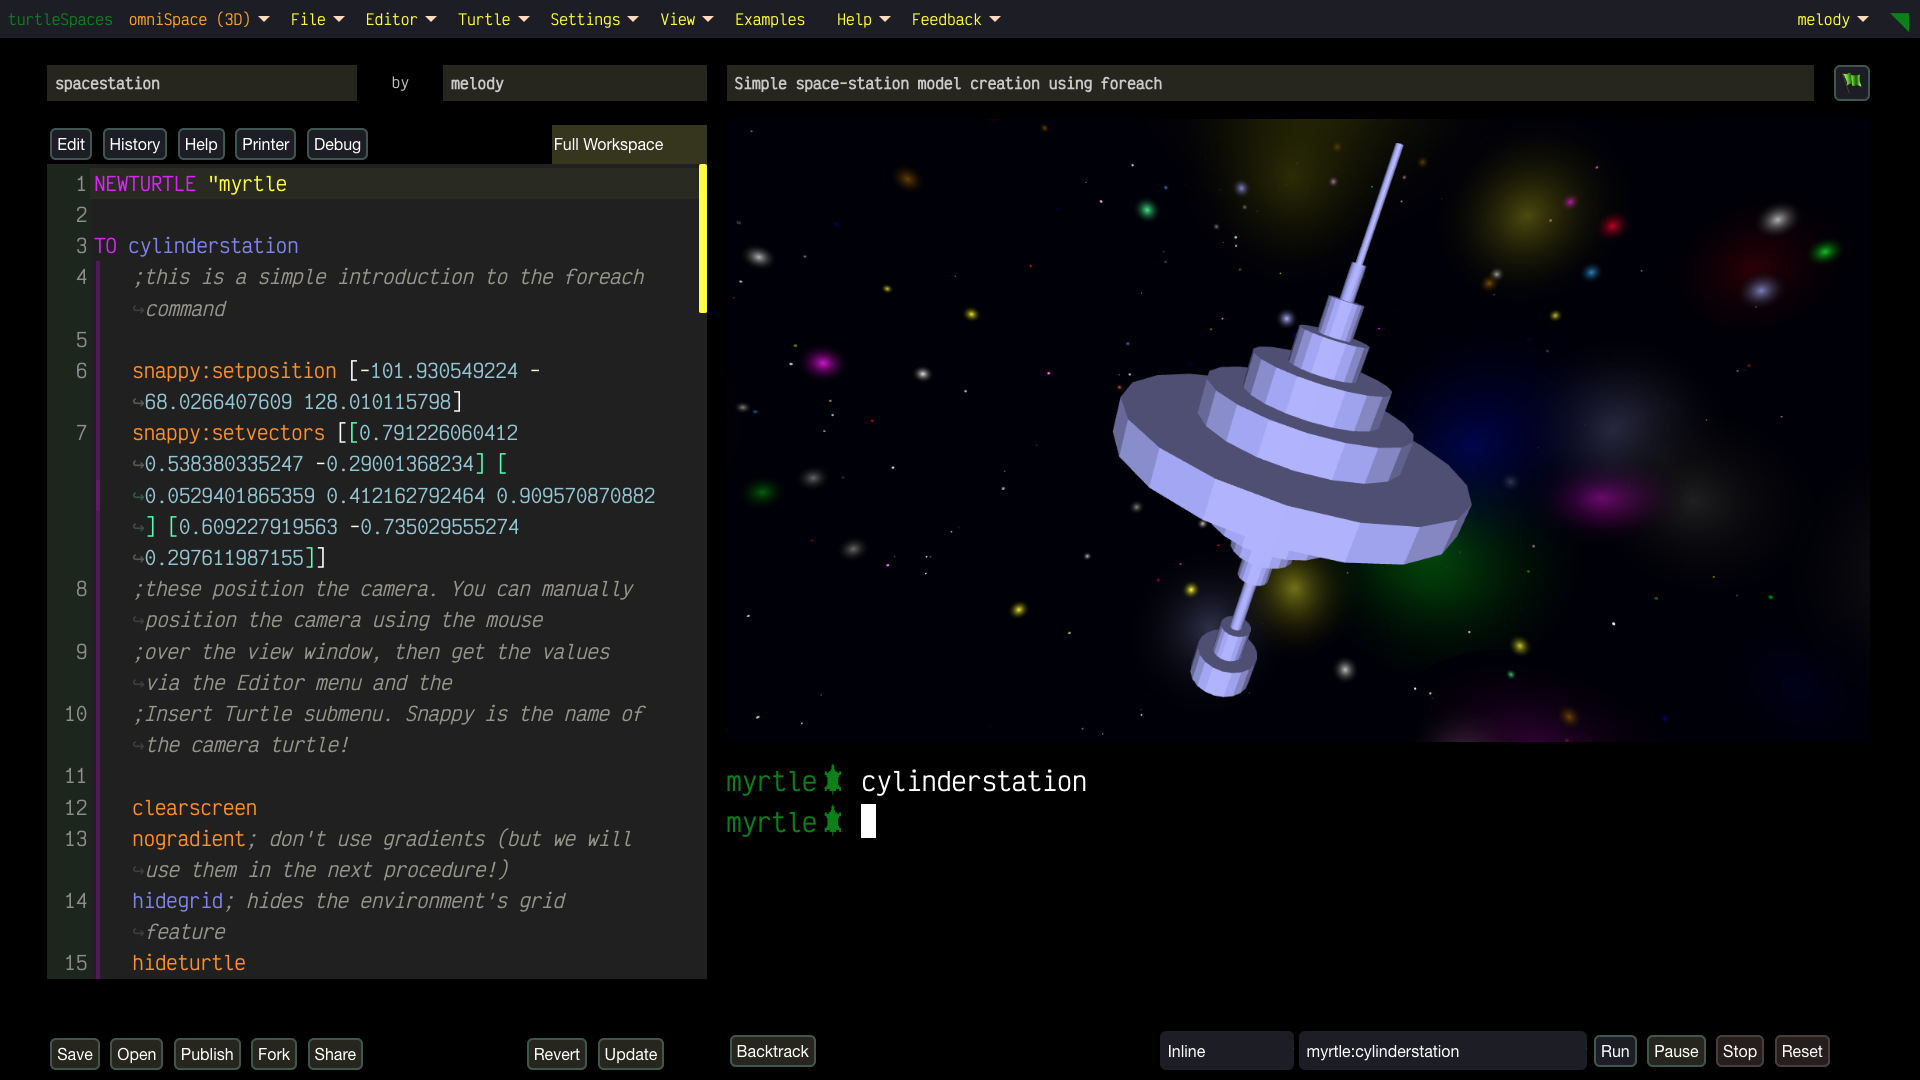
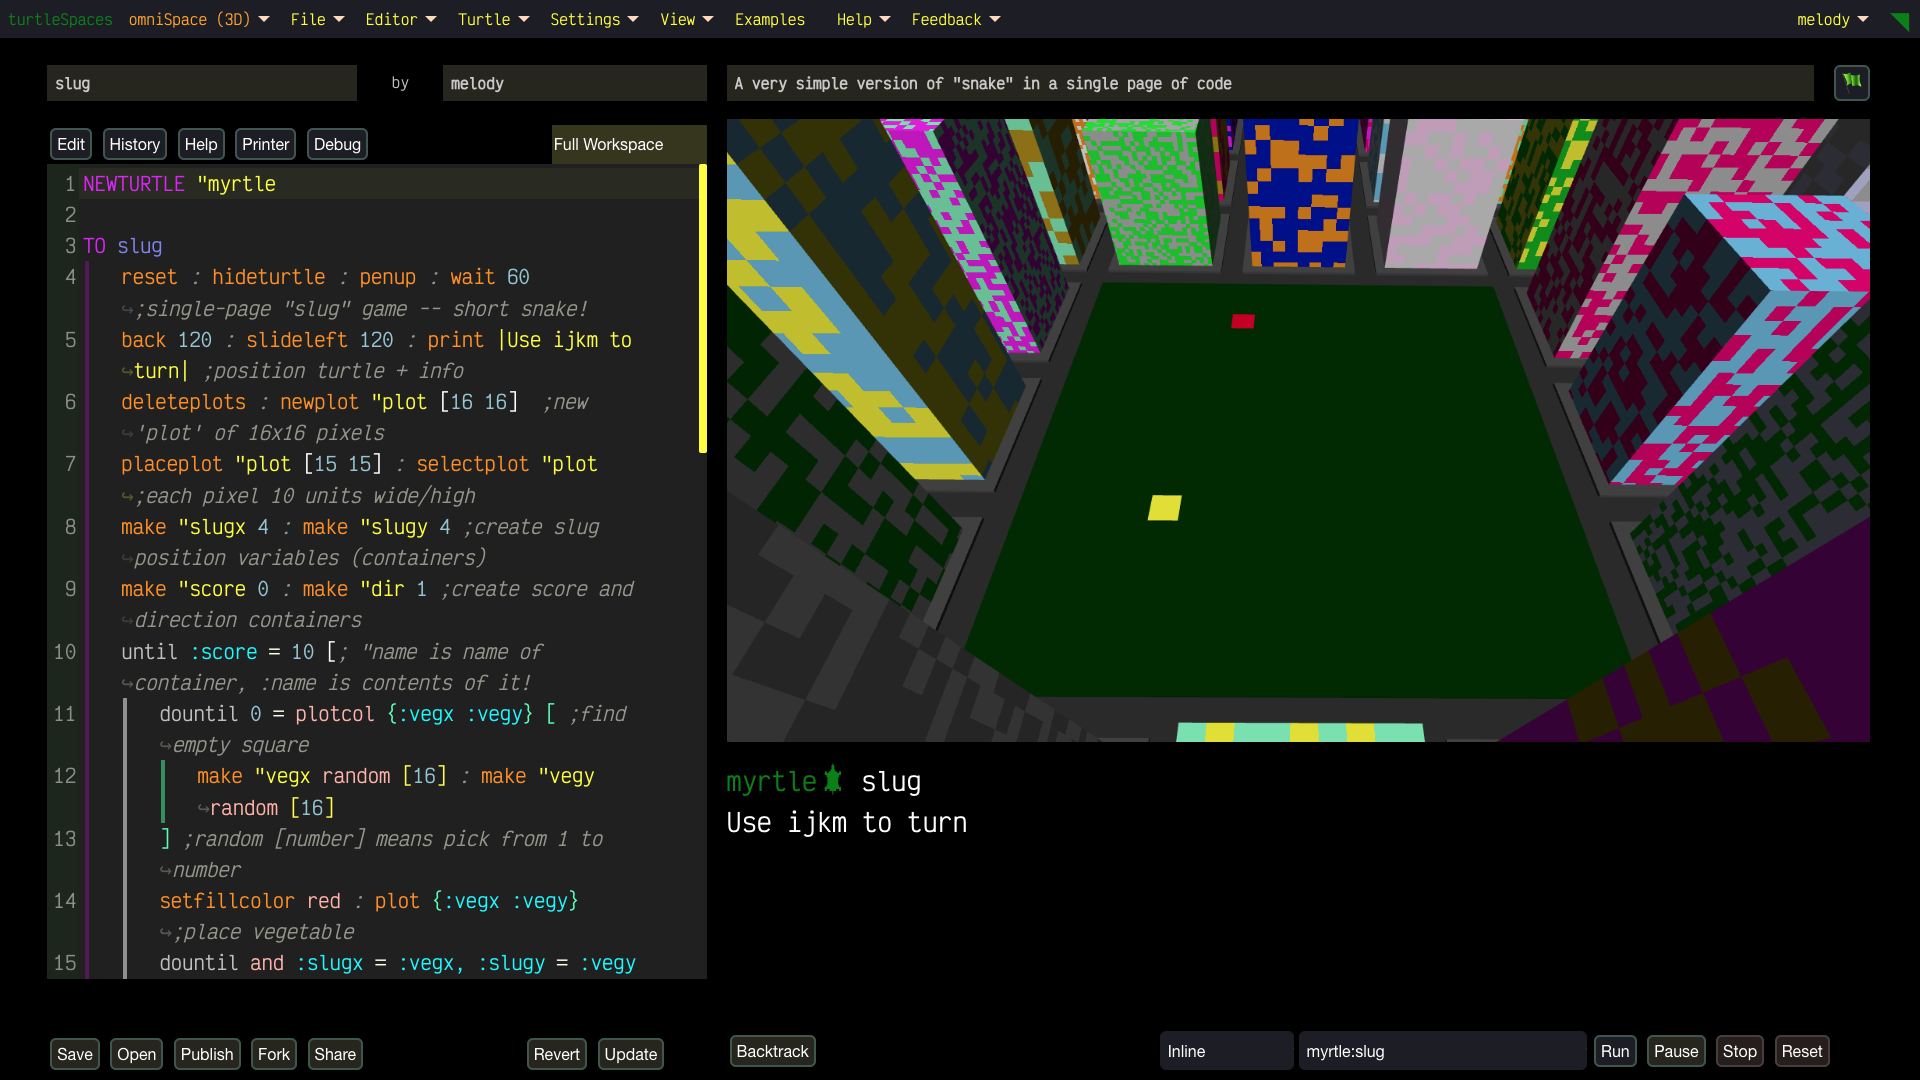
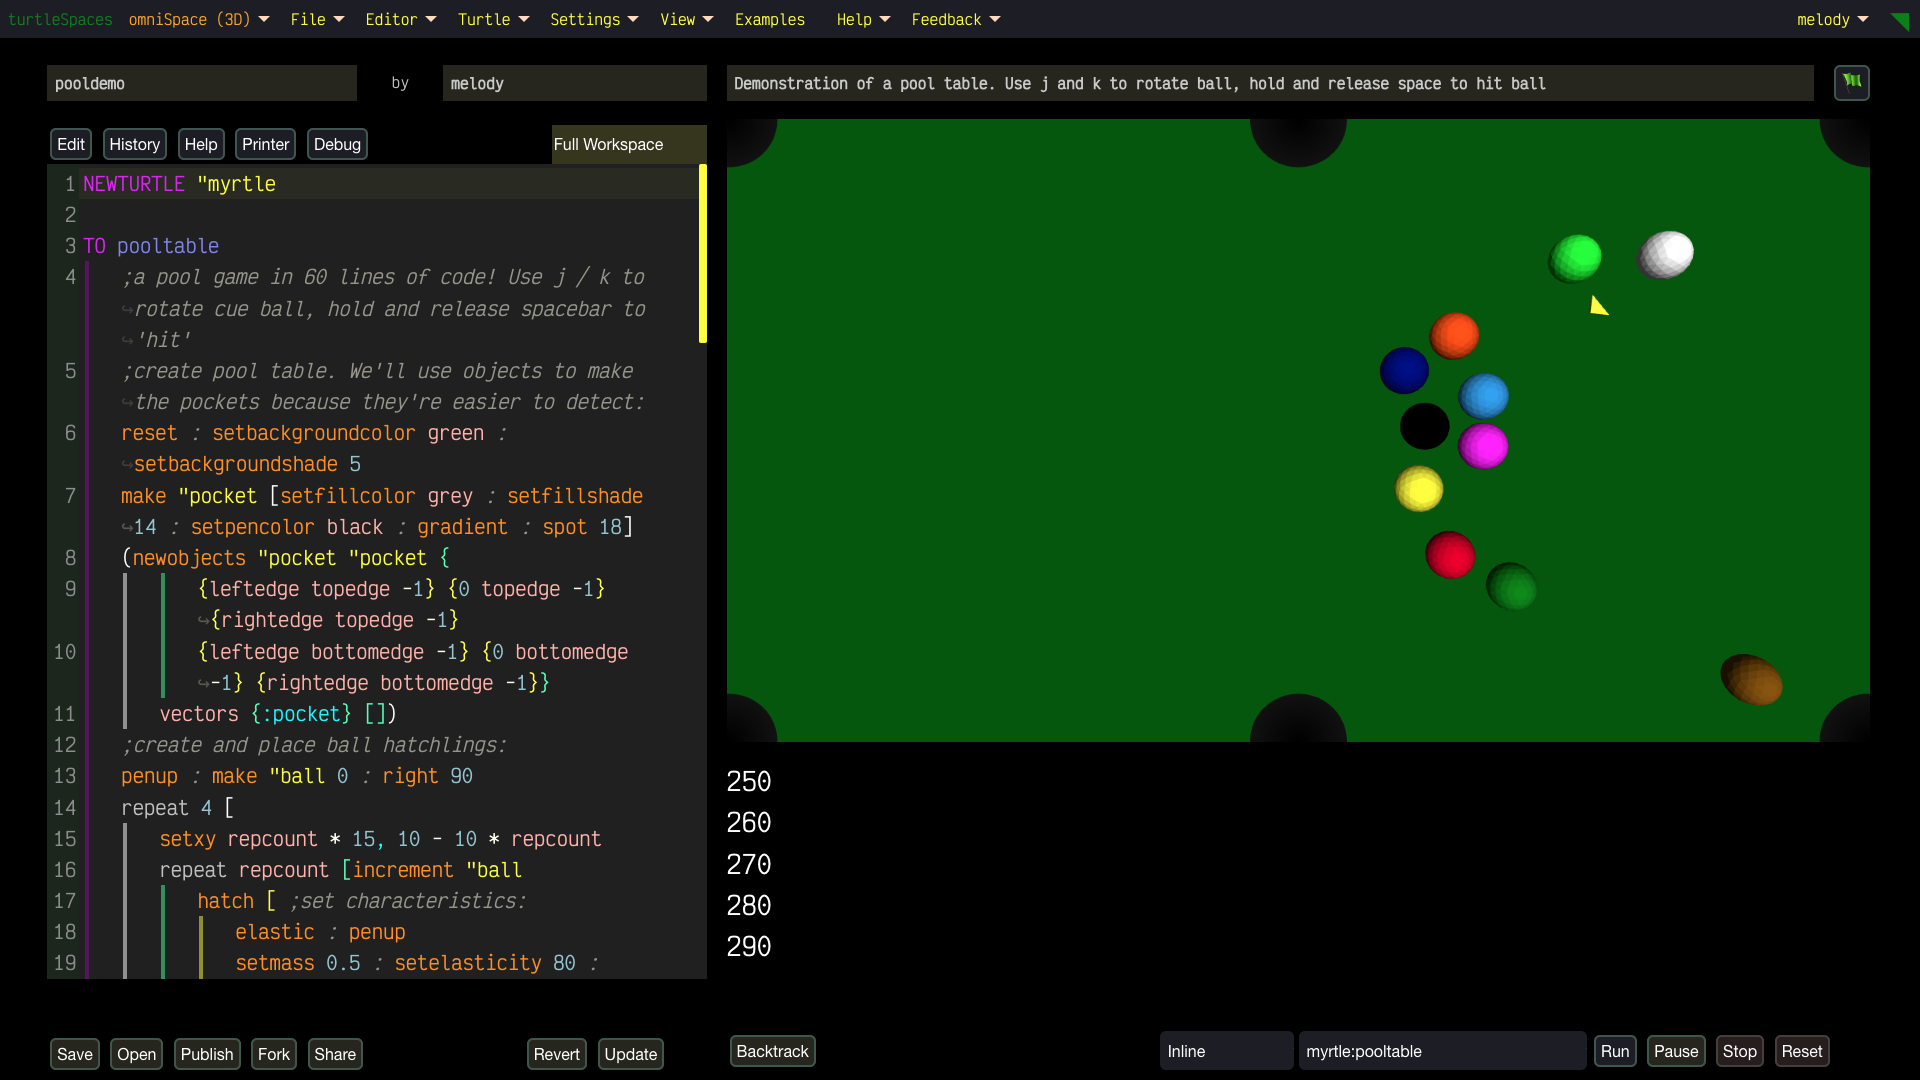
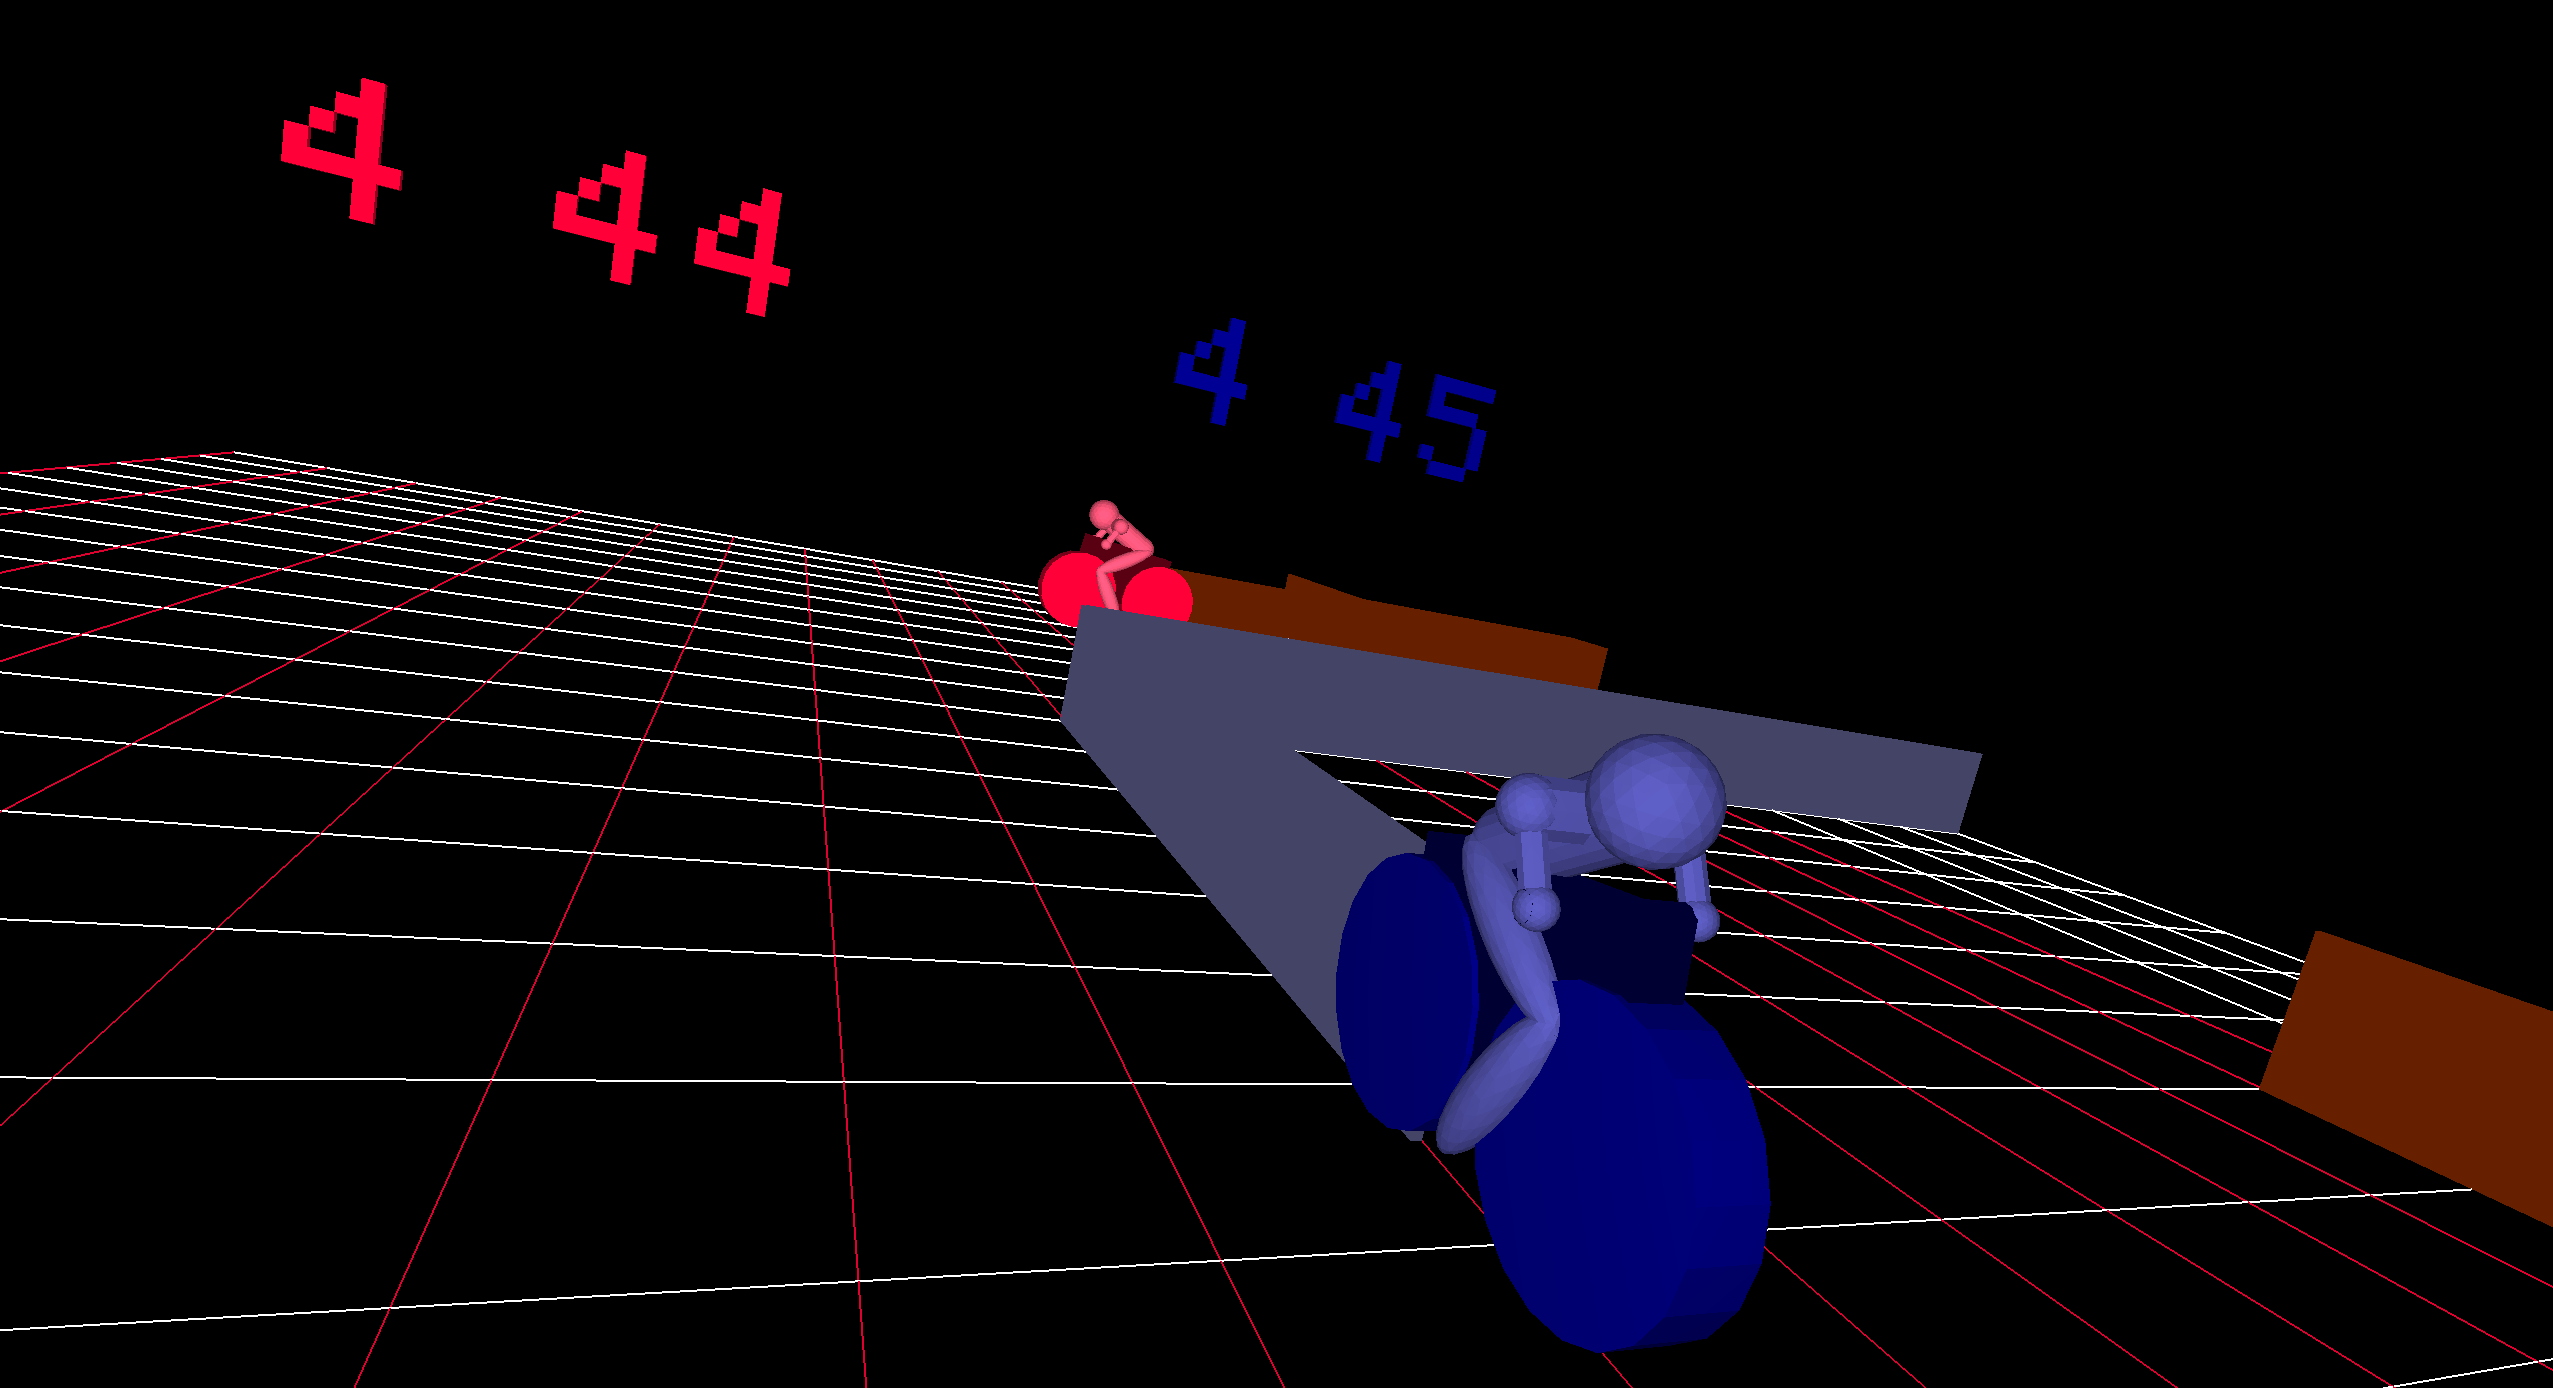
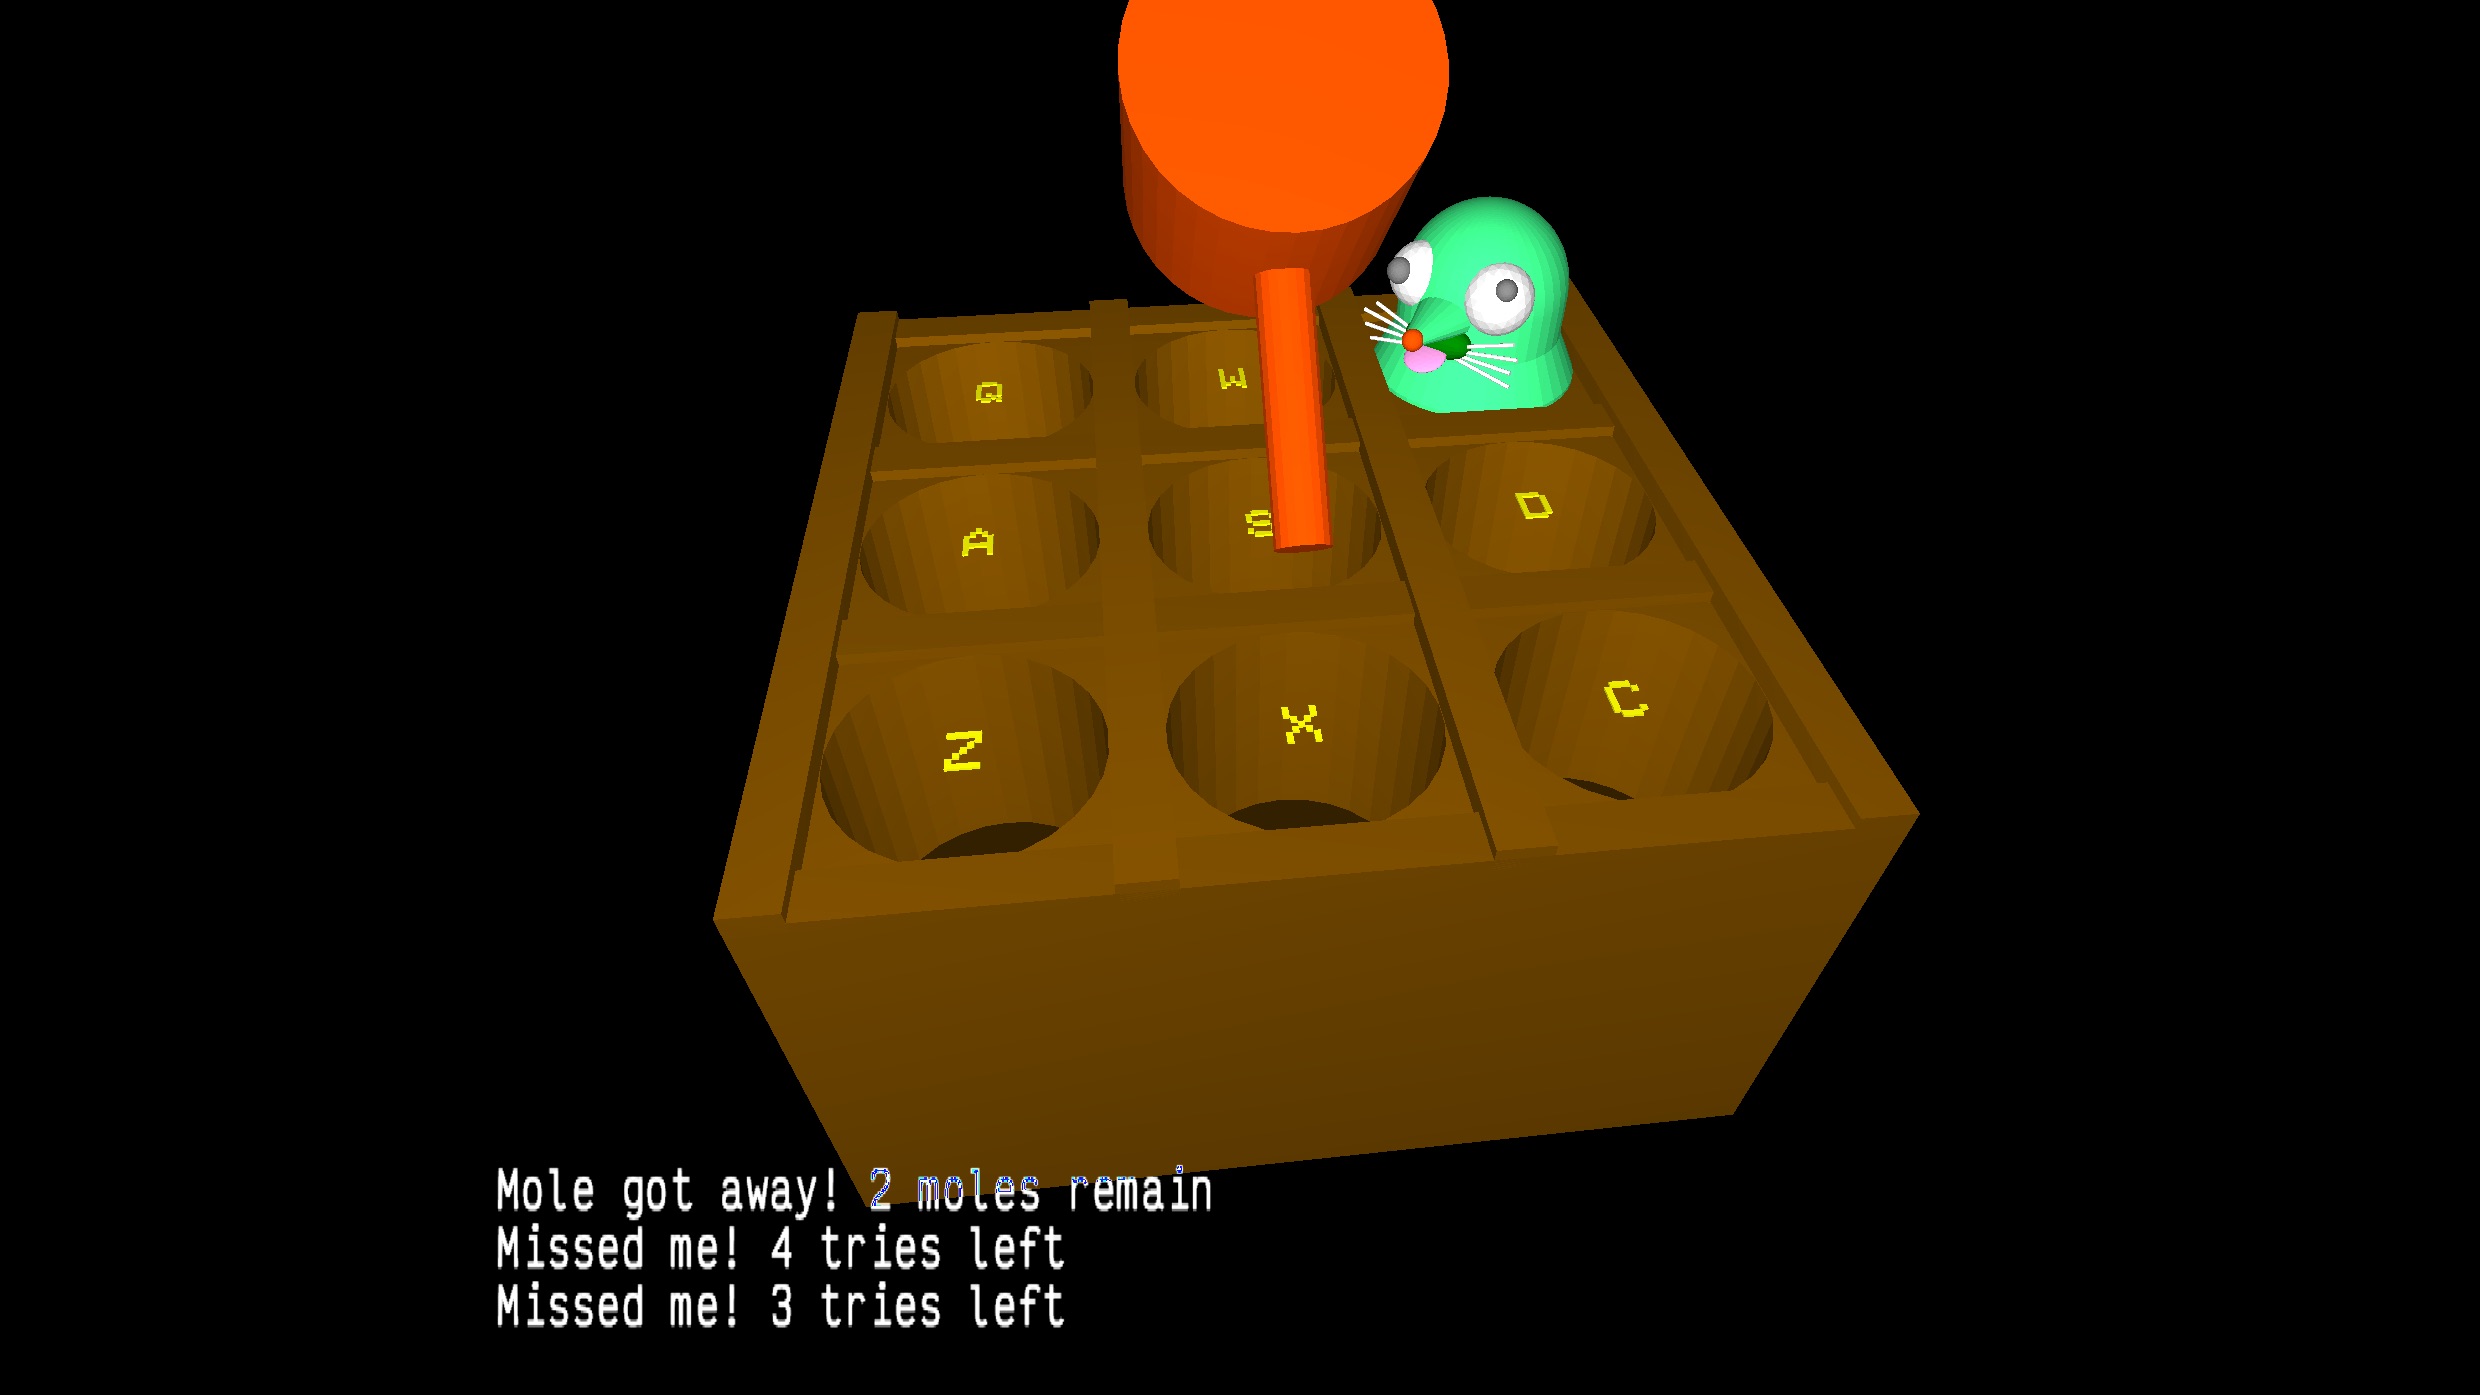
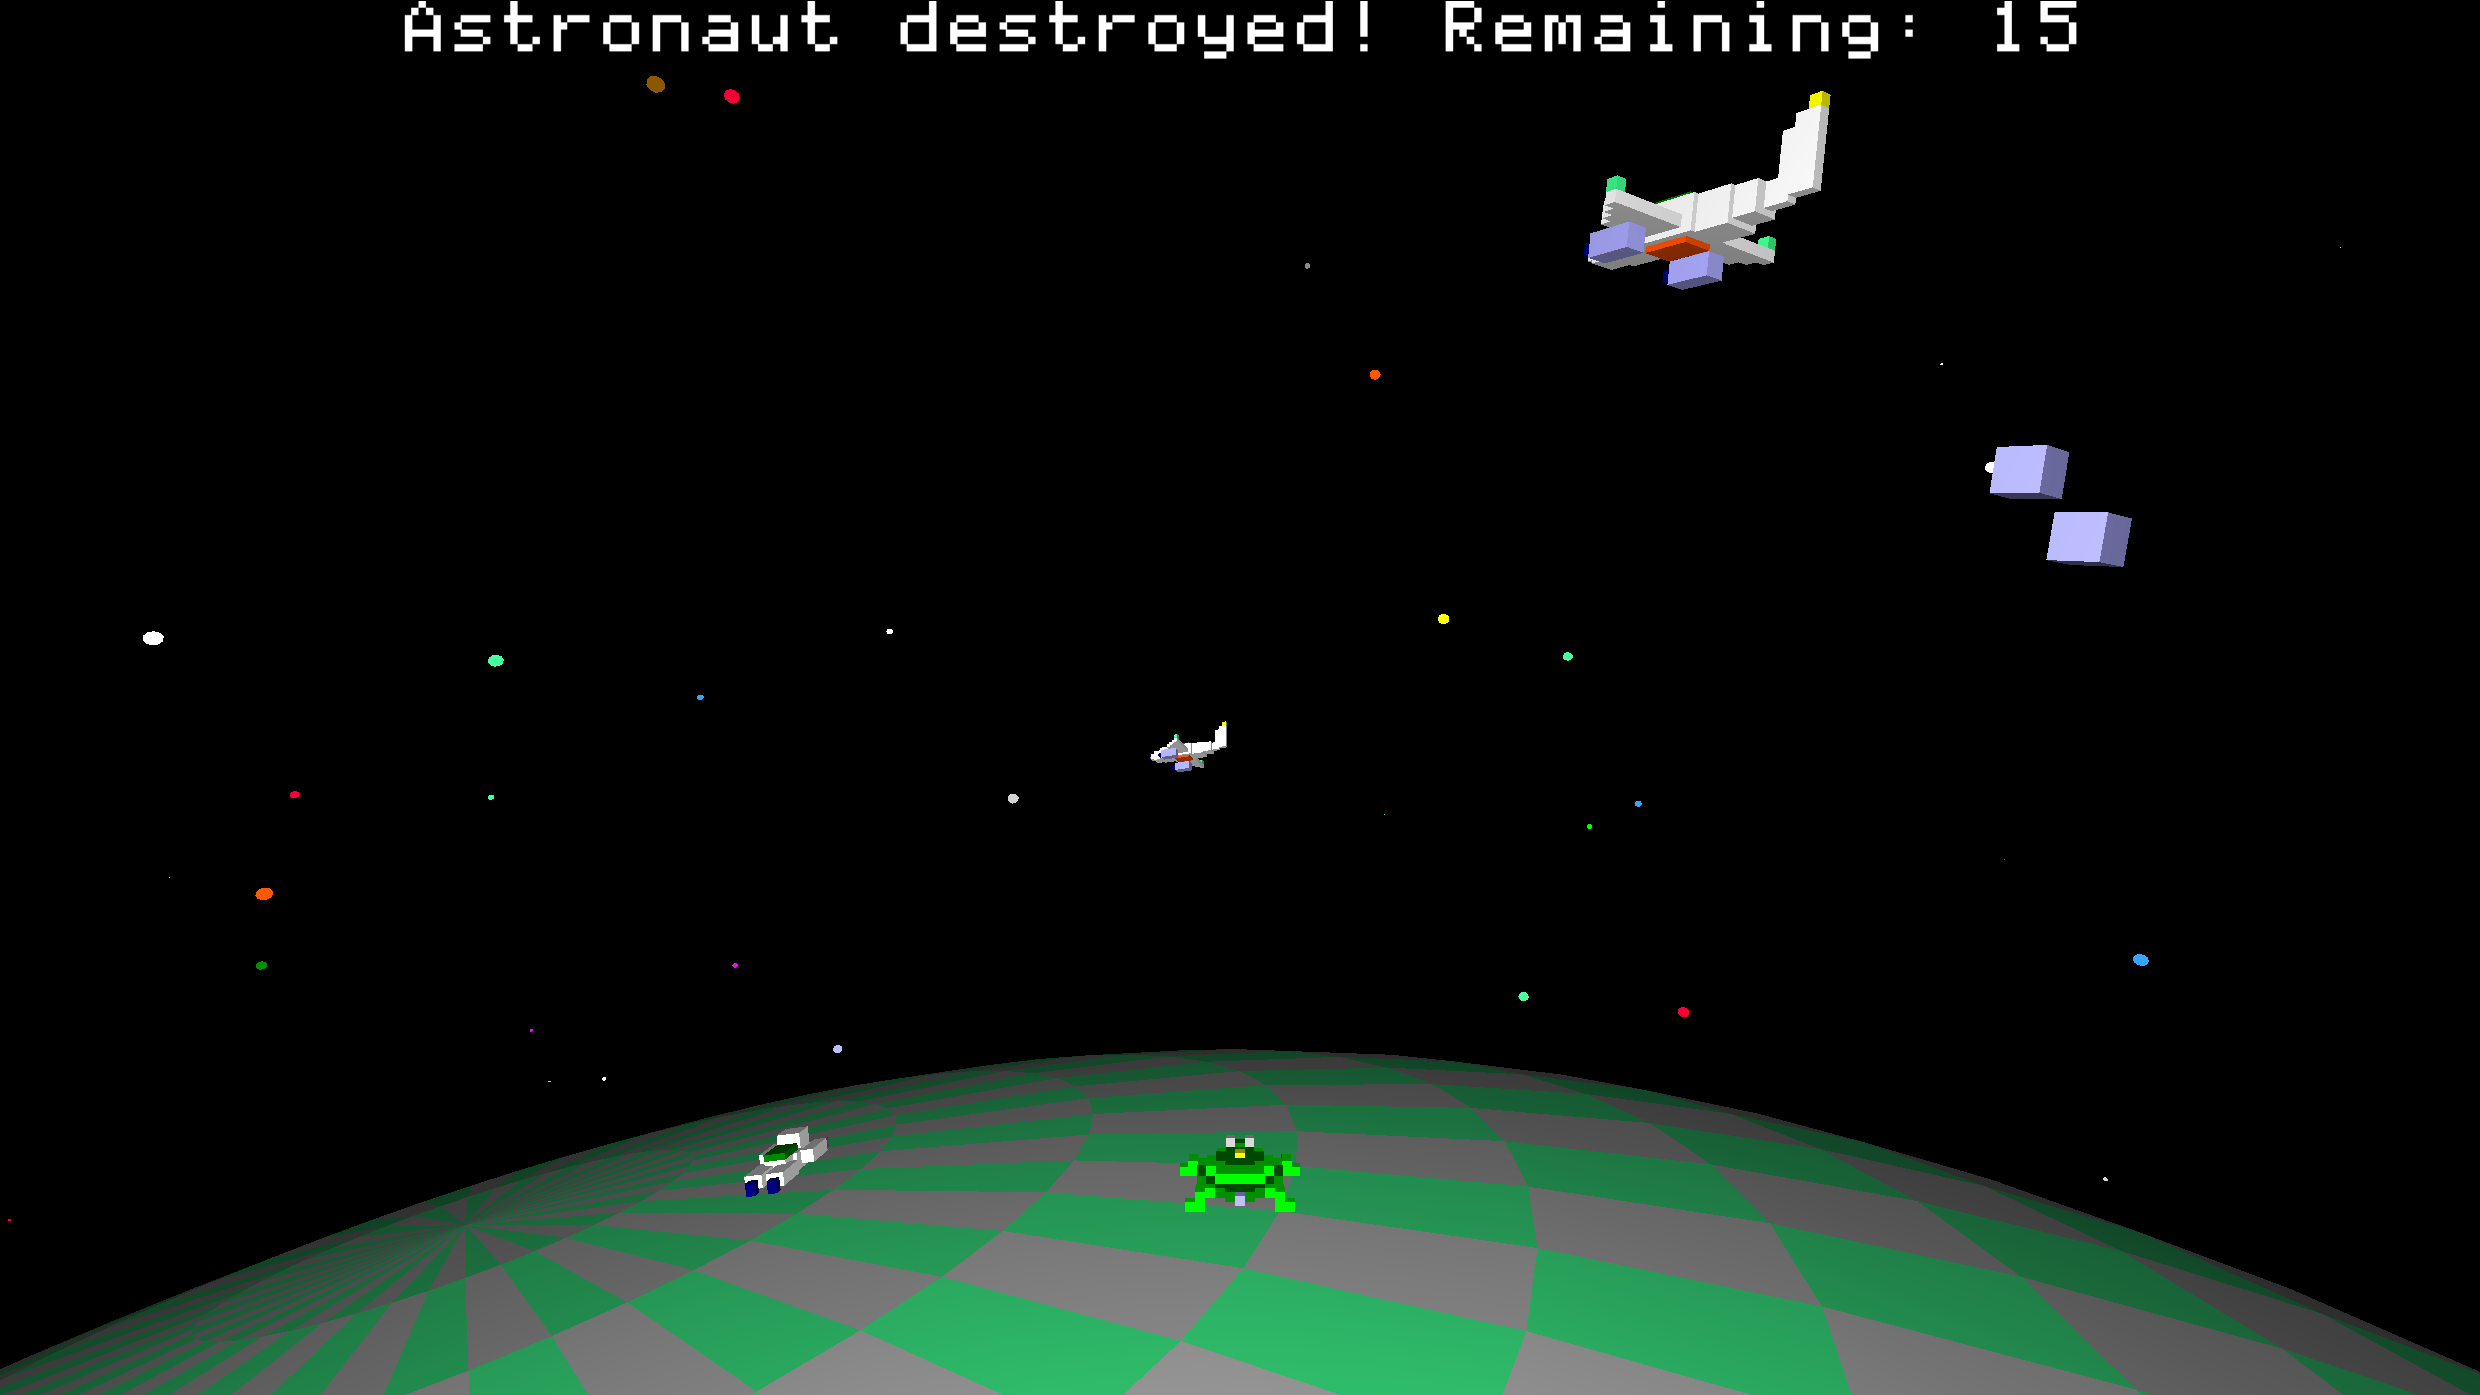
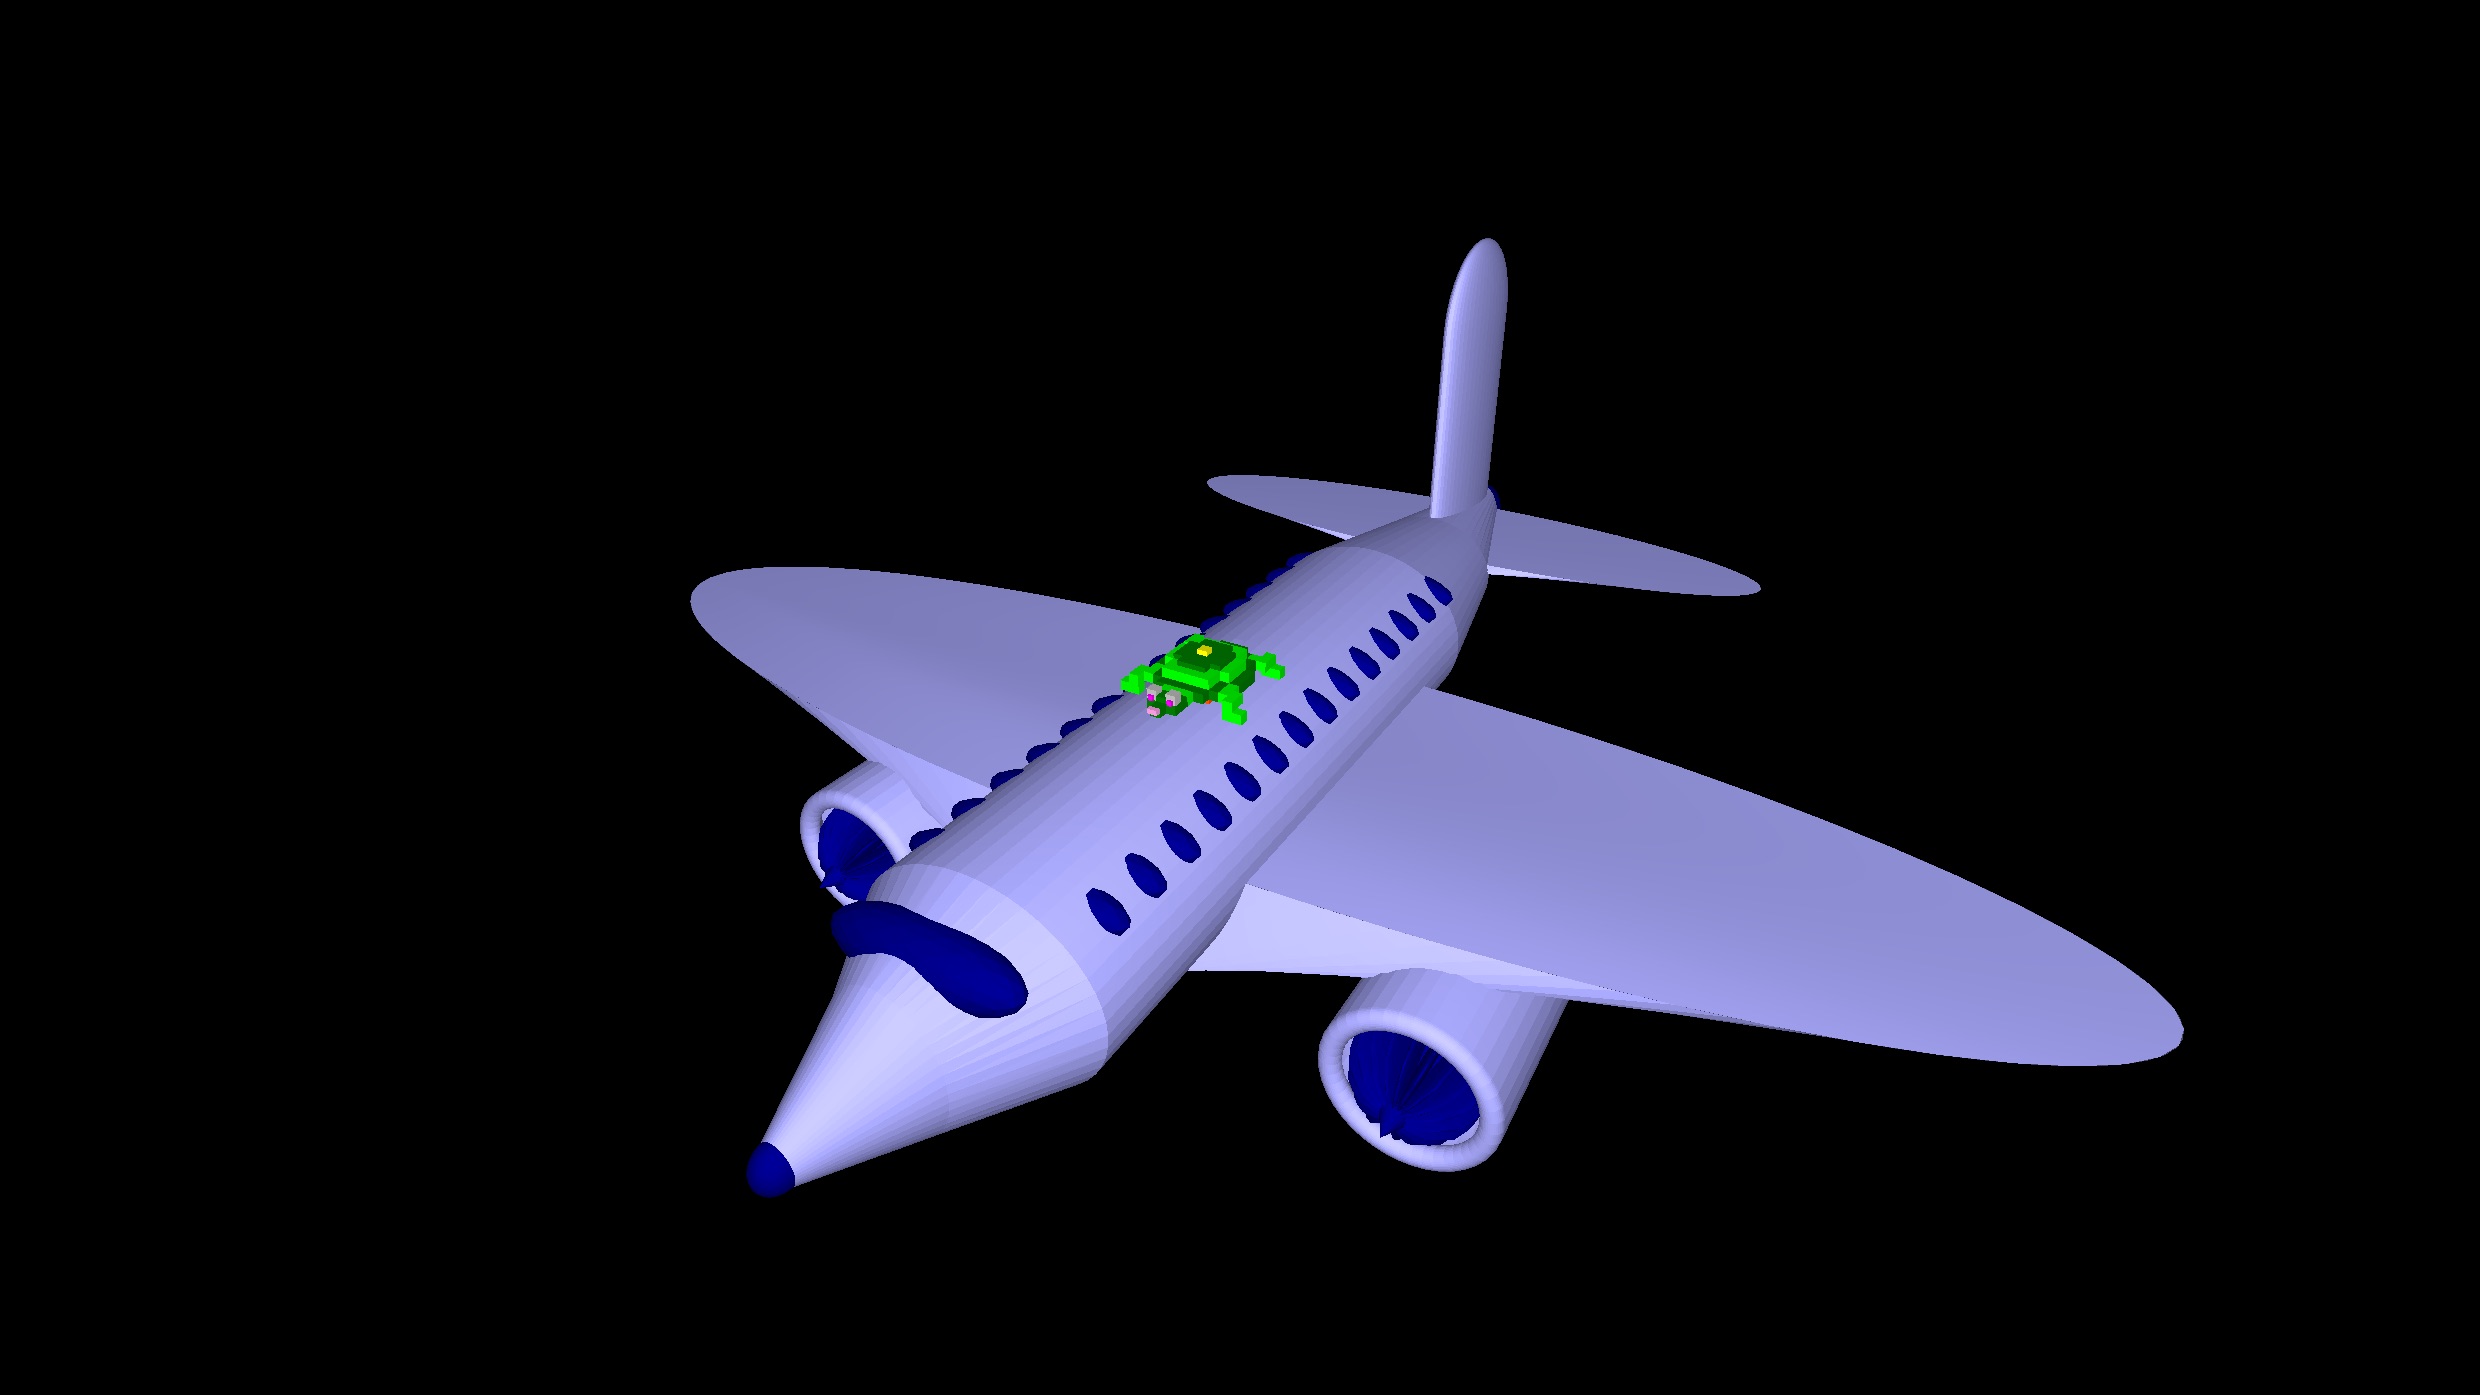
Build wild games using our built-in physics engine, animate crazy designs, or remix projects to show off to your friends. Start simple, then level up to create 3D-printable models or full-on interactive worlds. Share your masterpieces in our buzzing community (coming soon)!
Educators: Spark your students’ curiosity with a tool that grows with them.
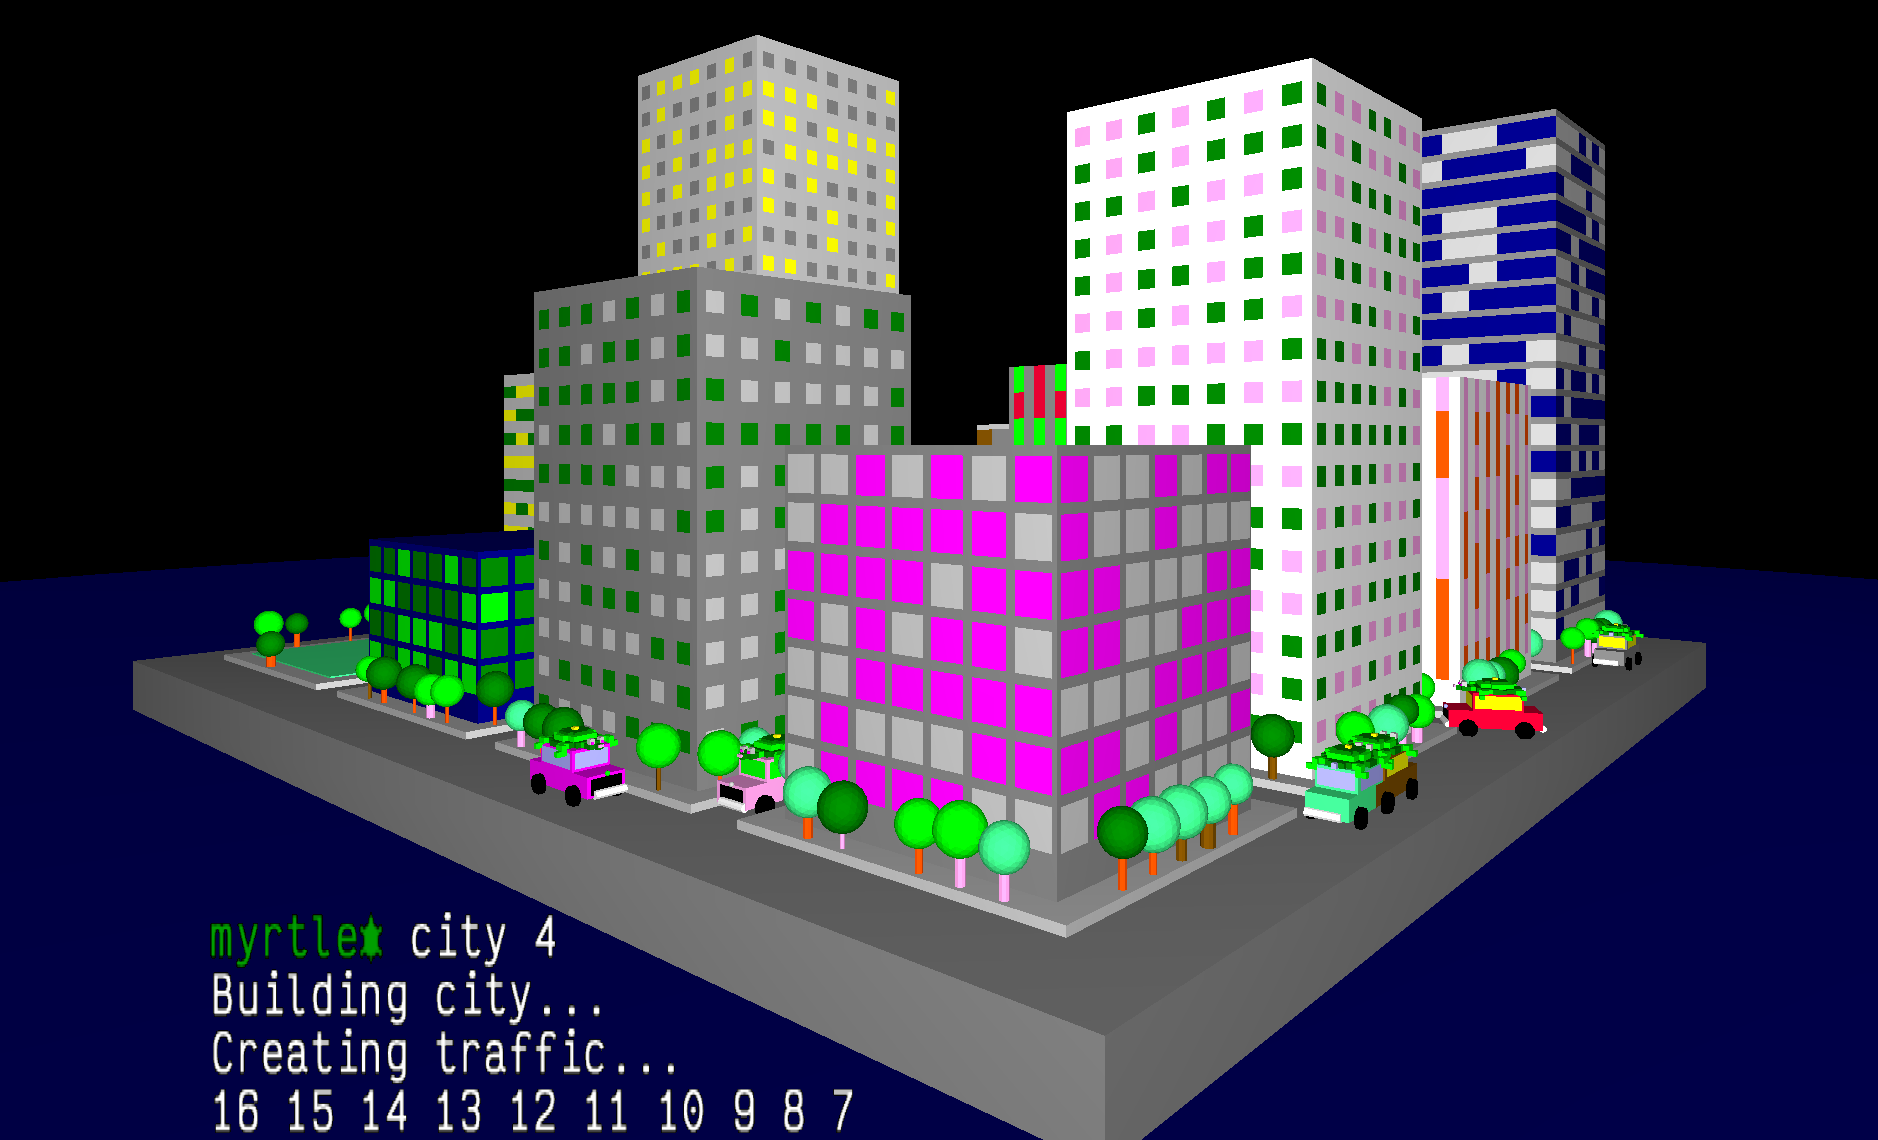
From simple 2D environments with easy keyword sets to advanced 3D coding with hundreds of primitives, turtleSpaces makes learning fun and limitless. Teach creativity and logic with dozens of ready-to-explore examples!
Digital Artists: Turn code into art!
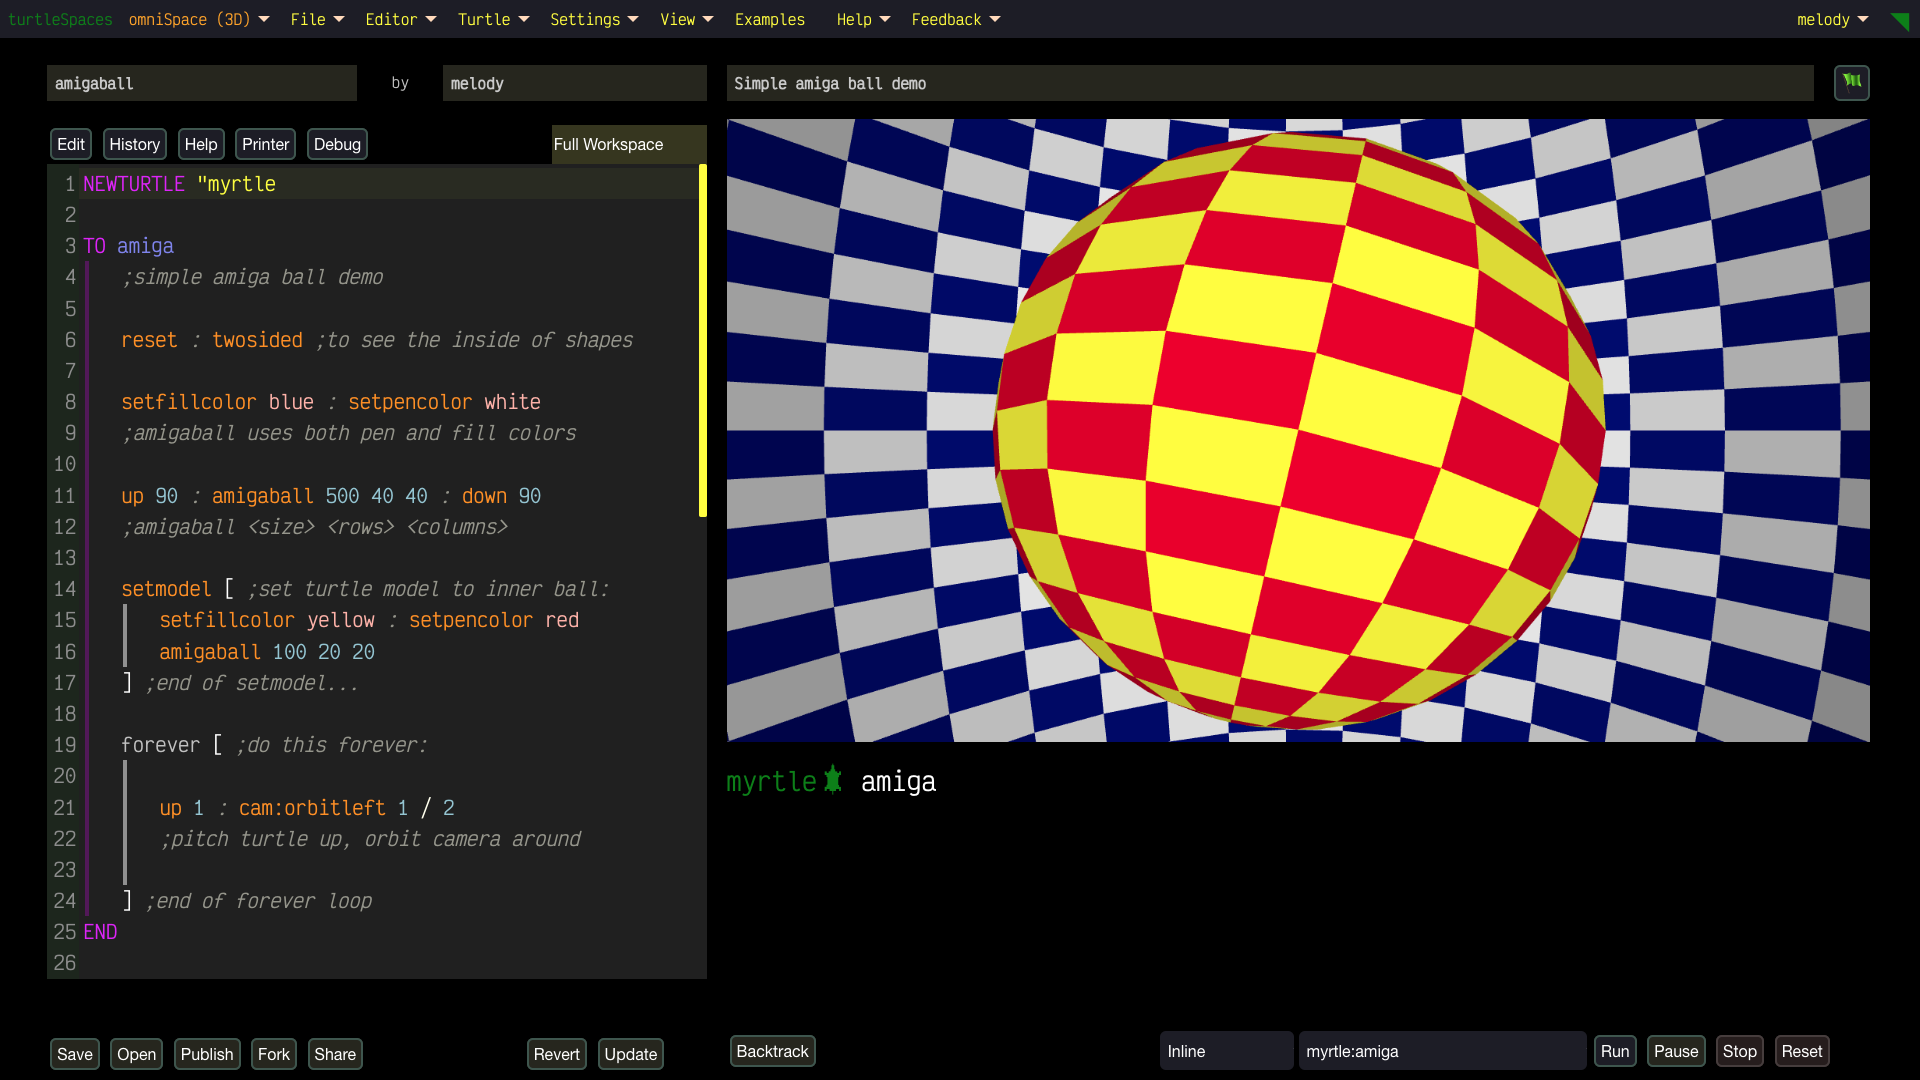
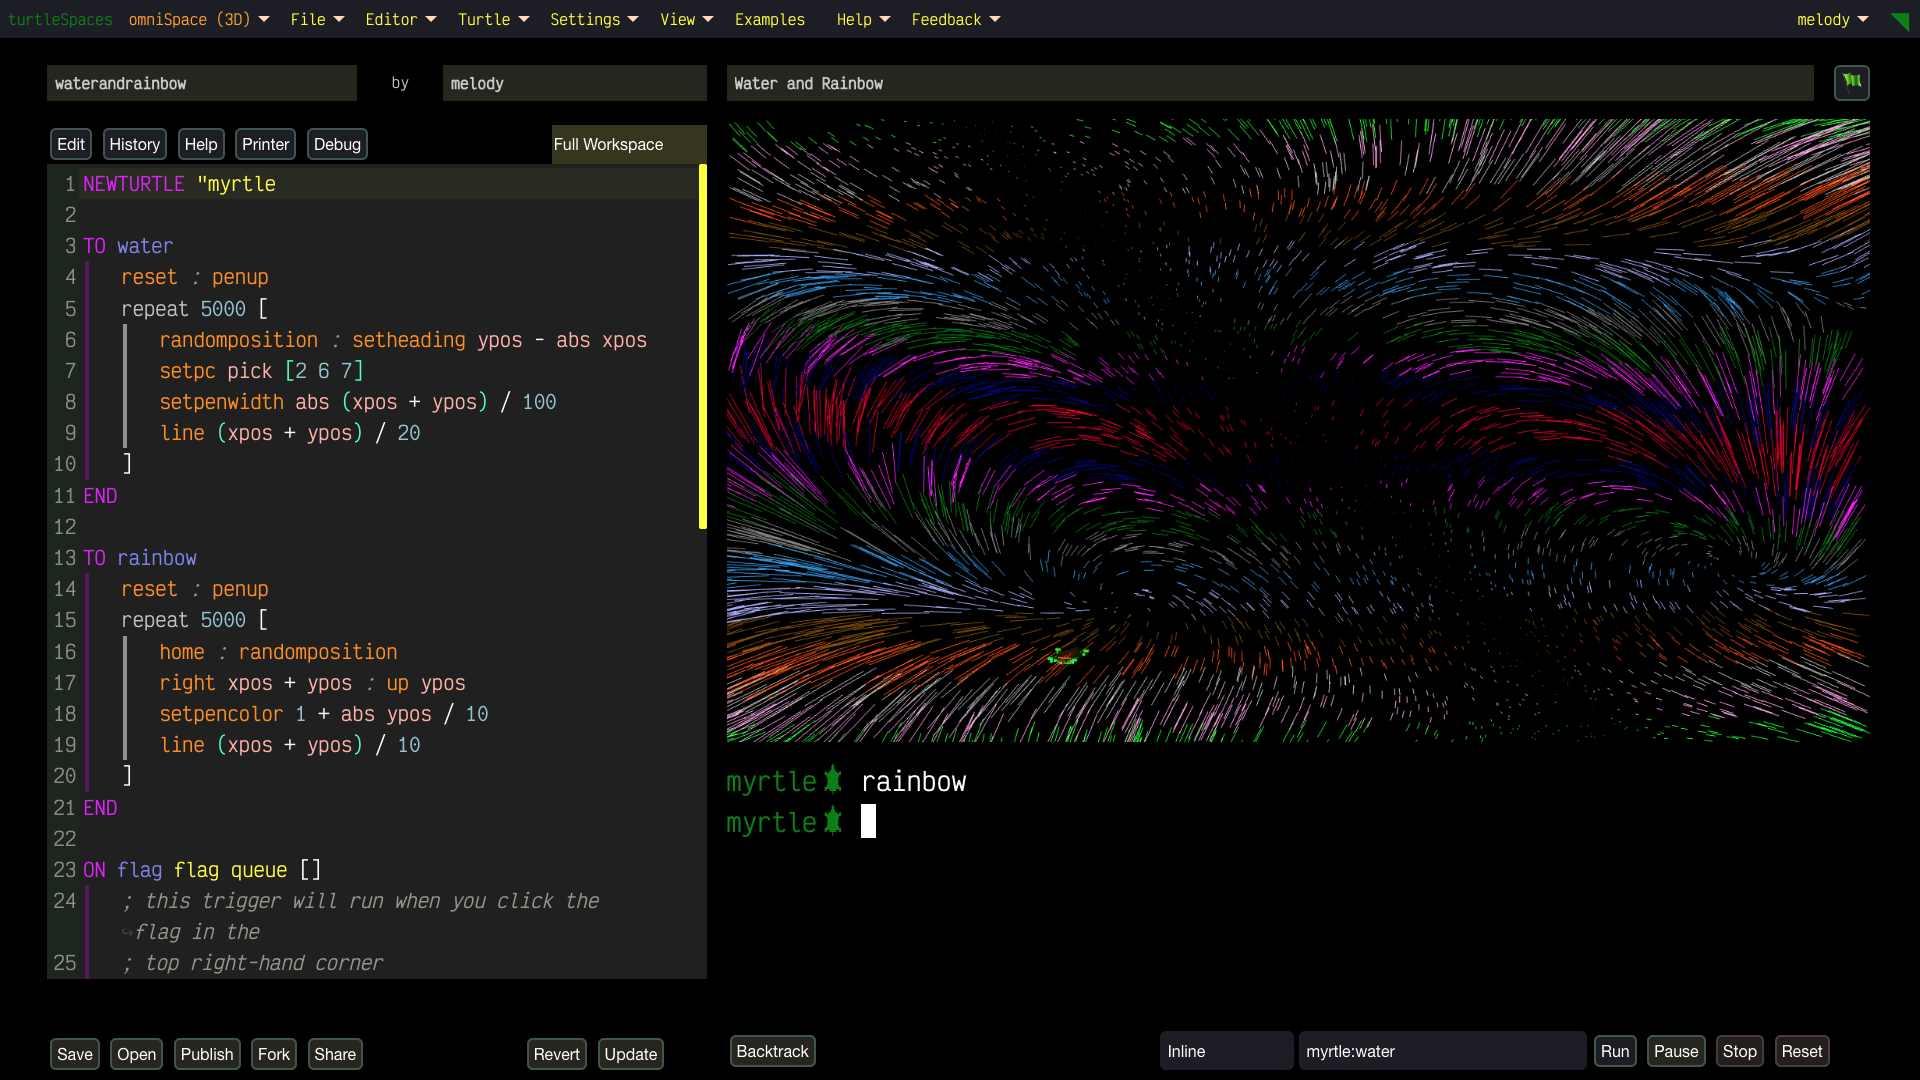
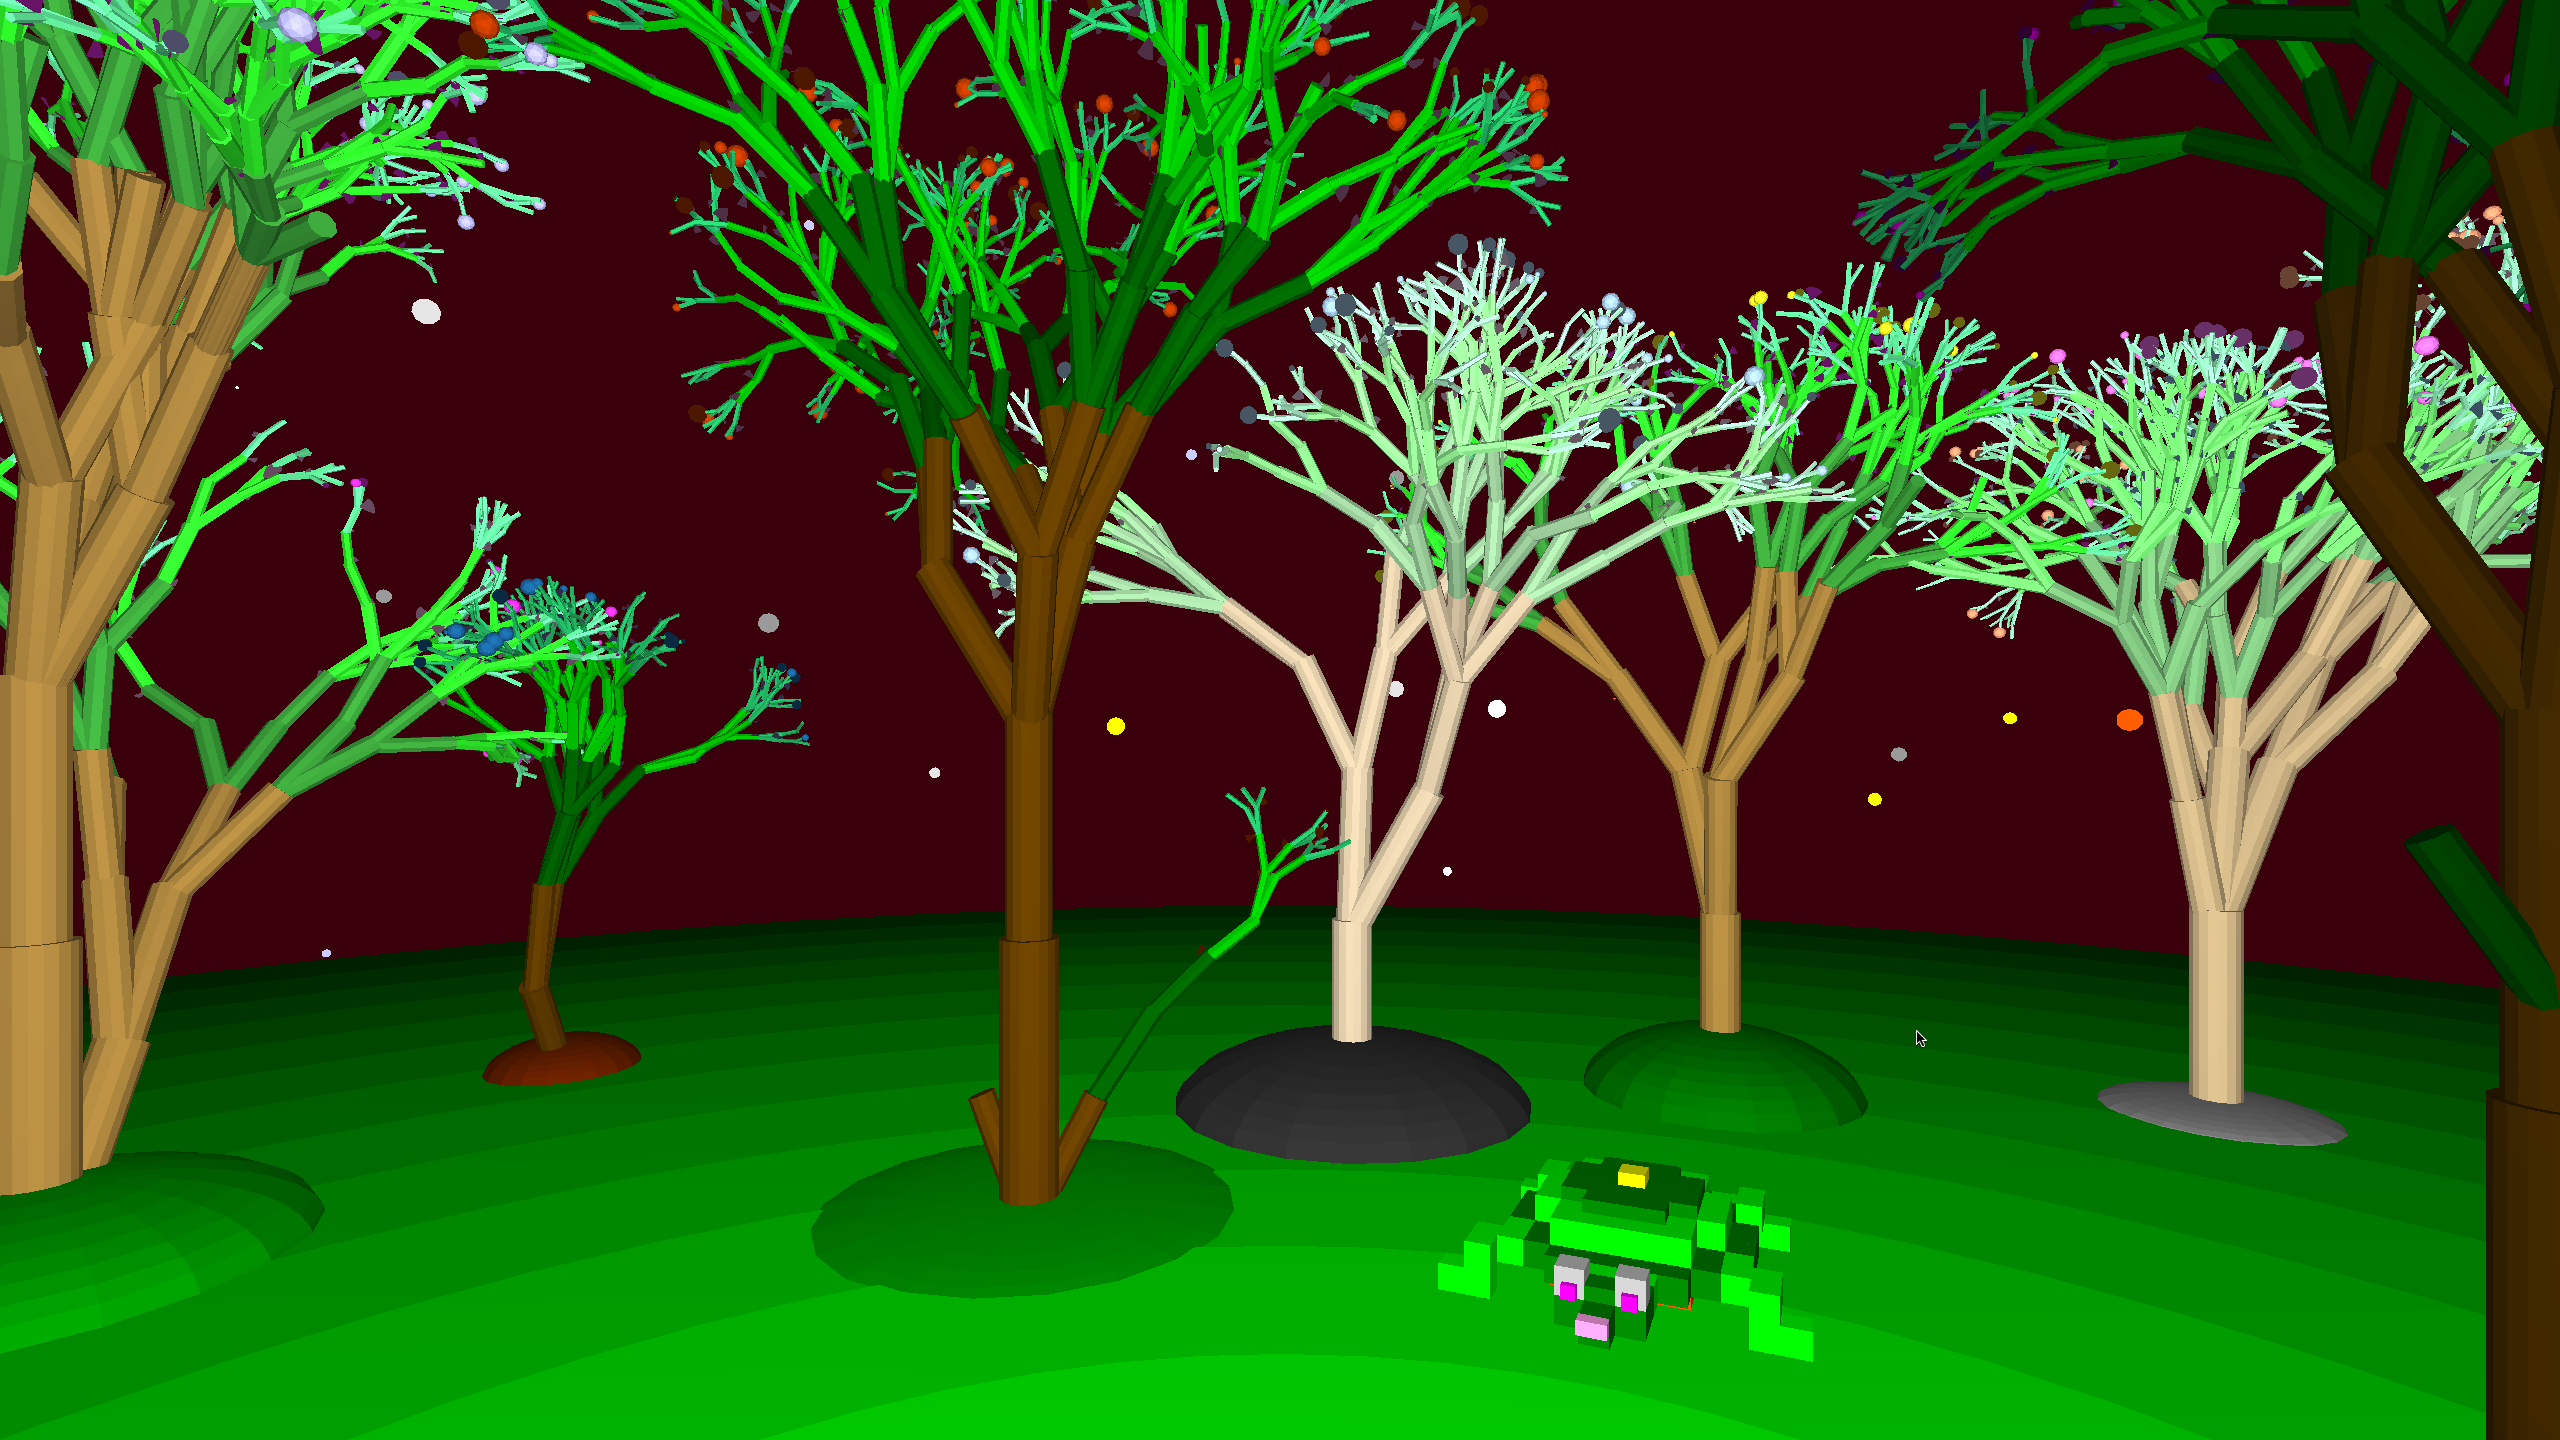
Experiment with real-time 2D and 3D designs, tweak parameters for mind-bending effects using our Live Coding option, and animate dynamic scenes using our in-built Perlin noise generator. Logo’s flexibility lets you create without limits—perfect for your next viral masterpiece.
Parents: Give your kids (ages 9+) a safe, creative space…
…to learn coding that’s as fun as gaming but much more rewarding. Watch them build confidence as they create, share, and grow—from simple drawings to complex games—preparing them for a tech-driven future.
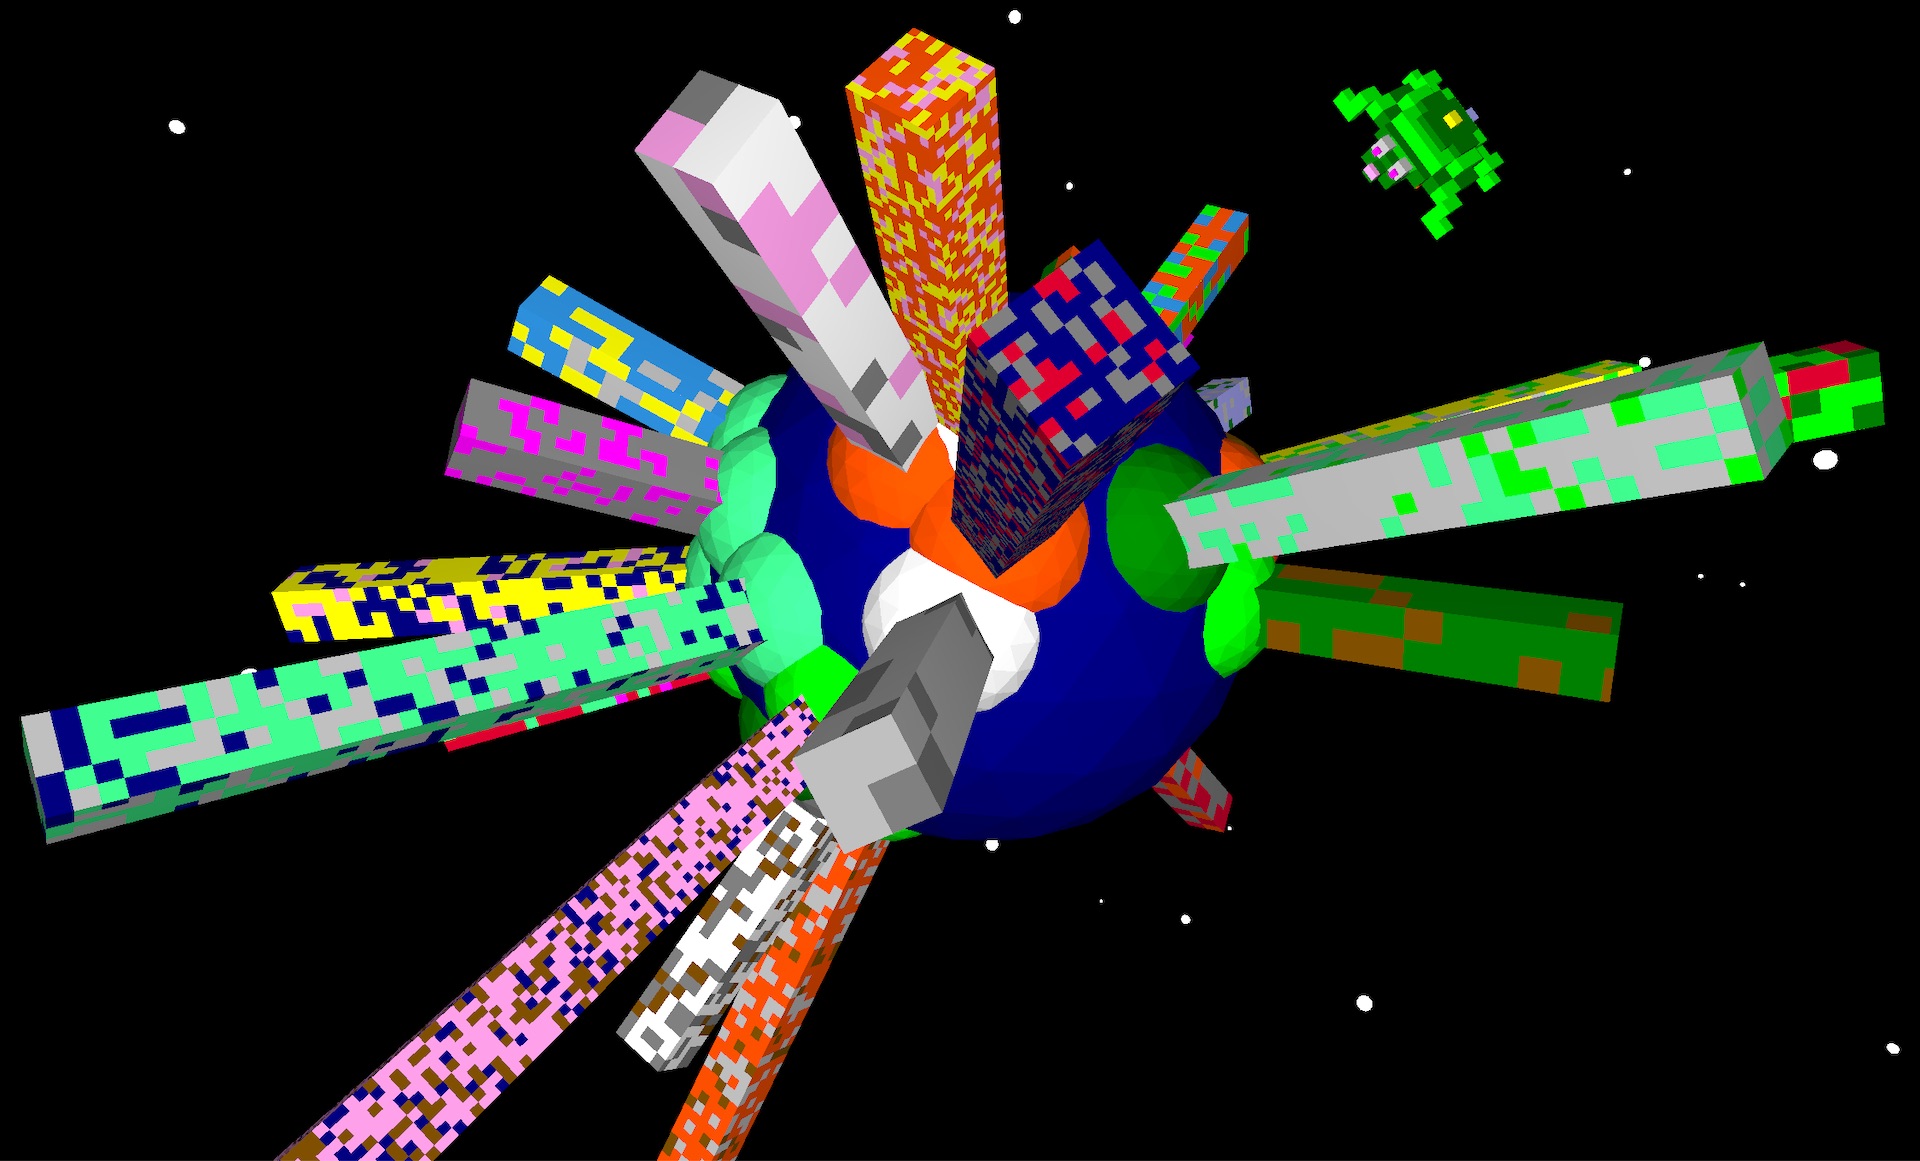
What Makes turtleSpaces So Cool?
- Instant Creativity: See your ideas come to life as you code! Move the camera, tweak your work, and watch changes happen in real-time.
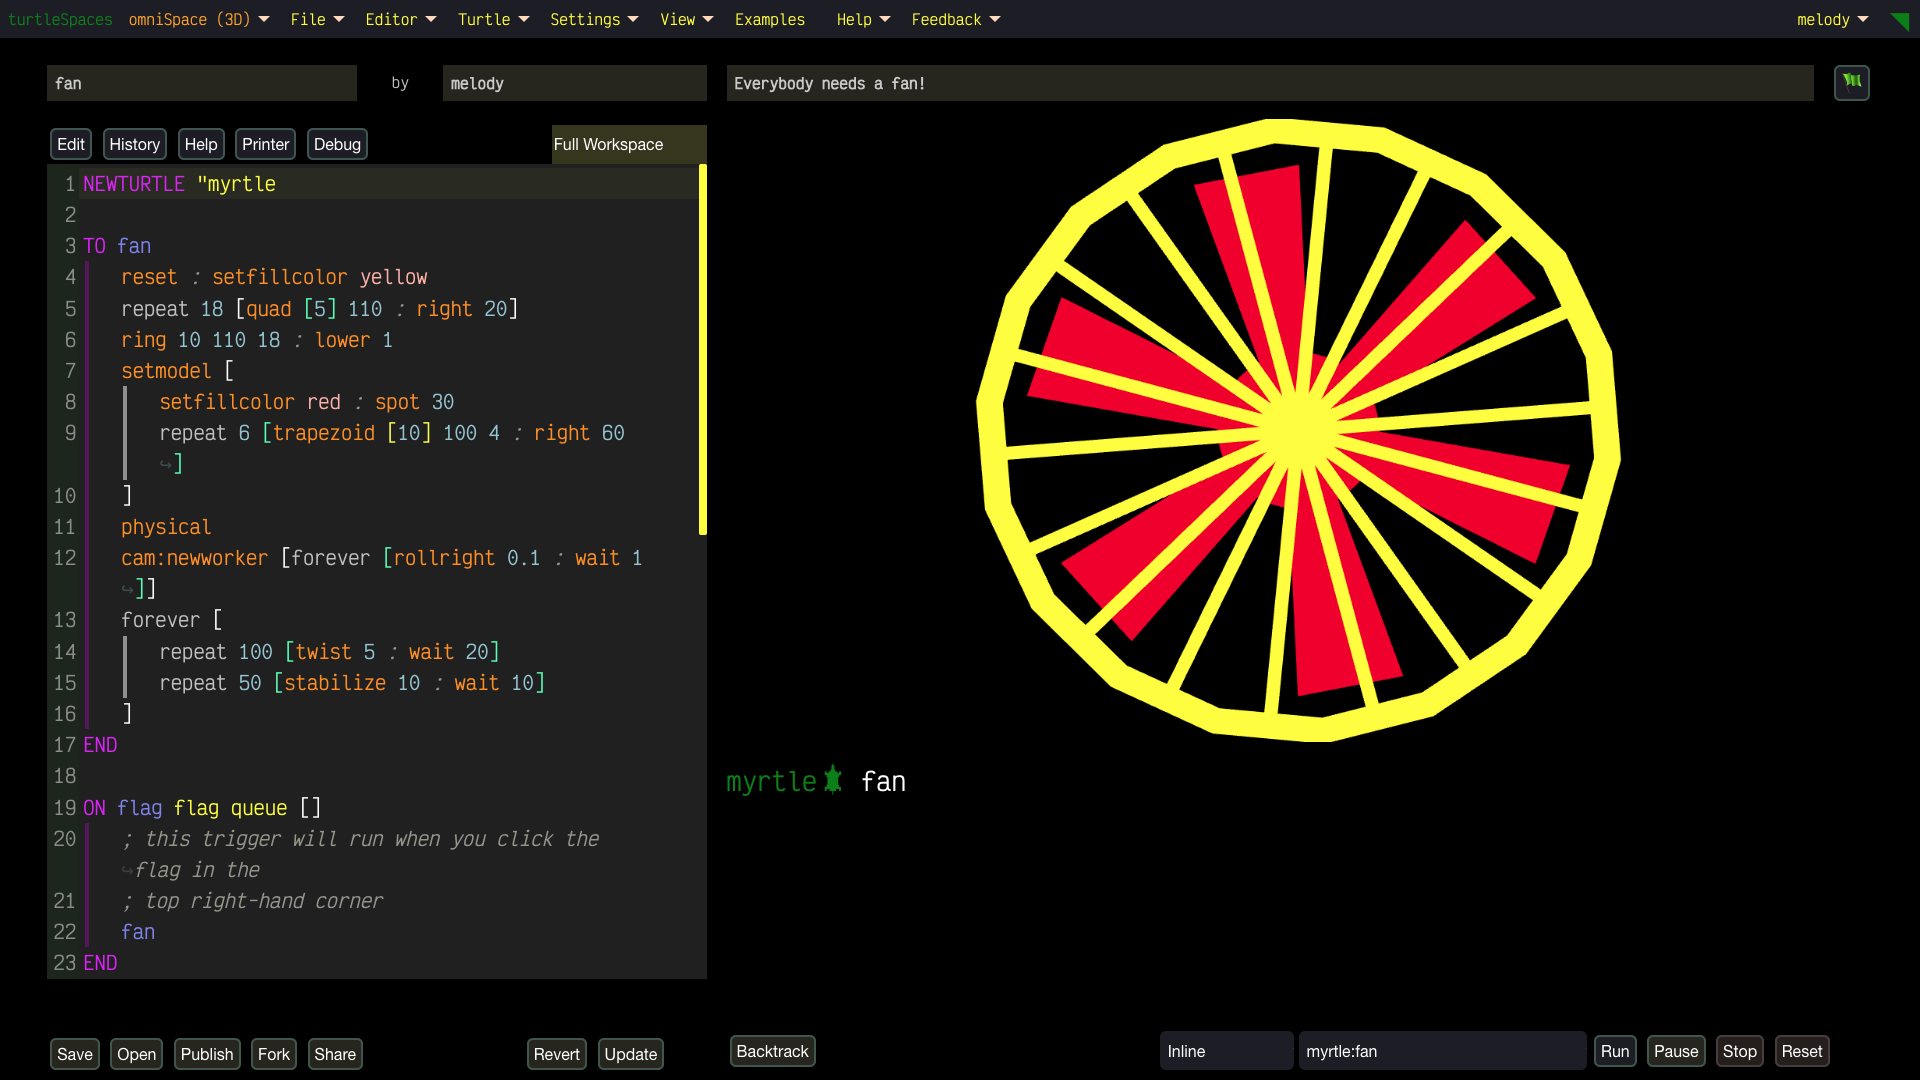
- No Limits: Start with easy projects in welcomeSpace, then conquer advanced challenges in artSpace or physiSpace (hello, 2D physics!). There’s no ceiling to what you can create.
- Interactive & Fun: Unlike boring Python, Logo lets you build one step at a time, fix mistakes easily, and experiment freely. It’s like playing with digital LEGOs!
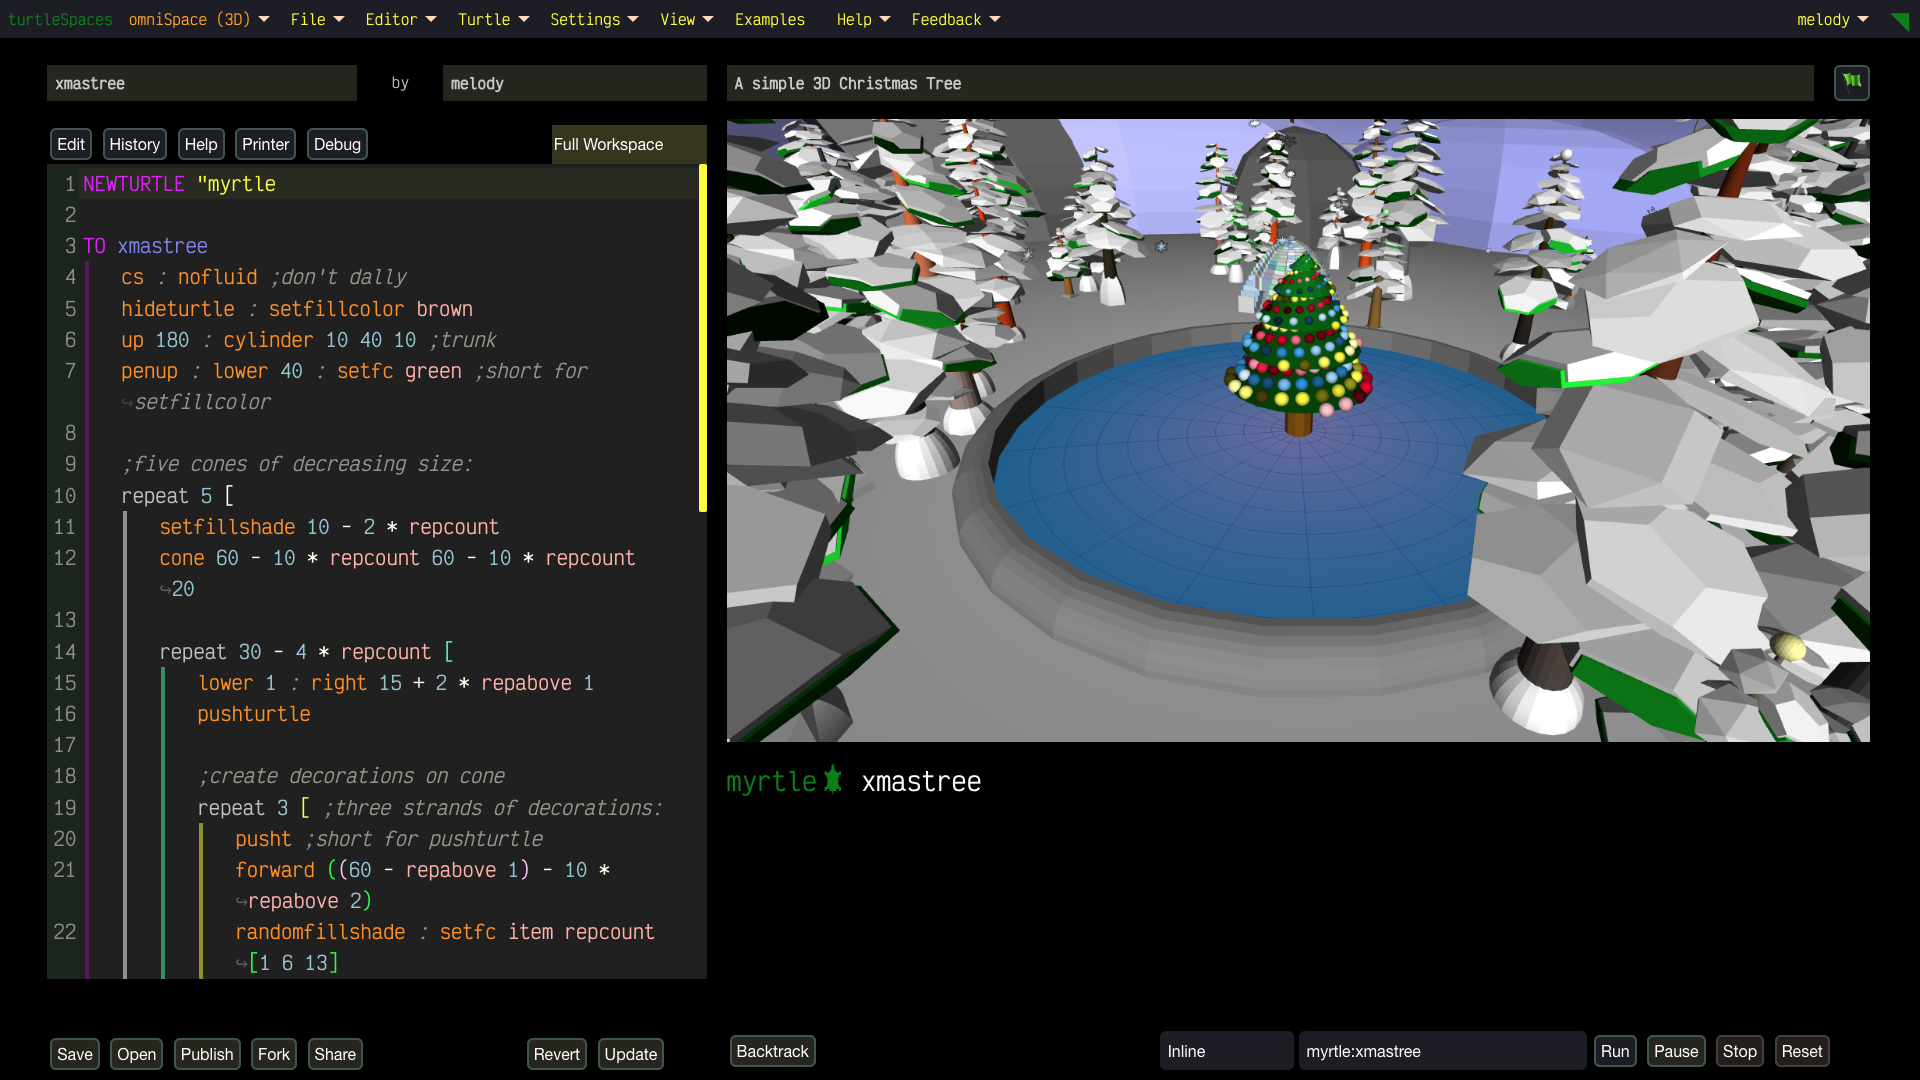
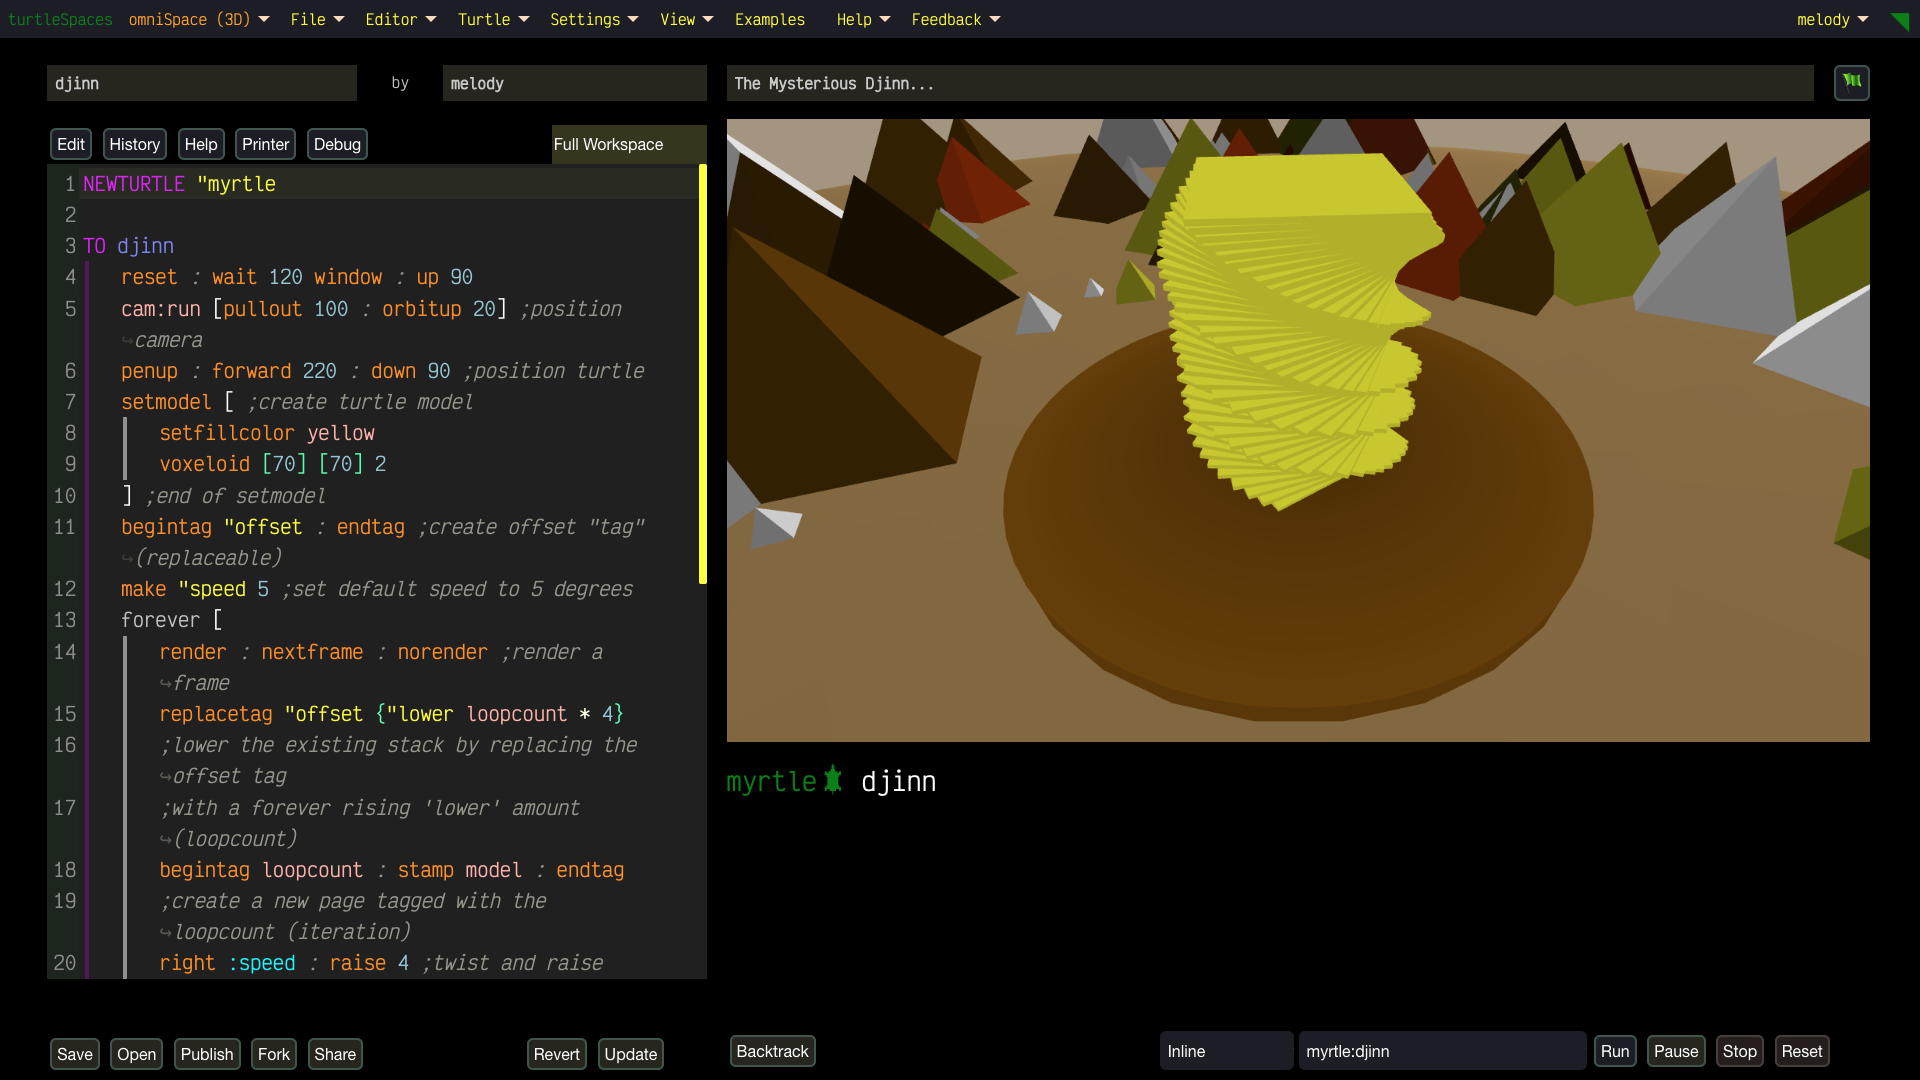
- Powerful Features: Play with strings, lists, math, tables, and databases to create anything from simple animations to epic games. Use the built-in terrain generator, physics engine and more.
- Take It Anywhere: Soon, turtleSpaces will be on your mobile devices, so your creations can go wherever you do!
Inspired by coding legends like Seymour Papert, it’s designed to be easy to start but powerful enough to grow with you. Whether you’re a teen dreaming of game dev, an educator inspiring the next gen, an artist pushing creative boundaries, or a parent nurturing future innovators, turtleSpaces is your ticket to a world of endless possibilities.
Join the turtleSpaces revolution today! Hop on our turtles and code your way to an awesome future. Your next big creation is waiting!
There truly is no ceiling with turtleSpaces!
Download now
for Windows, macOS / OSX or Linux
or try our new WebLogo
Follow us on X @turtlespaces
Like us on Facebook facebook.com/turtlespaces
Join our Facebook group
Visit our Discord
