Category Logo Programming Examples

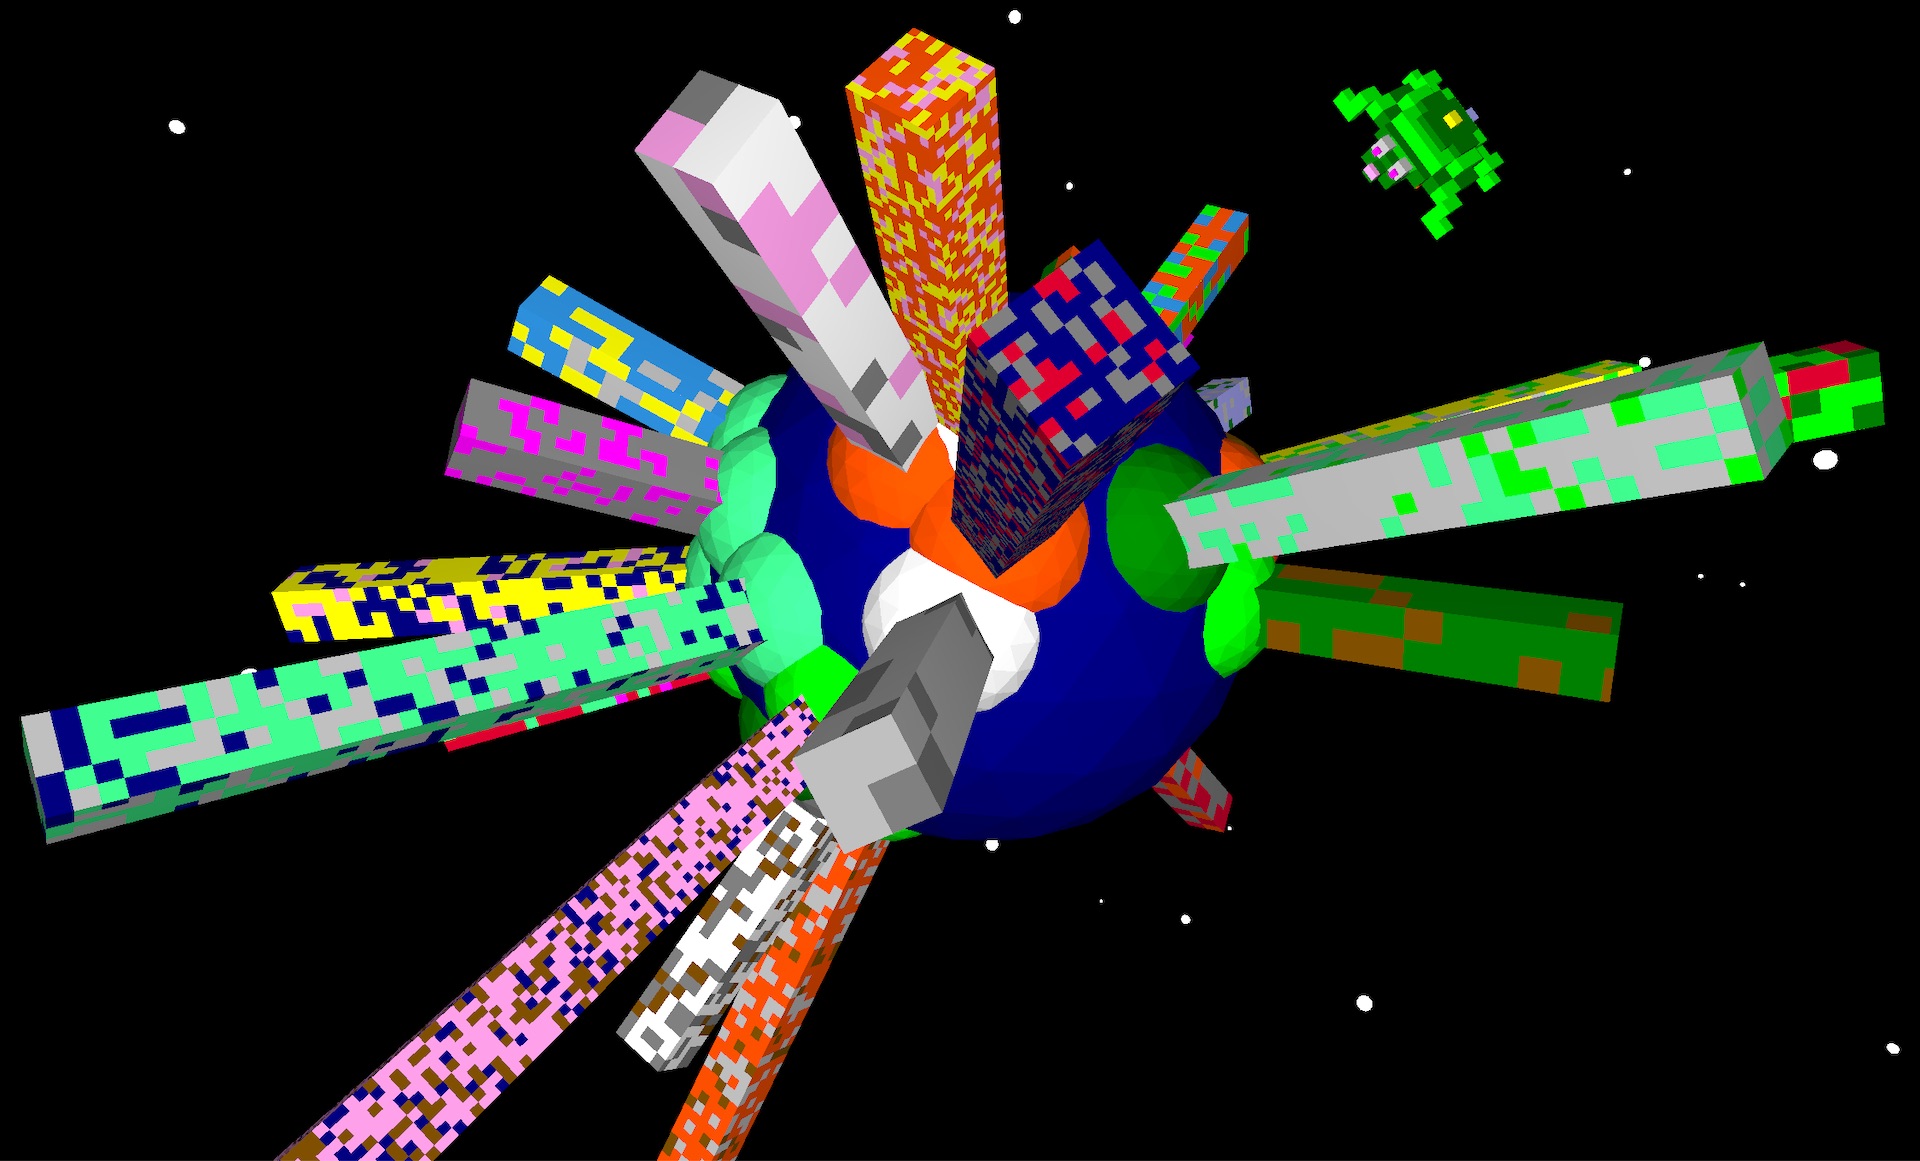
Creating 3D-printable landscapes and craters in Logo

Terrain can be saved as STL files (under the File menu in the web IDE) and then 3D printed!

setterrain

[x1 y1 x2 y2] (list) | [height floor ceiling] (list) | seed (number) | algorithm (word) OR [algorithm magnification] | style (word)

Creates terrain on the z-plane between the specified x and y co-ordinates.

These co-ordinates represent 10 turtle-units, and the output can be scaled using setterrainresolution.

height specifies the maximum height in terms of single turtle-units, similarly scaled using setterrainresolution. The floor value specifies the lowest level rendered, and any values lower than that value are rendered at the floor level. Similarly, the ceiling value represents the highest value rendered, and anything higher is lowered to that value.

The seed is provided to the algorithm that generates the terrain, the algorithm is the method used (currently only fbm and flat (no algorithm) are supported) and the style (voxel, line, triangle or combo (line and triangle) — note that combo uses the terraininterior color to render its lines).

Providing a list containing the algorithm type and a multiplier allow you to ‘zoom in’ or out on the terrain, making it more dense and complex, or spacious and simple. Multiple blocks of terrain can be defined so long as they do not overlap.

See terrain, setterrainresolution, setterraincolors, setterraininterior, setelevation, elevation, lockelevation, elevationsnap, unlockelevation

setterrain [-10 -10 10 10] [25] 25 “fbm “voxel


setterrainresolution

number

Sets the ‘resolution’ of the terrain, or the size of each ‘sector’ in turtle-units within the terrain ‘grid’ which expands out from [0 0]. For example, the higher the terrainresolution is the larger each voxel is in the terrain in the voxel mode, and the more area the terrain covers. See setterrain, terrainresolution

setterrainreolution 5


setelevation

[x y elevation] list OR [[x y elevation][x2 y2 elevation2]…]]

Sets the elevation height of the terrain at the specified x and y co-ordinates. If a floor value is set in the terrain impacted by setelevation, the elevation will be set to the floor value if it is greater than the elevation specified, unless the new elevation is provided as a list of a single value.

setelevation can also take list of lists. See elevation, setterrain

setelevation [10 20 10]


Voxel-based terrain generation:

TO voxelterrain
  reset hideturtle
  setterrainresolution 5
  setterrain [-2 -2 2 2] [20 1 10] random 500 [fbm 2] "voxel
END


Triangle-based terrain generation:

TO triangleterrain
  reset hideturtle
  setterrainresolution 5
  setterrain [-2 -2 2 2] [20 1 10] random 500 [fbm 2] "triangle
  ;the only real difference is changing the last parameter above to 'triangle'
END

Voxel-based crater generation:

TO voxelcrater
  reset hideturtle
  setterrainresolution 5
  setterrain [-2 -2 2 2] [20 1 10] random 500 [fbm 2] "voxel
  stop
  dropanchor penup pullout 50
  repeat 10 [
    repeat 180 [
      orbitright 2
      setelevation {xpos ypos 40 + 5 * repabove 1}
    ]
    pullout 2
  ]
  
  pullout 2
  
  repeat 9 [
    repeat 180 [
      orbitright 2
      setelevation {xpos ypos 95 - 5 * repabove 1}
    ]
    pullout 2
  ]
END

Triangle-based crater generation:

TO trianglecrater
reset hideturtle
setterrainresolution 5
setterrain [-2 -2 2 2] [20 1 10] random 500 [fbm 2] "triangle
stop
dropanchor penup pullout 50
repeat 10 [
repeat 180 [
orbitright 2
setelevation {xpos ypos 40 + 5 * repabove 1}
]
pullout 2
]

pullout 2

repeat 9 [
repeat 180 [
orbitright 2
setelevation {xpos ypos 95 - 5 * repabove 1}
]
pullout 2
]
END

Turtle Wordle: A Clone of Wordle in 60 Lines of Logo

Wordle, a cross between Mastermind and Hangman, seems to be the rage these days. Also, implementing it in as few lines as possible. In Logo we get to cheat a little about the second bit, as we can stack multiple commands on the same line. But we still need to keep things within a reasonable line length.

We’re happy to say we succeeded in our efforts, and even expanded on the model somewhat, adding progressively longer words and hints, among other things. This is a pretty good example of string and list management in Logo, which is what it was initially created for, even before the turtle!

Check out the source code below, or open in the web IDE…

TO wordle
  reset hideturtle make [score level stage] [0 1 1] maximize settextsize 1
  cleartext overlayscreen settextwindow [0 30 99 47] settextforeground 14 ;short form: settf
  print |TurtleWordle: Get one point for each letter in solution, lose one point for each guess.|
  print |You have word-length + 1 chances to guess the word. Level acts as score multiplier.|
  print |Get 6 4-letter words correct to advance, 5 5-letter words, 4 6-letter words and so-on.|
  print |Game ends when you run out of guesses, or guess the 9-letter word! (You brain you!)|
  print |Uppercase indicates correct letter and position, lowercase only that letter is in word.|
  cursordown playsound "drop ;we use simple encryption not to make this too easy!
  make "words1  [bsai dpme ql?n kgli hskn ap?@ jmai qj?k afsk ngli mtcp jmem dgpc @cr? @jsc ctcl]
  make "words2  [xc@p? nsnnw kmsqc ?@msr slbcp fmpqc qmslb jmaiq @p?gl ilmai lmprf ?jnf? glbcv]
  make "words3  [q?j?kg ngaijc afccqc igrrcl ngejcr rsprjc rmgjcr @mtglc amddcc ecp@gj bctglc]
  make "words4  [mar?nsq qg@jgle mnsjclr ejsrrml n?wkclr asqfgml n?p?qmj jcrrcpq gltmjtc @j?licr]
  make "words5  [bp?k?rga nclr?eml kmrmpa?p qmjsrgml slbcpqc? mtcpam?r sk@pcjj? l?rrpcqq qslqfglc]
  make "words6  [qs@k?pglc u?rcpd?jj qrpccra?p slbcpuc?p bcqrpmwcp ?n?prkclr bmaskclrq pm?bam?af]
  label "select ;return here using 'go'
  if :level = 7 [settf 3 print |Congratulations! You win!| playsound "applause go "playagain]
  make "selection random count thing word "words :level
  make "enword uppercase item :selection thing word "words :level
  make word "words :level remove :selection thing word "words :level
  make "word empty foreach "char :enword [make "word word :word char (ascii :char) + 34]
  make "chances 1 + count :word make "tries 0 clearscreen penup setfillcolor 12 ht
  settypesize 20 setxy -200 80 typeset "Turtle setxy 80 80 typeset "Wordle settypesize 10 home st
  foreach "letter "abcdefghijklmnopqrstuvwxyz [make :letter instances :letter :word]
  forever [
    foreach "letter "abcdefghijklmnopqrstuvwxyz [make word "p :letter 0]
    settf 6 (print |Tries remaining:| :chances - :tries) settf 15
    dountil (count :guess) = (count :word) [
      (type |Word is | count :word | letters: |) make "guess lowercase readword]
    inc "tries make "correct 0 make "hits []
    setxy 0 - (5 * count :word) 100 - (:tries * 20)
    foreach "letter :guess [
      if :letter = item loopcount :word [inc word "p :letter] ]
    foreach "letter :guess [
      if :letter = item loopcount :word [
        settf 4 type uppercase :letter
        setfc 4 typeset uppercase :letter
        inc "correct playsound "drop queue loopcount "hits
      ] [if containsp :letter :word [inc word "p :letter
          if (thing word "p :letter) <= thing :letter [ settf 13 type lowercase :letter setfc 13 typeset lowercase :letter playsound "drip] [ settf 15 setfc 15 type "- typeset "- playsound "dunk] ] [settf 15 setfc 15 type "- typeset "- playsound "dunk] ] ] print empty slideright 10 if :correct = count :word [ settf 12 type |You got it! | playsound pick [sheep sheep2 sheep3] make "score :score + ((1 + ((count :word) - :tries)) * :level) if (:chances - :tries) > 0 [
        inc "stage if :stage = 8 - :level [
          make "stage 1 inc "level settf 9 print |Level up!| playsound "please] ] [
        settf 1 print |No points. Try again.| playsound "crow]
      settf 13 print sentence |Your score is: | :score go "select]
    if :tries = :chances [settf 3 (print |Word was:| :word)
      settf 7 (print |Too bad! Final score: | :score) playsound "evil go "playagain]
    if 0 = remainder :tries 3 [
      dountil not containsp :pick :hits [make "pick 1 + random count :word] settf 8
      (print |Psst: the letter in position | :pick | is | uppercase item :pick :word |!|)] ]
  label "playagain settc 13 question |Play again? (Y/N)|
  if "N = uppercase answer [restore resetall finish] [wordle]
END


Floaty Turtle: A Flappy Bird clone in Logo

Floaty Turtle is a simple clone of Flappy Bird written in the Logo programming language that turtleSpaces uses.

Open in the integrated development environment (IDE)

NEWTURTLE "myrtle

TO floaty
  ;here is yet another example of a relatively complex
  ;game that can be rather simply implemented in Logo:
  ;a flappy bird clone!

  ;to make it work we use two turtles, one is the player
  ;and the other creates, moves and erases the pipes
  ;these are two seperate 'workers' or threads

  ;this procedure kicks off the game, displays a title
  ;screen, and then manages the player, processing
  ;input and moving the player appropriately

  ;the pipemaker turtle and its pipes procedure
  ;manages the pipes and checks for collisions

  ;the turtle does not move horizontally,
  ;instead the pipes do!

  reset
  cleartext
  setbackgroundcolor pick [6 7 14 5 10 11 14 15]
  ;select a random background color from the given list

  noaudiowait
  ;don't wait for audio to finish playing

  setmodel [penup back 7 stamp "myrtle]
  ;we need to offset Myrtle's actual position more
  ;toward her center for the purposes of this game

  setmodelscale 5
  ;make myrtle big!

  playsound "doodoo
  ;startup sound

  pipemaker:newworker [pipes]
  ;'kicks off' the pipemaker turtle, who
  ;creates and moves the pipes

  ;create the title screen:

  penup
  randomfillcolor
  slideleft 180 forward 5
  settypesize 60
  pushturtle
  ;'push' the turtle's state (position etc) on
  ;to a stack, from which it can be 'popped'
  ;off later

  typeset "Floaty
  popturtle
  ;restore the previously pushed state

  back 100
  randfc
  ;short for randomfillcolor

  pushturtle
  typeset "Turtle
  popturtle
  bk 10 sr 70
  ;back and slideright

  settypesize 10
  randfc
  typeset |Press any key to float!|
  ;title screen complete!

  home
  dn 90 rt 90
  ;down and right

  make "raise 0
  ;the :raise container holds the current
  ;value remaining to float Myrtle upwards

  forever [

    if loopcount = 1 [say "Ready!]
    if loopcount = 16 [say "Set!]
    if loopcount = 31 [say "Go!]
    ;the loopcount is the number of times the forever
    ;loop has executed. Based on that count, say the
    ;appropriate ready set go component

    if divisorp 100 loopcount [
      ;every 100 loops pick a random background
      setbg pick [6 7 14 5 10 11 14 15]
      ;from the given list
    ]
    ;setbg short for setbackground

    dosleep [50] [
      ;try to maintain an average of 50ms to do
      ;the following:

      if loopcount > 30 [
        ;if the loopcount is greater than 30:

        if :raise = 0 [
          ;if the value inside the :raise container
          ;is 0, then lower the turtle 2.5 turtle-units:

          lower 2.5
        ]
        [
          ;otherwise raise the turtle 2.5 turtle-units
          ;and decrease the value inside the :raise
          ;container by 2.5
          raise 2.5
          make "raise :raise - 2.5
        ]

        if keyp [
          ;if a key is pressed, play a sound,
          ;remove the key from the keyboard buffer
          ;and increase the value of the :raise
          ;container by 20:

          playsound "air
          clearchar
          make "raise :raise + 20
        ]

        clean
        ;remove the turtle's 'track' -- it's not
        ;drawing or creating anything so we don't
        ;need to have it piling up

      ]
    ]
  ]
END
NEWTURTLE "pipemaker

TO pipes
  ;the pipemaker turtle's job is to
  ;create the pipes, shift them to the left
  ;and check if they've hit the turtle

  clearscreen
  noaudiowait
  penup
  home
  slideright 250
  back 120
  up 90
  ;position the turtle appropriately for
  ;creating the pipes offscreen to the right

  begintag "move
  endtag
  ;this tag is used to shift the pipes,
  ;by replacing its contents with an ever-
  ;increasing slideleft directive

  make "height 100
  ;this is the starting height of the pipes

  make "heights [0 0 0 0 0]
  ;initialize an 'zeroes' list of pipe heights

  make "score 0
  make "count 0
  ;initialize the score and the pipe count

  settypesize 20
  ;set the type size. Type is the text you
  ;create inside the 3D world

  forever [
    ;do this forever:

    sleep [50]
    ;try to do this stuff in an average of
    ;50ms -- less or more as needed to keep
    ;that average:

    if divisorp 20 loopcount [
      ;every 20 loops:

      inc "count
      ;increase the contents of the :count container
      ;by one

      if loopcount > 60 [
        ;if the loopcount is greater than 60:
        playsound "clang
        inc "score
        say :score
        ;make a sound, increment :score and say it
      ]

      slideright 100

      begintag loopcount
      ;create a new 'tag' for the pipe
      ;so we can remove it after it passes the
      ;left side of the screen

      randomfillshade
      ;select a random fill shade

      make "col 1 + random 5
      ;select a random number and put it in :col

      setfillcolor item :col [12 9 7 6 11 14 10 13]
      ;set that color based on :col's index in the
      ;provided list

      make "height :height + (-60 + random 120)
      ;increase or decrease :height based on a
      ;random number

      if :height < 20 [make "height 30 + random 20] if :height > 120 [make "height 110 - random 20]
      ;if too high or low, pick a new value higher
      ;or lower as needed

      queue :height "heights
      ;add the new height to the list of heights

      ;create the lower pipe:
      cylinder 20 :height 50
      lower :height
      setfillcolor item :col [4 8 6 2 1 12 5 3]
      ;select the complementary color for the pipe

      cylinder 25 20 50
      lower 50

      ;type the pipe number:
      down 90 right 90 back 10
      if :count > 9 [bk 10]
      inscribe :count
      if :count > 9 [fd 10]
      forward 10 left 90 up 90
      ;if gameplay is too slow, comment out
      ;the above five lines

      ;create the upper pipe:
      lower 50
      ;remember, the turtle is upside down!
      cylinder 25 20 50
      lower 20
      setfillcolor item :col [12 9 7 6 11 14 10 13]
      cylinder 20 120 - ypos 50
      raise :height + 120

      endtag
      ;close the pipe 'tag'

      if loopcount > 119 [erasetag loopcount - 100]
      ;erase the pipe that has left the screen

      ignore pop "heights
      ;remove its height from the :heights container
      ;and just throw it away (ignore it)
    ]

    if loopcount > 60 [
      ;check for crash:
      if (or
        myrtle:ypos > (-120 + (90 + item 3 :heights))
        myrtle:ypos < (-120 + (20 + item 3 :heights))
        ;the third item in the :heights list is the
        ;height of the pipe around where the turtle
        ;is, so we can use that to see if we've hit
        ;anything
      ) [
        (print |Crash! Final Score: | :score)
        print |Press flag icon to play again!|

        calm "myrtle
        myrtle:run [setfillcolor 1 icosphere 30]
        ;red ball

        audiowait
        playsound "crack
        playsound "aw

        myrtle:clean
        ;gets rid of the red ball

        noaudiowait
        playsound "fall
        say |too bad|

        myrtle:repeat 90 [
          forward 3 lower 3 wait 1
        ]
        ;fall to the ground

        audiowait
        playsound "crash
        finish
        ;that's all folks

      ]
    ]

    replacetag "move [slideleft loopcount * 5]
    ;increase the value of the slideleft
    ;command in the move tag, shifting the
    ;pipes to the left

  ]

  ;and that's it! Not really much code, is it?

END

Bale Example: Dodgeball

Dodgeball is a very simple game using a bale wherein the player moves the turtle from the left to right sides of the screen using the keyboard.

This is similar to a popular example used to teach Scratch, and the basic concept should be familiar to most Scratch learners.

In the case of this example, there are multiple balls that are controlled by a ‘bale’, a group of turtles who all execute the same code, first the code in the bale’s init procedure, and then the code in the ‘main’ procedure repeatedly. Each member of the bale executes consecutively, and once all members of a bale have executed (a cycle), the bale’s graphical output (its ‘turtle tracks’) is updated.

The bale’s execution is started by Myrtle, using the startbale command.

Myrtle checks to see if the user has pressed any of the movement keys and moves if required. She also checks to see if she’s been hit by a ball, or if she’s reached the right side of the screen, and if either condition has been met, the game ends.

The balls meanwhile move up and down at different speeds, gradually sliding towards the left side of the screen (to prevent Myrtle from procrastinating!)

NEWTURTLE "myrtle

TO start
  ;this is a very simple yet addicting and frustrating game
  ;add in your own sound effects!

  reset
  setmodel [bk 7.5 stamp "myrtle]
  ;myrtle's position is usually her tail, so we need to move her a bit
  ;so that her position is center-ish of her shell

  startbale "balls 11
  pu
  setxy -170 0
  rt 90
  forever [
    if keyp [
      make "key lowercase readchar
      if :key = "k [sr 10]
      if :key = "i [sl 10]
      if :key = "j [bk 10]
      if :key = "l [fd 10]
    ]
    ;pressing keys causes turtle to move

    if nearp 15 [pr "ouch! repeat 1000 [rt 1] finish]
    ;got hit by a ball

    if xpos > 180 [pr "win! finish]
    ;made it to the other side!
  ]
END

ON start flag queue []
  start
END


NEWTURTLE "snappy


NEWTURTLE "libby


NEWBALE "balls

TO init
  setmodel {"setfc baleindex "ico 10}
  st
  penup
  setxy -160 + baleindex * 30 100
  output {"dir 1 "speed 1 + (0.1 * random (5 * (5 + baleindex)))}

END

TO main
  if :dir = 0 [bk :speed] [fd :speed]

  slideleft 0.1
  ;the balls gradually move toward the left side
  ;of the screen to discourage procrastination!

  if ypos < -100 [make "dir 1]
  if ypos > 100 [make "dir 0]
END


Activity Idea: Gone Fishin’

Build this cool island scene using turtleSpaces Logo and a few basic shapes!

First we begin with a tree. We can build a trunk using a repeat loop of cylinders that get narrower in diameter and longer as we go. We can introduce a slight curve as well by tilting the turtle up a bit each cylinder we create:

Next we need to create the leaves, which we can do using the fiso (filled triangle) primitive. We can use a repeat loop to create a series of triangles growing in size, and then a second repeat loop to create a further series of triangles shrinking in size. In both cases, we tilt the turtle down a bit each triangle we create:

Then we can use a further wrapping repeat loop to create 8 of them around the trunk:

Let’s add six coconuts to the top of the tree using another repeat loop and icospheroids:

But one tree is kind of lonely, so let’s create a ring of eight around the edge of the island using the orbitleft primitive. We can also make the island more mound-like using a domoid:

Let’s add a dock Myrtle can fish off of made out of cylinders and voxeloids:

And a hut to shelter in made out of made out of a cutsphereslice and a sphereslice:

Myrtle’s all set, let’s get her fishing! The fishing rod is created using a thick line and a thin line:

The sunset effect is created using an inverted gradient tube:

Good job, Myrtle! You can check out the island yourself at https://turtlespaces.org/weblogo/?pub=64

Just click the flag to create the island. Don’t forget that you can click and drag on the viewport to move the camera, use the scroll wheel to zoom in and out, rotate using the right button and drag, and click both buttons and drag to pan.

Check out the code to see how it’s done! Then try something similar yourself. What will your island look like? Share it so we can see for ourselves!

turtleSpaces Halloween!

Witches, pumpkins, devils, ghosts and black cats are all haunting turtleSpaces this Hallowe’en! turtleSpaces is great for creating 3D models using code.

You can also find these models in the Published projects section of the webLogo interpreter.

The Pumpkin:

The pumpkin is created using the spheroidslice primitive, which creates an elongated slice of a sphere. By creating ten of these slices (every 36 degrees) we can easily create the pumpkin’s body:

TO pumpkin
  pu
  ;penup
  
  rr 180 up 90 lt 18 ra 20
  ;these were added after in order to position
  ;the pumpkin to face the camera
  
  pushturtle
  ;stores the turtle's state on to a stack,
  ;to be restored later using popturtle
  
  setspheroidaxis false
  setfillcolor orange
  setpencolor brown
  
  gradient
  repeat 10 [
    setfillshade 0
    spheroidslice 50 10 40 18 23 1.5
    rt 36
  ]

Next, we’ll position the turtle and use the domoid primitive to create the eyes, nose and mouth:

  left 2
  raise 37
  down 42
  right 30
  lo 85
  setfillcolor 13
  setpencolor 8
  setspheroidaxis true domoid 15 10 3 0.5
  ;eye
  
  ra 85
  lt 30
  UP 42
  RT 40
  DN 42
  RT 30
  lo 85
  domoid 15 10 3 0.5
  ;other eye
  
  ra 85
  LT 30 UP 42 LT 20 DN 50 RT 30 lo 85
  domoid 10 10 3 0.5
  ;nose
  
  ra 85
  LT 30 lo 3 DN 48 FD 40 lo 60 
  domoid 17 10 10 0.5
  ;mouth

Finally, we’ll create the pumpkins stem:

  popturtle
  ;return the turtle to its position, orientation
  ;and so forth when we did pushturtle
  nogradient
  setfc 8
  ;setfillcolor
  cylinder 8 60 10 lo 60
  up 90 rt 180 sr 20 lt 72.5
  ;sr = slideright
  cylinderarc 8 20 10 10 3
  home ht
END

The Witch:

The witch procedure first stores the pumpkin as a turtle model, then begins with her signature feature: her hat!

First we position the camera and store the pumpkin as a turtle model:

TO witch
  reset cam:pullout 150 cam:orbitleft 20 cam:orbitup 10
  begintag "pumpkin
  pumpkin
  endtag
  newmodel "pumpkin "pumpkin
  cs

Then we create her hat:

  pu setfs 0
  dn 90 ra 80 
  setoriginvectors vectors
  pushturtle
  setfc 5
  rr 180
  cone 40 100 20
  cylinder 80 5 20

Next is her head:

  rr 180
  setfc 1
  up 5
  cylinderslice 40 50 20 10
  lo 50
  cutsphereslice 40 20 20 10 20 10
  up 90
  spot 40
  dn 90
  ra 50
  dn 5
  lo 30
  setfc 11
  rl 90
  icospheroid 35 1.5
  rr 90
  ra 20
  lt 30
  bk 30
  setfc 2
  ico 7
  fd 30
  rt 60
  bk 30
  ico 7
  fd 30
  lt 30
  lo 30
  up 90
  rr 180
  up 10
  setfc 11
  cutcone 15 7 60 20
  lo 60
  setfc 1
  dome 7 20 20
  popturtle

Then her body:

  lo 100
  setfc 2
  rr 180
  cappeddomoid 30 20 20 2
  rr 180
  setfc 9
  cylindroid 30 50 20 1.2
  pushturtle
  lo 50
  domoid 30 50 20 1.2
  repeat 2 [
    pushturtle
    sr 25
    lo 10
    dn 30
    rr 180 dome 20 20 20
    rr 180
    cylinder 20 50 20
    lo 50
    ico 20
    up 90
    cutcone 20 15 50 20
    lo 50
    setfc 2
    cylinder 20 20 20
    lo 20
    dn 90
    cylindroid 10 20 20 2
    lo 20 domoid 10 20 20 2
    ra 20 rr 180
    cylindroid 10 10 20 2
    lo 10
    domoid 10 20 20 2
    popturtle sl 50]
  popturtle
  pushturtle
  sr 45
  dn 20
  ra 4
  setfc 11
  cylinder 13 50 20
  lo 50
  ico 13
  dn 90
  cutcone 13 8 50 20
  lo 50
  ico 12
  setmodelscale 0.5
  dn 90 rt 160 lo 25 stamp "pumpkin
  setmodelscale 1
  popturtle
  pushturtle
  sl 45
  dn 20
  ra 4
  setfc 11
  rl 9
  cylinder 13 50 20
  lo 50
  ico 13
  dn 20
  rl 40
  cutcone 13 8 50 20
  lo 50
  ico 12

And finally her broom!

setvectors originvectors 
  setx 0 
  pushturtle 
  up 80 
  setfc 8 
  cylinder 5 100 20 
  lo 100 
  lo 5 
  rr 180 
  cappeddomoid 13 20 20 3.5 
  rr 180 
  cylindroid 13 15 20 3.5 
  lo 15 
  sl 35 
  setfc 13 
  repeat 15 [
    rl -8 + repcount 
    cylinder 0.1 * (10 + random 20) 70 20 
    rr -8 + repcount 
    sr 5 
    randfs 
  ]
  sl 72.5 
  fd 5 
  repeat 14 [
    randfs 
    rl -7 + repcount 
    cylinder 0.1 * (10 + random 20) 70 20 
    rr -7 + repcount 
    sr 5 
  ]
  bk 10 
  sl 5 
  repeat 14 [
    randfs 
    rr -7 + repcount 
    cylinder 0.1 * (10 + random 20) 70 20 
    rl -7 + repcount 
    sl 5 
  ]
  popturtle 
  up 90 
  rr 180 
  up 10 
  setfc 8 
  cylinder 5 100 20 
  lo 100 
  dome 5 20 20 
  dn 90 
  ra 5 
  bk 10 
  st 
END

The Devil:

This unicycling devil robot is a scary creature!

His head is made out of a padded voxel:

TO devil
  cs
  pu
  setfc 11
  cylinder 10 50 20
  bk 10
  voxeloid 50 20 50
  fd 10
  sr 50
  cylinder 10 50 20
  sl 60
  voxeloid 70 50 50
  fd 50
  sr 10
  cylinder 10 50 20
  bk 10
  voxeloid 50 20 50
  fd 10
  sr 50
  cylinder 10 50 20
  rr 180
  repeat 2 [
    repeat 4 [
      dome 10 5 20
      rl 90
      cylinder 10 50 20
      rr 90
      sr 50
      rt 90
    ]
    up 180
    ra 10
    voxeloid 50 50 10
    lo 60
    lt 90
  ]
  lo 10
  bk 15
  sr 15
  lo 0.1
  setfc 1
  polyoval 10 5 100
  bk 20
  polyoval 10 5 100
  sl 10
  rr 180
  fd 5
  rt 60
  quad 15 3
  rt 30
  sl 10
  rt 30
  quad -15 3
  lt 30
  sr 5
  bk 40
  pushturtle
  repeat 8 [
    quad 4 3
    sr 4
    lt 10
  ]
  popturtle
  pushturtle
  repeat 8 [
    quad -4 3
    sl 4
    rt 10
  ]
  popturtle
  fd 50
  lo 20
  sl 20
  up 90
  pushturtle
  repeat 2 [
    repeat 15 [
      cylinder 16 - repcount 10 10
      lo 8
      up 10
      rr 30 - 20 * repabove 1
    ]
    popturtle
    sr 40
    pushturtle
  ]

And his body:

  sl 60
  ra 60
  bk 15
  rr 180
  rt 20
  setfc 13
  cylinder 30 10 20
  setfc 1
  lo 10
  cylindroid 30 20 20 2
  sl 40
  setfc 1
  cylindroid 20 100 20 1
  pusht
  lo 100
  ico 20
  up 120
  rr 30
  cutcone 20 10 100 20
  lo 100
  up 90
  rl 15
  ra 20
  setfc 10
  cylinder 20 40 20
  popt
  pusht
  sr 80
  cylinder 20 100 20
  lo 100
  ico 20
  up 60
  rl 20
  cutcone 20 10 100 20
  lo 100
  setfc 5
  up 90
  rl 10
  ra 20
  cylinder 20 40 20
  popt
  sr 40
  cylinder 40 100 20
  lo 160
  rr 90
  ra 20
  setfc 11
  cylinder 60 40 20
  setfc 13
  ra 5
  cylinder 10 50 20
  lt 90
  lo 2.5
  up 90
  cylinder 2.5 100 10
  dn 90
  lo 45
  up 90
  cylinder 2.5 100 10
END

The Ghosts:

These bug-eyed PacMan-style ghosts are a real scream!

The Ghost:

TO ghost
  up 90 
  make "gc 1 + random 14 
  make "ec pick [0 1 2 3 4 8 9] 
  setfc :gc 
  dome 50 20 18 
  rr 180 
  cylinder 50 50 18 
  lo 50 
  dn 90 
  repeat 18 [
    tent 9 30 49.2 
    rl 20 
  ]
  setfc 15 
  up 90 
  ra 50 
  fd 50 
  rr 90 
  icospheroid 15 1.5 
  fd 15 
  setfc :ec 
  icospheroid 7.5 1.5 
  rl 90 
  bk 65 
  rt 40 
  fd 50 
  setfc 15 
  rr 90 
  icospheroid 15 1.5 
  fd 15 
  setfc :ec 
  icospheroid 7.5 1.5 
  rl 90 
END

The Ghost Circle (this code assumes the above code is in a procedure called ghost:)

TO ghostcircle
  reset 
  snappy:newworker [
    setposition [0 0 0] 
    dropanchor 
    forever [
      orbitleft 0.5 
      wait 1 
    ]
  ]
  randbg 
  setbs 13 
  setfs 0 
  dropanchor 
  up 90 
  pu 
  ra 80 
  gradient 
  randpc 
  setfc bg 
  spot 400 
  lo 80 
  nogradient 
  pullout 300 
  repeat 18 [
    pushturtle 
    dn 90 
    rr 20 
    ghost 
    popturtle 
    orbitright 20 
  ]
END


The Cats:

Don’t get in the way of these cats, or it’s bad luck!

The Cat’s Eye:

TO cateye
  setfc 13 
  pu 
  rt 90 
  spot 10.1 
  fd 4 
  fiso 9.3 20 
  bk 8 
  rt 180 
  fiso 9.3 20 
  bk 4 
  ra 0.1 
  setfc 0 
  polyspot 6 40 
  lt 90 
  fd 3 
  fiso 5.2 7 
  bk 6 
  rt 180 
  fiso 5.2 7 
  bk 3 
END

The Cat:

TO cat
  sl 30 
  setfs 0 
  cateye 
  sr 60 
  cateye 
  sl 30 
  lo 0.3 
  bk 10 
  setfc 5 
  setfs 12 
  cylindroid 40 10 50 2 
  sl 20 
  lt 30 
  fd 25 
  tent 30 70 10 
  bk 25 
  rt 30 
  sr 40 
  rt 30 
  fd 25 
  tent 30 70 10 
  bk 25 
  lt 30 
  sl 20 
  bk 5 
  up 180 
  setfs 0 
  setfc 11 
  dome 5 20 20 
  fd 15 
  setfc 5 
  setfs 5 
  dome 8 20 20 
  lo 3 
  dropanchor 
  tether 
  pullout 7 
  rt 180 
  orbitright 70 
  setpw 2 
  repeat 2 [
    repeat 5 [
      line 80 
      orbitright 10 
    ]
    orbitright 130 
  ]
  pullin 7 
  rr 180 
  lo 12 
  rt 20 
  setfs 12 
  sr 20 
  setfs 13 
  cylindroid 40 100 50 2 
  lo 90 
  rr 90 
  setfs 12 
  cylinder 10 200 20 
  lo 200 
  dome 10 20 20 
  ra 200 
  rr 180 
  up 20 
  cylinder 10 130 20 
  lo 130 
  dome 10 20 20 
  ra 130 
  dn 40 
  cylinder 10 130 20 
  lo 130 
  dome 10 20 20 
  ra 130 
  sr 80 
  cylinder 10 130 20 
  lo 130 
  dome 10 20 20 
  ra 130 
  up 40 
  cylinder 10 130 20 
  lo 130 
  dome 10 20 20 
  ra 130 
END

The Cat Ring:

TO catring
  cs 
  pu 
  dn 90 
  dropanchor 
  pullout 250 
  pu 
  repeat 8 [
    pushturtle 
    up 90 
    cat 
    popturtle 
    orbitright 45 
  ]
END

Happy Hallowe’en!

Creating Animated Videos Using turtleSpaces

The above animation was created inside turtleSpaces, and then exported as a webm video file using the savewebm primitive. I then used Final Cut Pro to add the audio and the titles.

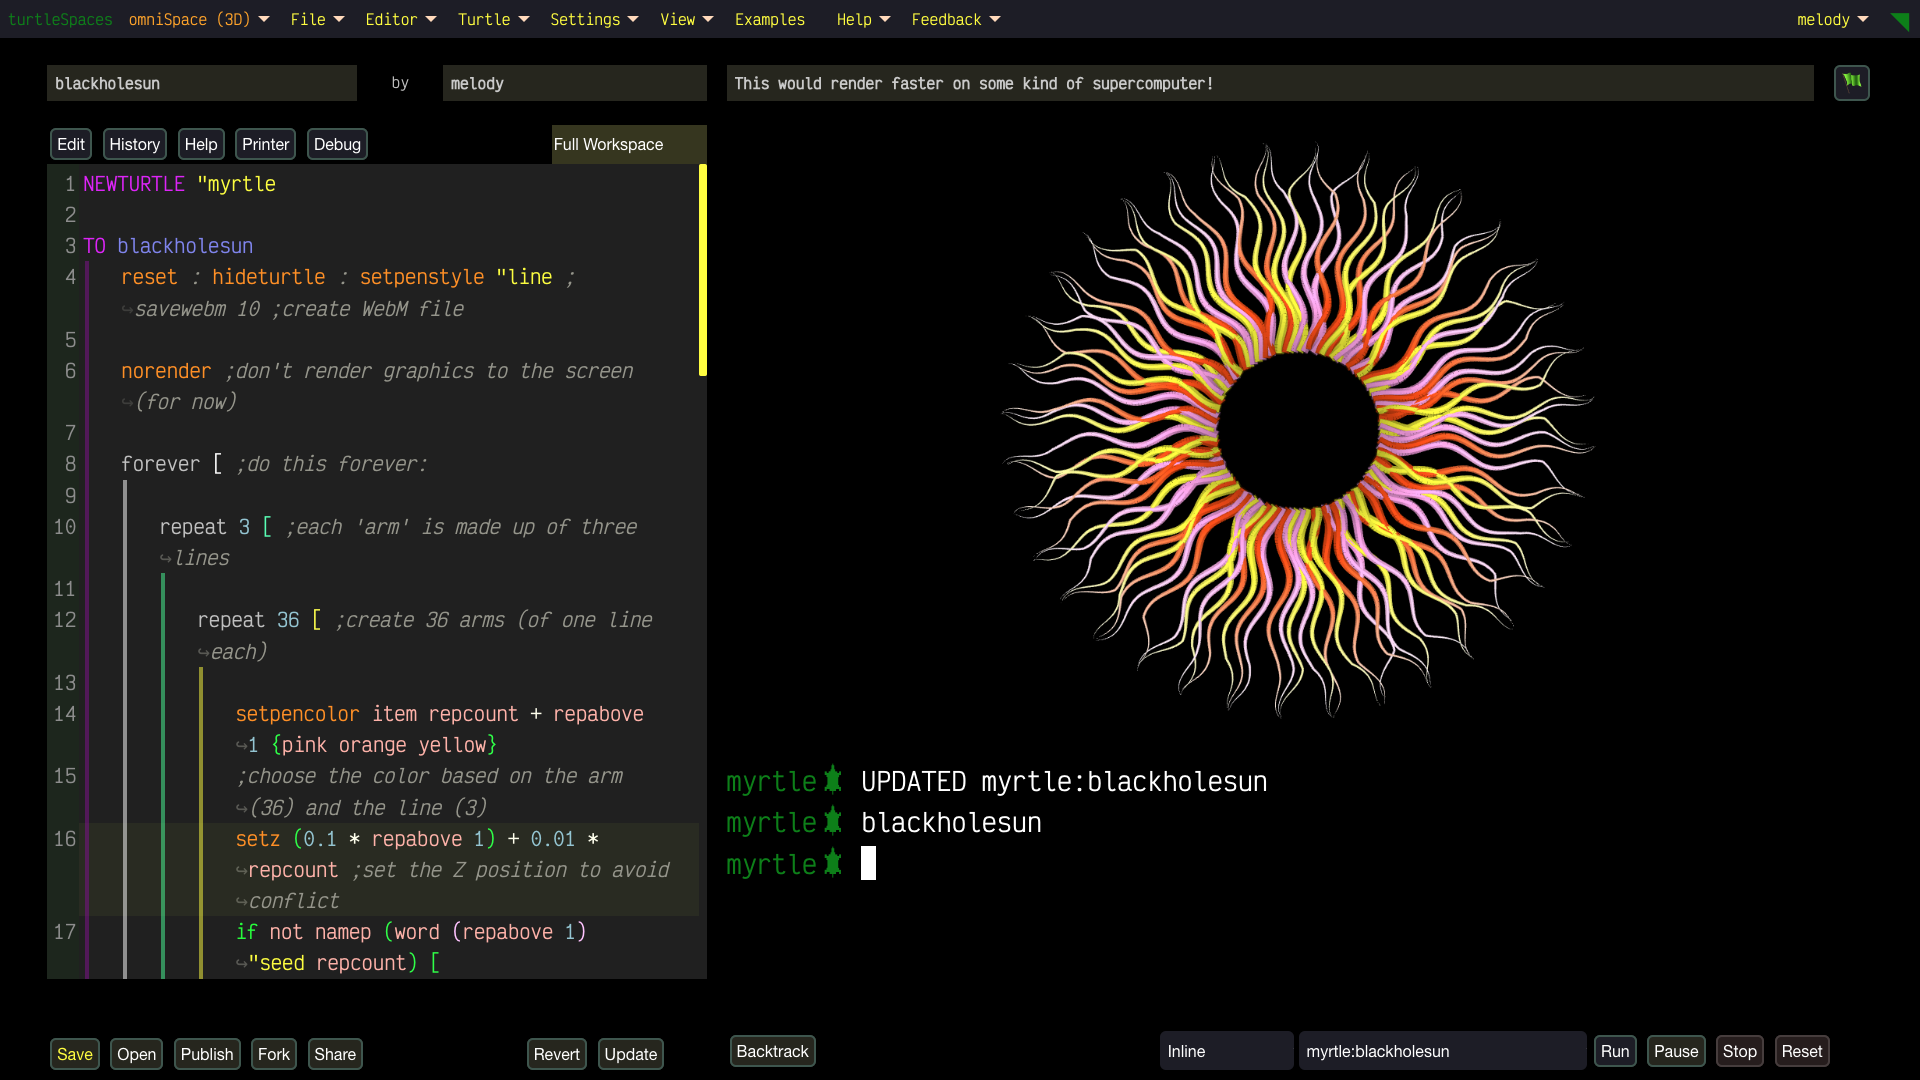
The Logo code used to create the animation is fairly straightforward. The turtle moves in an arc outwards from the center, creating arcs around it and generating the pattern. The location and sizes of the arcs depends on the current loop iterations. Graphics rendering is suspended while each ‘frame’ is created, after which the code renders the frame and pauses to ensure the user sees it, then continues on.

It runs much faster via the desktop application than in the web version, so you may need to adjust it to slow it down. Tinker with it! Play around. It’s the best way to learn.

TO arcflower3d
  cs
  ;clearscreen

  ;maximize
  ;the above line forces full-screen display. This is needed
  ;with savewebm, because the video capture routine uses the
  ;webgl canvas, and so whatever resolution it displays at
  ;is the resolution the video file will be. Uncomment it if
  ;saving video

  ht
  ;hideturtle

  setpw 2
  ;setpenwidth

  ;savewebm 260
  ;uncomment the above line to record video

  repeat 3600 [
    norender
    ;suspend rendering graphical output

    cs
    
    repeat 128 [
      setpc 1 + remainder repcount 15
      ;set the pencolor to the remainder of a modulus
      ;of the current loop count (repcount)

      pu
      ;penup

      rarc 0.1 * repabove 1 repcount
      ;move in an arc trajectory to the right
      ;based on the current repcount and the 
      ;repcount of the loop above (repabove)

      rr 0.1
      ;rollright

      dn 0.1
      ;down

      arc 90 repcount
      ;create a 90 degree arc based on the current
      ;repcount
    ]

    render
    ;resume rendering

    nextframe
    ;wait until one frame is rendered
  ]

END


Example: Towers of Hanoi

This rendition of Towers of Hanoi is a simple game to code and makes introductory use of 3D shapes. Recreating it could serve as a great introduction to turtleSpaces and Logo coding in general.

In the game, you attempt to transfer the disks on post 1 to post 3 ending in the same order the disks started in (smallest to largest, starting from the top). To do this, you can transfer disks between posts, but disks can only be placed on top of disks smaller than they are.

This example uses lists to store the disks on each post, and the queue and dequeue primitives to ‘transfer’ the disks from one ‘post’ (list) to another.

The graphical representation of the game is optional and can be added after first creating the game logic, using text output. A potential project would be to first create the game logic, using the game rules (and for the instructor, this example) as a guide. In its most basic form, it can be created using conditionals (if), lists (make, queue, dequeue). loops (label, go), and input/output (print, question) primitives.

Then, add the graphical representation, once the game is working correctly. The example here uses voxels, cylinders and typeset text. Finally, add some camera movements.

The example follows, and is commented:

SETABOUT |Towers of Hanoi (run myrtle:hanoi)|

CREATORS [melody]

NEWTURTLE "myrtle

TO hanoi
  ;This is a simple recreation of the classic
  ;Towers of Hanoi game. It has fairly basic logic
  ;and would nake a great introduction to game creation
  ;using turtleSpaces

  ;as a project, we would create the text-game
  ;first and then add the graphical representation
  ;later (as a 'stretch goal')

  reset
  hideturtle
  penup
  ;reset and set up workspace

  make "moves 0
  ;initialize the moves counter

  ;*** OPTIONAL ***
  make "camerastep 1
  ;define camera 'step'
  cam:orbitdown 90
  ;position camera
  ;*** END OPTIONAL ***

  print |*** TOWERS OF HANOI ***|
  print |Move the disks from rod 1 to rod 3, keeping the same order|
  print |(largest at the bottom to smallest at the top)|
  cursordown
  playsound "doodoo
  ;instructions

  label "start
  question |Number of Disks (3-9)?|
  make "disks answer
  if not numberp :disks [go "start]
  if or :disks < 3 :disks > 9 [go "start]
  ;select number of disks to play with
  ;and validate choice

  if :disks > 6 [print |Wow! You're brave! Good luck!| cursordown]
  ;message of encouragement for hard levels

  ;*** OPTIONAL ***
  control "snappy {"raise 2 * :disks}
  control "snappy {"pullin 140 - (8 * :disks)}
  make "snappypos snappy:position
  make "snappyvec snappy:vectors
  ;position camera based on number of disks
  ;and store the camera position.
  ;this can be omitted if text-only game
  ;*** END OPTIONAL ***

  make "rod1 reverse range {1 :disks}
  make "rod2 []
  make "rod3 []
  ;define the rod lists, creating the disks
  ;on the first rod

  label "select
  ;labels can be returned to using 'go'

  (show :rod1 :rod2 :rod3)
  ;show the rod lists
  (show |Moves elapsed:| :moves)
  ;and the move count

  ;*** OPTIONAL ***
  drawdisks
  ;draw the graphical representation
  ;(via the optional drawdisks user procedure)
  ;*** END OPTIONAL ***

  question |Rod?|
  make "selection word "rod answer
  if not namep :selection [print |Invalid selection!| go "select]
  if (count thing :selection) = 0 [print |Invalid rod!| go "select]
  ;select the source rod and check for validity

  label "dest
  question |Destination?|
  make "destination word "rod answer
  if not namep :destination [print |Invalid selection!| go "dest]
  if (last thing :destination) < (last thing :selection) [
    print |Invalid move!|
    go "select
  ]
  ;select the destination rod and check for validity

  make "disk dequeue :selection
  queue :disk :destination
  ;move the disk, by 'dequeuing' or removing the last
  ;item from the selected rod into a variable,
  ;and then queuing the item (adding it as the last
  ;item) to the destination rod

  inc "moves
  ;increment the moves counter

  ;*** OPTIONAL ***
  ;the following orbits the camera around the game
  ;to spice it up a little:
  inc "camerastep
  ;increment the camerastep container
  cam:repeat 45 [orbitright 1]
  ;orbit the camera 45 degrees right
  if divp 3 :camerastep [cam:repeat 45 [orbitright 1]]
  ;if camerastep divisible by 3 then orbit another 45
  ;so we're not looking at the side of the game
  ;*** END OPTIONAL ***

  if :rod3 = reverse range {1 :disks} [
    drawdisks
    ;update the graphics (OPTIONAL)

    control "snappy {
    "setposition :snappypos
    "setvectors :snappyvec
    }
    ;restore the camera position (OPTIONAL)

    print |You win! Great job. Try more disks!|
    (print |Moves taken:| :moves)
    playsound "applause
    finish
  ]
  ;check the third rod for a completed tower
  ;and if complete, displays 'win' message and quits

  go "select
  ;return (loop back) to select label

END

TO drawdisks
  ;the graphical representation of the towers is
  ;optional, and makes a good 'stretch goal'

  ;you can start with just rendering the disks,
  ;then add a base and rods, and finally
  ;rod numbers (to make it easier to keep track
  ;of the rods when playing with camera rotation
  ;enabled)

  norender
  ;don't update graphics until render is called

  clean
  ;erase graphics

  setposition {-50 - 4 * :disks 0 - 4 * :disks 0}
  setfillcolor brown
  voxeloid 2 * (50 + 4 * :disks) 2 * (4 * :disks) 5
  ;create base of appropriate size

  repeat 3 [
    setposition {-100 + (50 * repcount) 0 0}
    rollright 180
    setfillcolor brown
    cylinder 2 5 + :disks * 5 10
    rollright 180
    raise 5
    ;create rod of appropriate height

    if 0 < count thing word "rod repcount [ ;if there are disks on the rod: foreach "i thing word "rod repcount [ ;for each disk on the rod: setfillcolor :i ;set the color based on the disk size cylinder 2 + (2 * :i) 5 10 * :i ;create the disk raise 5 ] ] ] ;create disks on each rod up 90 settypesize 5 + (:disks / 4) repeat 3 [ setfc item repcount [13 11 14] setposition { (-100 - :disks / 2) + 50 * repcount 0 - 4 * :disks (-14 - (:disks / 3)) - (:disks / 4) } typeset repcount ] ;print numbers under towers rollright 180 repeat 3 [ setfc item repcount [14 11 13] setposition { (100 + :disks / 2) - 50 * repcount 4 * :disks (-14 - (:disks / 3)) - (:disks / 4) } typeset 4 - repcount ] ;print numbers under towers opposite side rollright 180 down 90 ;return the turtle to the proper orientation render ;resume rendering if :moves > 0 [playsound "knock]
  ;if not the start of the game, make a sound

END

NEWTURTLE "snappy


NEWTURTLE "libby


Example: Plane Trapped in a Torus

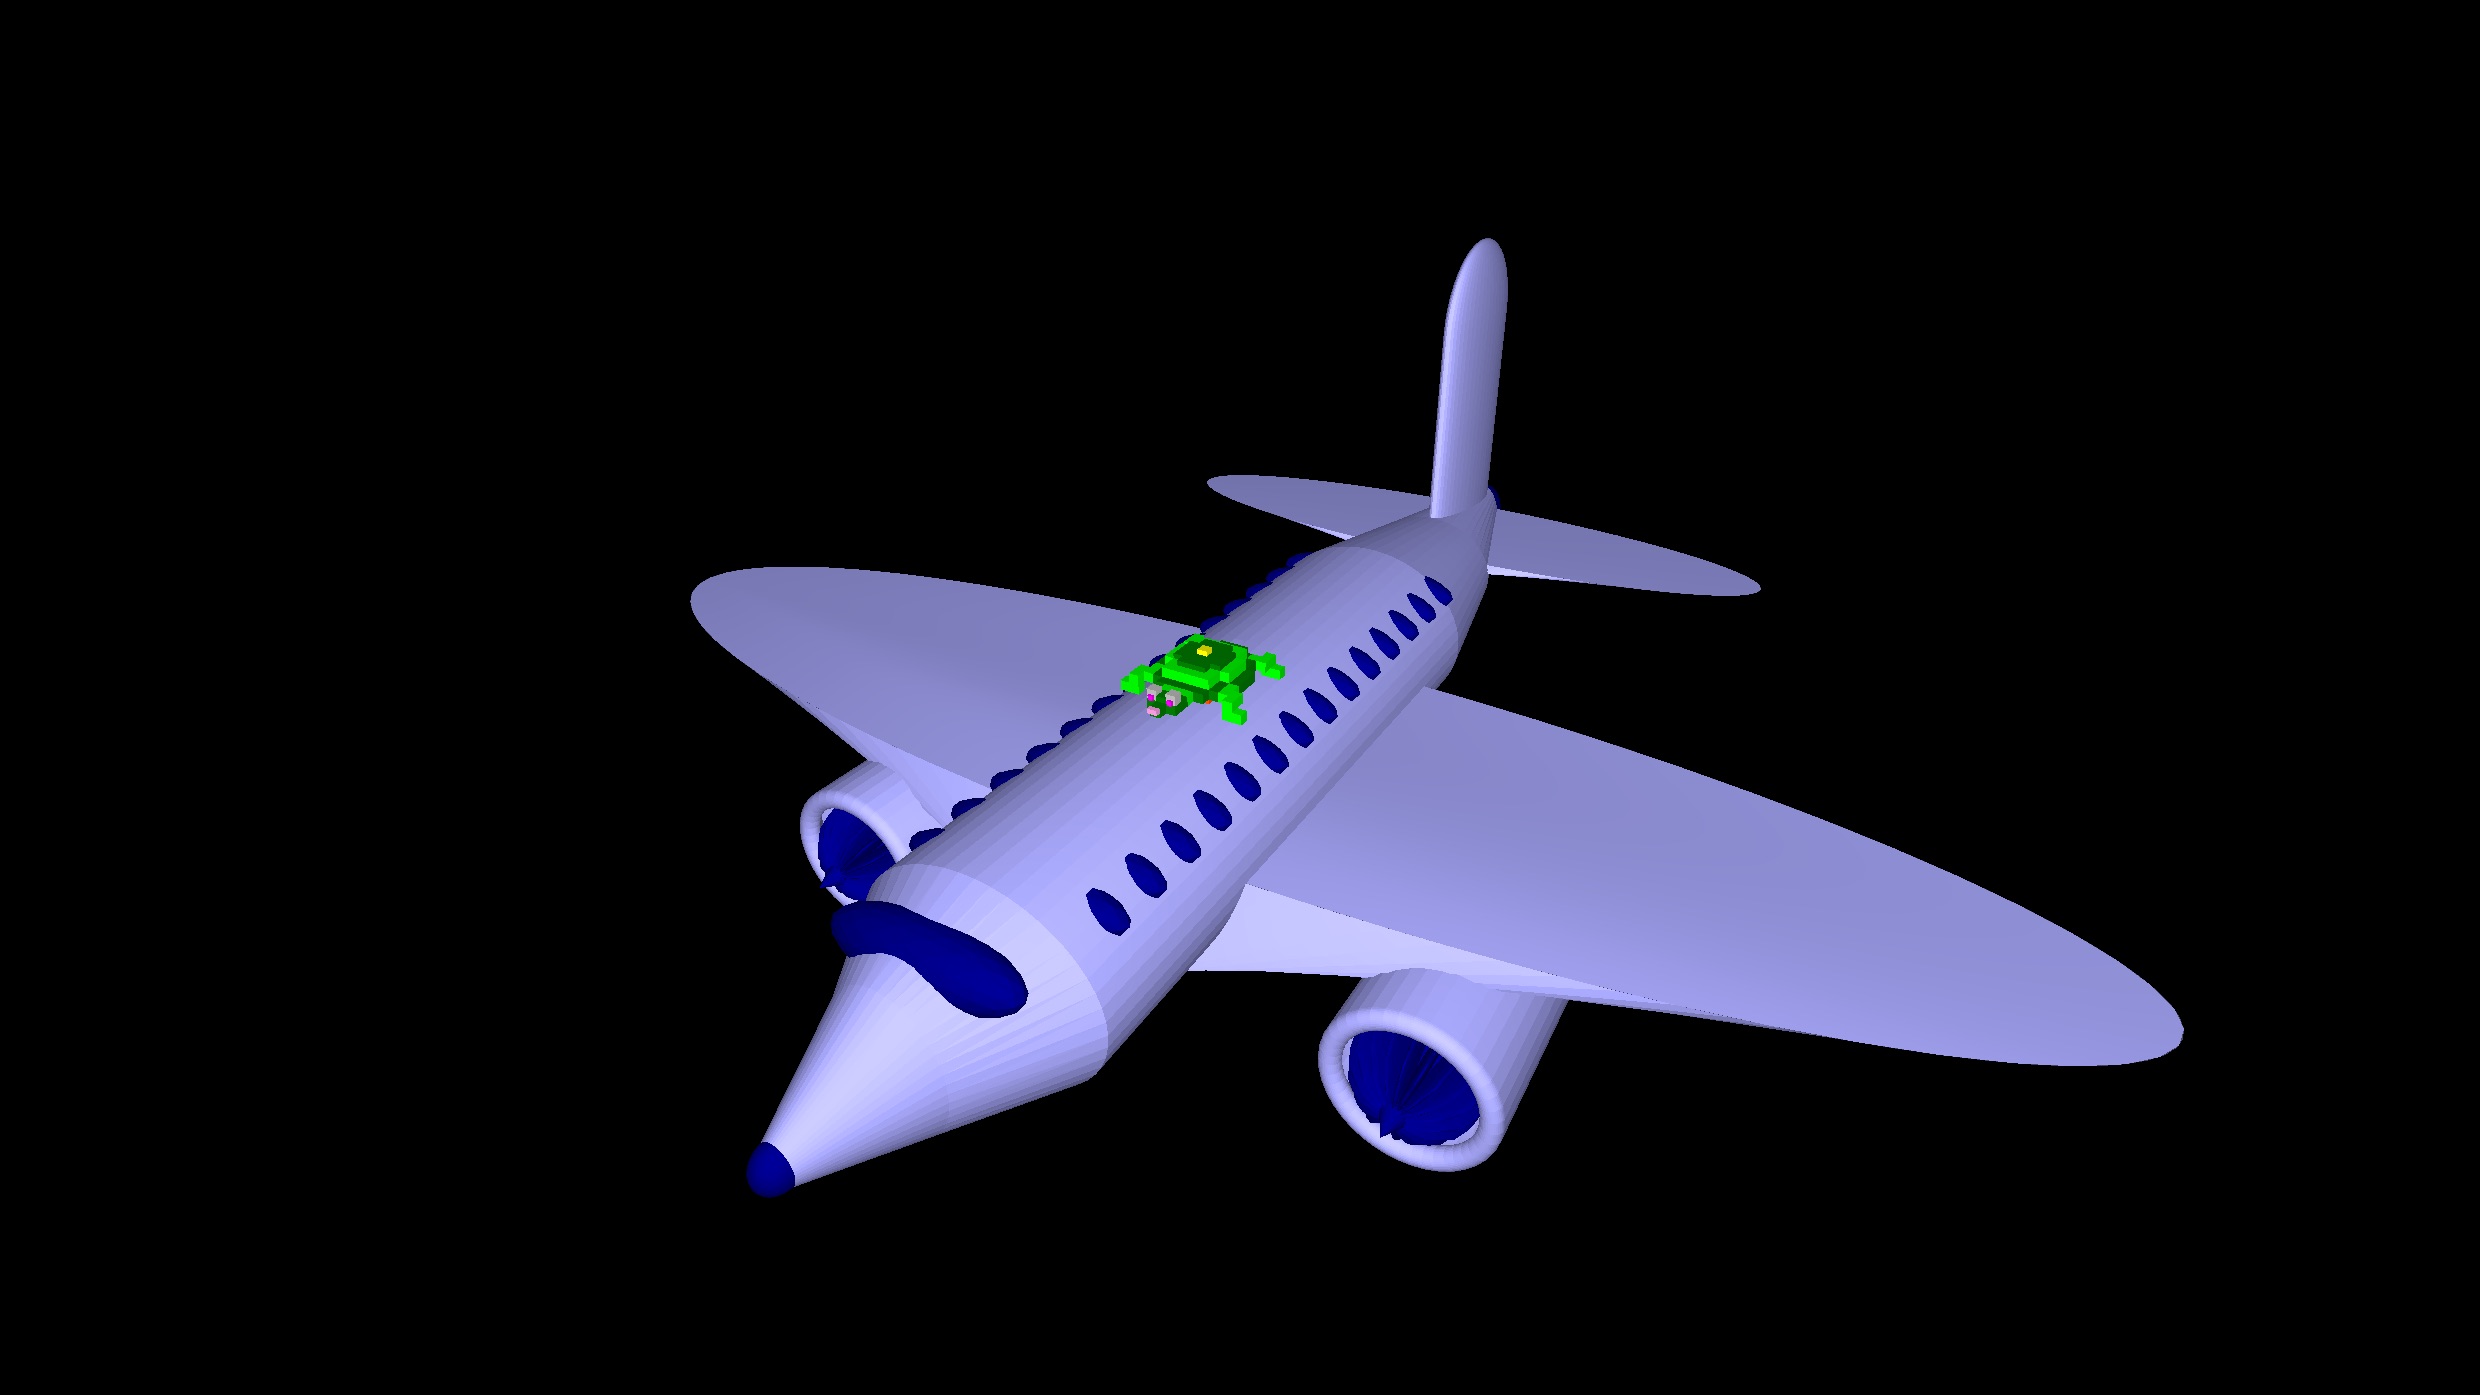
This example demonstrates the use of various camera-related functions, shape inversion, the premodel primitive and others to create this cool animation of a plane trapped in a torus!

The procedure first sets the turtle model to the built-in plane model, before creating a tag that sets the color of the torus. Then it creates an inverted torus (one whose inside is rendered instead of its outslde) because we’re going to fly inside it!

We then position the turtle to prepare it for its orbital flight path, position the camera behind it and set up its light. Then we begin orbiting, and while we do so we use setpremodel to move the turtle relative to the camera, creating the drifting motions of the plane as it flies.

Every so often, we change the color of the torus by replacing the contents of the color tag. Cool stuff!

Read through the source code below and take note of the comments, which explain what various parts of the trapped procedure do.

TO trapped
  reset
  setmodel "plane
  ;sets Myrtle's model to the built-in plane model
  
  begintag "col
  setfillcolor 1 + random 15
  endtag
  ;the contents of tags can be used to create models, or
  ;they can be disabled or replaced. We're going to replace
  ;the contents of this tag later in our procedure, to change
  ;the color of the torus 'on the fly' (ba-dum)
  
  torus 30 -50 20 20
  ;creates an inverted torus by inverting the radius parameter.
  ;Closed shapes such as the torus don't ordinarily have an 'inside'
  ;unless we create them inverted.
  
  ;Why do we want to invert it?
  
  ;We're going to switch the camera turtle to Myrtle, and so
  ;we want to see inside the torus, not the outside. To do this,
  ;we invert it, as demonstrated above.
  
  penup
  ;don't forget, the turtle draws a line by default
  
  dropanchor
  tether
  pullout 50
  left 90
  ;We're going to use the orbit primitive to move Myrtle
  ;inside of the torus. So we 'dropanchor' at Myrtle's position,
  ;to set the 'anchorpoint' that the orbit primitives rotate around,
  ;'tether' to keep the anchor point static (because otherwise
  ;when Myrtle turns the anchor point moves to stay in front of
  ;her) 'pullout' 50 turtle units from the anchor point, and then
  ;turn left 90 degrees (which we can do because we called tether)
  
  ;To demonstrate the need for tether, try:
  ;reset repeat 36 [repeat 90 [orbitleft 4] right 10]
  ;As you can see, the point Myrtle orbit arounds moves when she
  ;turns right. Put a 'tether' primitive before the first repeat
  ;and notice the difference!
  
  setpremodel [rt 10]
  ;'setpremodel' allows us to put commands between the 'turtle track'
  ;that contains everything the turtle draws and the turtle model
  ;itself.
  
  ;When we attach the camera to a turtle, its position is
  ;set before premodel (and the turtle model) and so we can use
  ;setpremodel to change the position and orientation of the turtle
  ;as seen from the camera. And so we will see the model pointing
  ;slightly to the right
  
  setview "myrtle
  ;set the camera to show Myrtle's point of view
  
  snappy:setlight 0
  ;turn Snappy (the normal camera turtle)'s light off.
  ;Snappy has a light on by defalt.
  
  setlight 2
  ;turn Myrtle's light on. The value 2 is a point light,
  ;which casts light around Myrtle
  
  setdiffuse [40 40 40 100]
  setambient [0 0 0 0]
  ;these set paramets related to the light.
  ;see their help entries for more information
  
  setviewpoint [5 10 -50]
  ;sets the position of the camera relative to the turtle
  ;as a list of [x y z]. So in this case, to the right, above
  ;and behind the turtle
  
  forever [
    
    setpremodel {
    "right 20 - 30 * (sin 0.5 * loopcount)
    "slideright -5 + 10 * (sin 0.5 * loopcount)
    "up 10 * (sin loopcount)
    "raise 2.5 - 10 * (0.5 * sin loopcount)
    }
    
    ;curly braces indicate a 'softlist', a list that is
    ;evaluated at the time of execution (the point at
    ;which the interpreter interprets the list).
    ;They allow us to use functions and containers to
    ;assemble a list dynamically.
    
    ;In this case, we're using the sin function and loopcount
    ;to move the turtle model relative to its position and
    ;simulate the motion of an aircraft in flight.
    
    ;loopcount is similar to repcount, but is used in non-repeat
    ;loops such as forever, while, until, dowhile, dountil and
    ;foreach.
    
    ;it counts the number of times the loop has been executed
    
    orbitleft 0.5
    ;orbit to the left half a degree. In this case, 'to the left'
    ;causes the turtle to appear to move forward. But remember,
    ;we turned the turtle to the left earlier in the procedure!
    
    if divp 300 loopcount [
      replacetag "col {
      "setfillcolor 1 + random 15
      "setfs -15 + random 30
      }
    ]
    ;divp (or divisorp) returns true if the numerator (the first
    ;number) divides equally into the denominator (the second
    ;number, in this case the loopcount.)
    
    ;if divp returns true, we replace the "col tag we created
    ;earlier in the procedure with new contents setting a random
    ;color and shade. We need to use curly braces so that the
    ;random numbers are generated at the time we call replacetag.
    
    ;note that the primitives need to have a " in front of them
    ;so they are not themselves executed when the softlist is
    ;evaluated! By putting a quotation mark in front of them,
    ;they are evaluated as words and passed verbatim to
    ;the replacetag primitive.
    
    ;there are other ways to do this that you can do in other
    ;Logo environments but they are more cumbersome.
    
    sleep 5
    ;sleep for 5 milliseconds
    
  ]
  ;do this forever, or until we press escape or the stop button
  
END


Rocket Orbit

This simple commented project allows for the introduction of 3D movements and shapes (the rocket procedure) including a basic introduction to repeat, the creation of turtle models and the use of premodel, an introduction to the orbit primitives and the use of a new worker (thread) for orbiting the camera!

TO rocket
  forward 70
  down 90
  ;these two commands orient the rocket better for use as
  ;a turtle model
  
  setfillcolor yellow
  ;yellow is a function that returns the value 13
  ;it is a shortcut used for convenience in learning
  ;as is red, green, blue etc.
  
  cylinder 20 120 10
  ;cylinder takes   
  
  rollright 180
  ;flip the turtle over to create the nose cone
  
  cone 20 50 10
  
  lower 50
  ;lower the turtle to create the 'nose'
  
  setfillcolor red
  icosphere 3
  
  setfillcolor orange
  ra 50 + 120
  ;ra is short for raise
  
  rr 180
  ;rr is shorthand for rollright
  
  cutcone 20 30 30 10
  ;move the turtle to the bottom of the rocket and
  ;create the tail
  
  up 90 bk 30.1
  ;bk is short for back
  
  setfillcolor white
  repeat 2 [cylinderslice 40 5 20 10 rr 90]
  ;create the fins
  
  setfillcolor red
  dn 90 sl 10 bk 10 cylinder 10 10 10
  ;sl is short for slideleft
  
  fd 20 cylinder 10 10 10 sr 20
  ;fd is short for forward
  ;sr is short for slideright
  
  cylinder 10 10 10 bk 20 cylinder 10 10 10
  ;create the jets
  
END

TO createmodel
  clearscreen
  ;cs is short for clearscreen
  
  begintag "rocketmodel
  ;tags are used to create turtle models
  ;among other uses. You can also use them to
  ;show or hide parts of the 'turtle track'
  
  rocket
  ;run the rocket procedure
  
  endtag
  ;close the tag
  
  newmodel "rocket "rocketmodel
  ;create a new model called 'rocket' based on the
  ;rocketmodel tag
  
  setmodel "rocket
  ;set the turtle's model to the rocket model
  
  clearscreen
  ;clear away the tagged model, leaving only the
  ;turtle
END

TO starfield :number
  hideturtle
  norender
  ;suspend rendering of the scene until we're done drawing the stars
  penup
  repeat :number [
    home
    randomvectors randomfillcolor
    ;randomvectors orients the turtle randomly
    ;while randomfillcolor sets a random fill color
    
    forward 1000 + random 1000
    ;move forward a random distance
    
    up 90
    ;orient the turtle up in preparation of creating a spot
    ;because the spot is created around and below the turtle
    
    spot 10 + random 10
    ;create a randomly-sized spot
    
  ]
  
  home
  showturtle
  render
  ;resume rendering
  
END

TO main
  reset
  ;resets turtleSpaces to a default state
  
  createmodel
  ;execute the createmodel procedure
  
  starfield 200
  ;execute the starfield procedure, passing the parameter value 200
  
  setmodelscale 0.5
  ;decrease the size of the turtle model to half normal
  
  setpremodel [lt 90]
  ;inserts 'left 90' into the turtle track between the scene
  ;and the turtle model ('pre' the model)
  
  setfillcolor 14
  ;sets the fillcolor to 14. Type 'showcolors' or 'sc' in the console
  ;to see a list of default colors. You can also definecolor your own!
  
  ico 50
  ;create an icosphere (the planet)
  
  penup
  dropanchor
  ;set the 'anchor point', or the point the turtle 'orbits' around
  ;using the orbit commands, to the current turtle position
  
  pullout 80
  ;pull away 80 turtle units from the anchor point
  
  snappy:newworker [forever [orbitleft 0.1]]
  ;tell snappy the camera turtle to create a new routine or thread
  ;that forever orbits around the scene to its left one tenth of
  ;a degree at a time
  
  make "rotation 0
  ;define a container (variable) called 'rotation'
  ;and set it to 0. We're going to use it to keep track of the
  ;rotation of the rocket
  
  forever [
    inc "rotation
    ;same as make "rotation :rotation + 1
    ;there is also dec (decrement)
    
    setpremodel {"lt 90 "rollright :rotation % 360}
    ;curly braces indicate a 'softlist', a list that is evaluated
    ;at runtime. In this case, so that we can have a dynamic
    ;rotation value we pass to setpremodel
    
    ;% is shorthand for modulus
    
    orbitleft 1
    ;orbit the rocket one degree to the left
    
    wait 1
    ;wait one sixtieth of a second
    
  ]
END