Tutorial #1: Simple Tree
These procedures draw a simple tree in a classic Logo lined style, and a forest of these trees. First, let’s take a look at the tree procedure as a whole.
TO tree :scale
  slideleft 8.25 * :scale
  forward 20 * :scale
  repeat 4 [
    slideleft (10 * (5 - repcount)) * :scale
    left 30
    slideright (12 * (5 - repcount)) * :scale
    right 30
  ]
  left 30
  slideright 5 * :scale
  right 60
  slideright 5 * :scale
  left 30
  repeat 4 [
    right 30
    slideright (12 * repcount) * :scale
    left 30
    slideleft (10 * repcount) * :scale
  ]
  back 20 * :scale
  slideleft 8.25 * :scale
END
Now let’s go through it a line at a time. The procedure starts out with the procedure declaration TO, then the name of the procedure tree, then a single parameter, :scale
TO tree :scale
Remember that the colon indicates that scale is a container – but parameters are only containers inside of their procedures. This is important.
Notice that there is a companion END at the end of the procedure. Every TO must have an END.
slideleft 8.25 * :scale
slideleft is a movement primitive, it tells the selected turtle to shift its position to its left the given number of turtle-units, which correspond to OpenGL units. In this case, the number of turtle units to shift left is 8.25 * the value of :scale, which is given as a parameter when tree is called.
forward 20 * :scale
forward is another movement primitive, it tells the selected turtle to move forward the given number of turtle-units.
repeat 4 [
repeat is a loop primitive. It takes two parameters, the number of times to repeat the instruction list, and the instruction list itself, which is bookended by an open square bracket and a closed square bracket. repeat executes the instruction list the specified number of times. The contents of the instruction list can be spread across multiple lines, as it is here, and which follow:
slideleft (10 * (5 - repcount)) * :scale
slideleft is similar to slideright. The rounded brackets tell turtleSpaces which part of the supplied expression to evaluate first. If there are brackets inside brackets, the innermost ‘nest’ is evaluated first. turtleSpaces resolves mathematical expressions using the PEMDAS (BEDMAS) ordering, but often some clarity is required. In the case of the line above, we want to ensure that repcount (the current iteration of the repeat loop) is subtracted from 5 before it is multiplied by 10, and all of that needs to be done before it is multiplied by :scale
turtleSpaces parses right to left. This means that it evaluates expressions in the right of the instruction first. What this means for the statement above is that without brackets, repcount * :scale would be evaluated first. Then 10 * 5. Then the result of repcount * :scale would be subtracted from 10 * 5. This is not what we want! So we need brackets.
left 30
left rotates the turtle to its left the specified number of degrees, in this case 30.
slideright (12 * (5 - repcount)) * :scale
The slideright instruction is similar to the slideleft instruction above, except in this case we are going to slide a bit more right than we did left.
right 30
Similarly to left, right turns the turtle to the right the given number of degrees, also 30 in this case.
]
The closing bracket finishes the instruction list. All of this is collected and given to repeat, which then repeats the instructions the given number of times (4).
left 30
slideright 5 * :scale
right 60
slideright 5 * :scale
left 30
repeat 4 [
  right 30
  slideright (12 * repcount) * :scale
  left 30 slideleft (10 * repcount) * :scale
]
The next four instructions draw the ‘peak’ of the tree, and the following repeat loop the opposite side of the tree.
back 20 * :scale
slideleft 8.25 * :scale
back is similar to forward, except the turtle backs up. slideleft you already know!
END
end finishes the procedure.
Once the procedure is entered, you can call it by typing tree and then a scale ‘factor’.
tree 1

tree 0.5

tree 2
0.5 makes a tree half as large as one, and 2 twice as large.
TIP: To make the turtle move smoothly, use the fluid primitive.
fluid

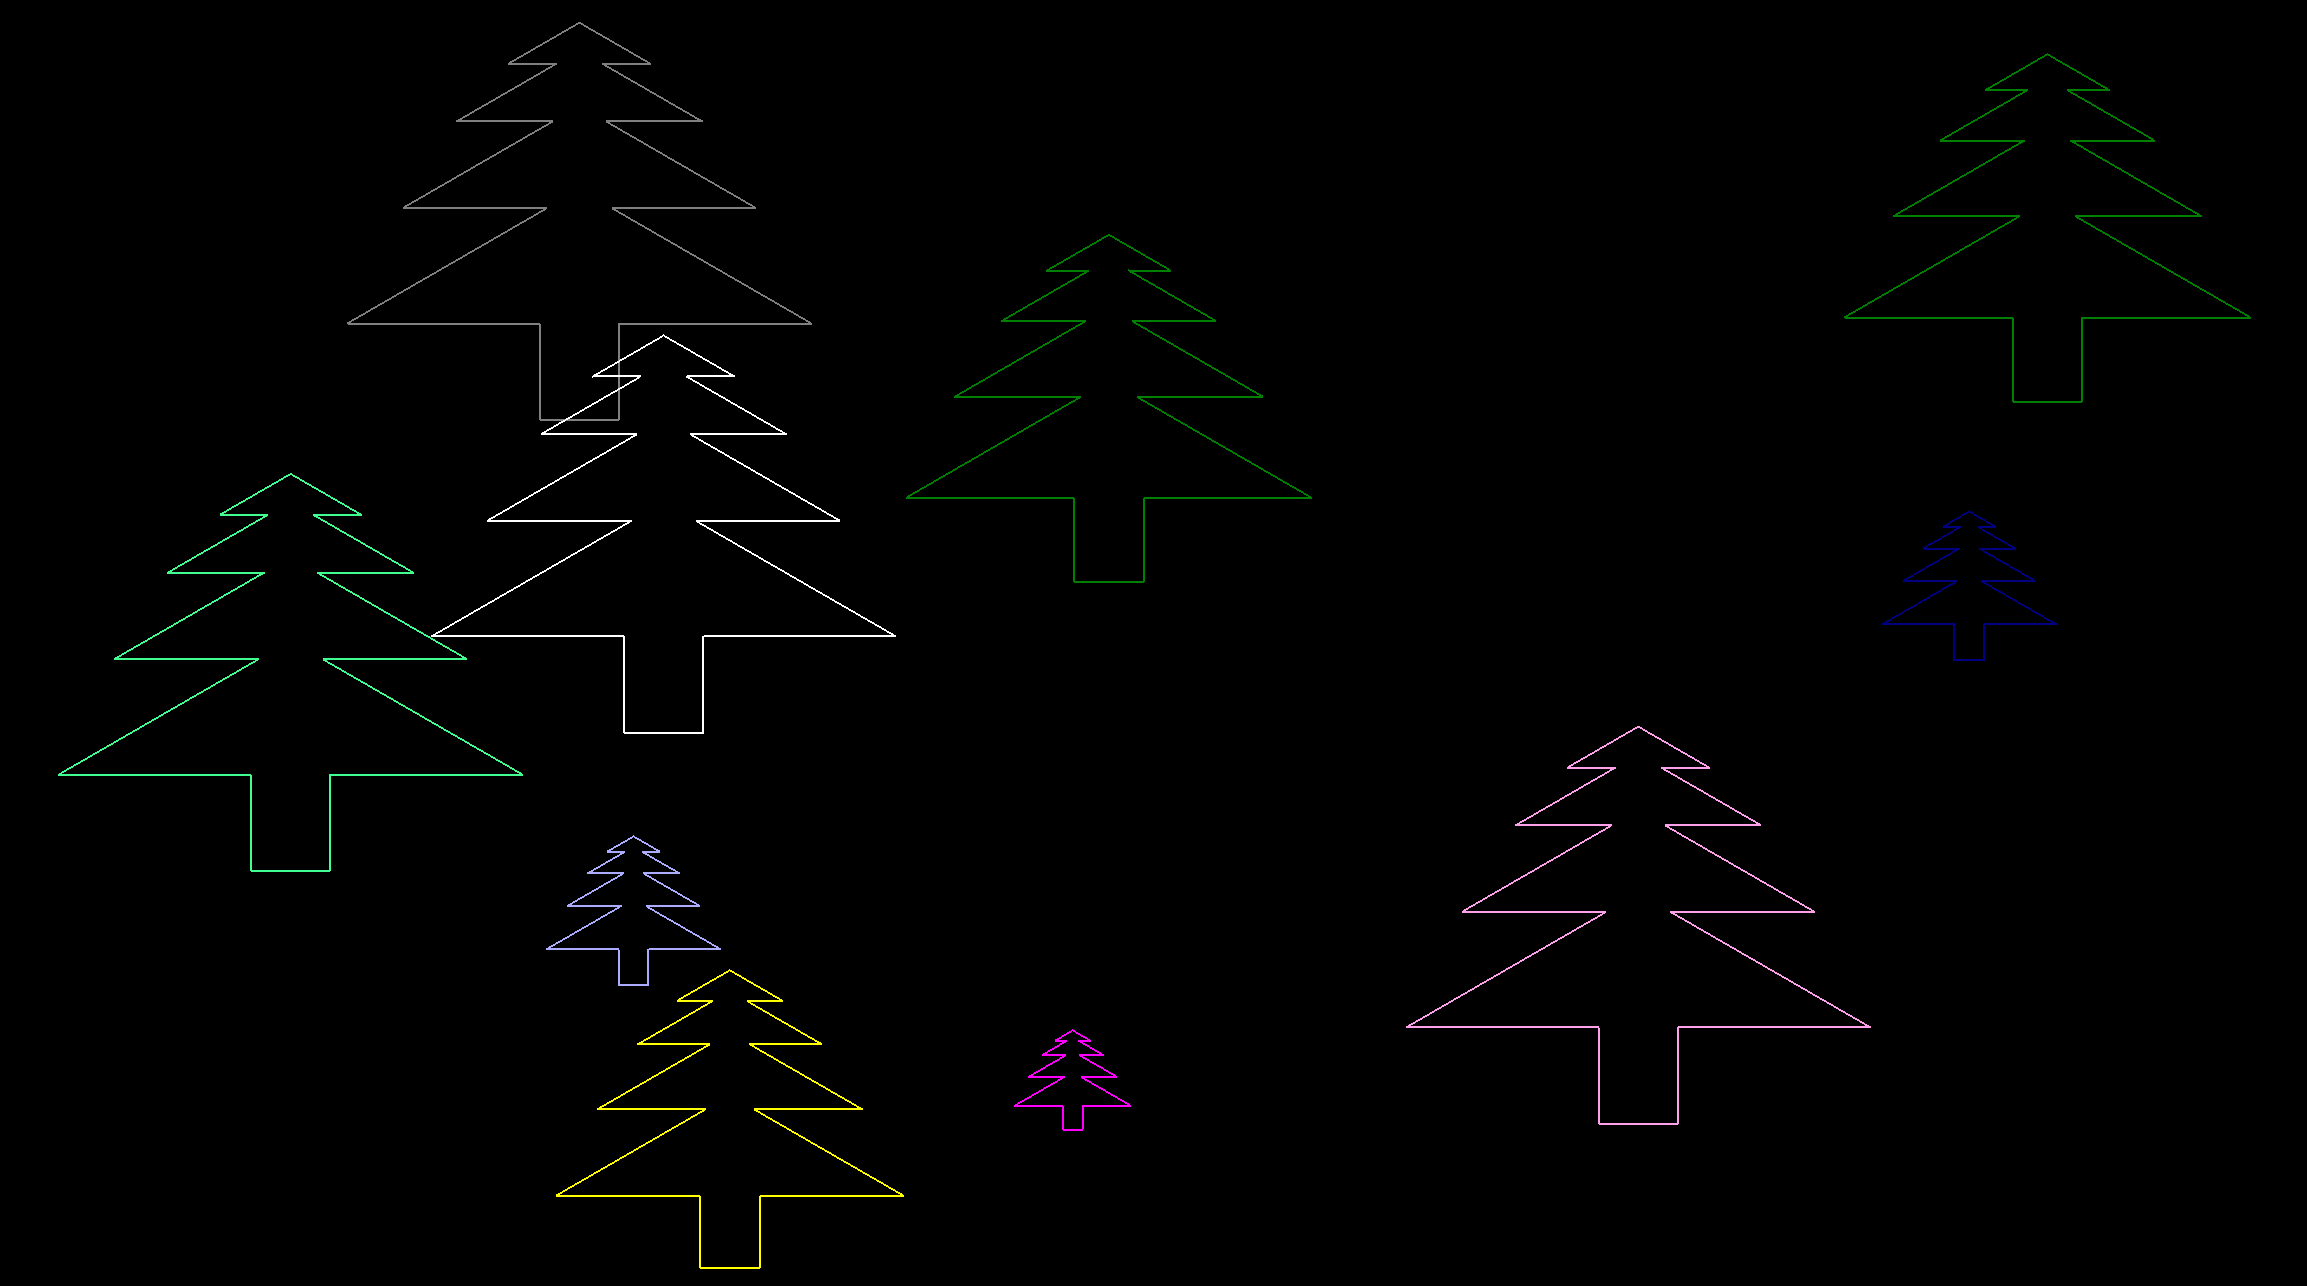
Let’s make another procedure that draws a whole forest!
TO forest
  reset
  repeat 10 [
    penup
    home
    slideleft -150 + random 300
    forward -100 + random 150
    randompencolor
    pendown
    tree (2 + random 8) / 10
  ]
END
Again stepping through each instruction:
TO forest
This procedure declaration doesn’t take a parameter – all we need to know is inside it, and all it will take to call it is a single word: forest.
reset
reset causes the graphical workspace to return to its initial state, erasing any contents and moving all of the turtles to their home positions. It doesn’t erase any procedures but it does erase containers! Unlike other Logos (and like virtually every other programming language), in turtleSpaces all containers (variables) need to be declared by a procedure, they cannot exist on their own and are not otherwise saved in project files. While it seems like a good idea if they could be, it’s really not.
repeat 10 [
The following instructions will be repeated ten times. You can change that to whatever number you want. Or you could make it a parameter in the forest procedure definition, and then replace the number 10 with the container you specified there, such as :trees
penup
Turtles (except for Snappy the camera turtle) start with their pen down after a reset or when they are created. This means they draw lines whenever they move. You can stop them from drawing lines with the penup instruction.
home
home causes the turtle to move to its home position. In Myrtle’s case, her default position is [0 0 0], that is 0 horizontally (x), 0 vertically (y) and 0 in depth (z). All of these are ‘centered’ in their given axis (x y or z). With two-dimensional procedures and programs you don’t need to worry about depth (z). There are other primitives for positioning the turtle we will get into in another tutorial. But for now, we’ll stick with what we’ve learned so far.
slideleft -150 + random 300
random picks a random number between and including 0 and the number that is given to it, but not that number. So, random 300 will return a number between 0 and 299. Why? Because you might want 0 as a possible result. And you might want to pick from a range of however many numbers you specified (in this case 300). 300 numbers including 0 gives you a range from 0 to 299. I know it would be easier if it was a range from 0 to 300, but that would be 301 numbers in total, not 300!
We take the number chosen by random, and add it to -150. If the number is still negative, that means that the turtle will slide to the right rather than the left!
forward -100 + random 150
Similarly, if the result of -100 + random 150 is negative, the turtle will move backwards, not forward. All of the movement primitives behave the same way. A negative value will cause it to move in the opposite direction indicated by the primitive. For example, a negative angle will cause left to turn right.
randompencolor
This ‘shorthand’ instruction causes the turtle to pick a random pen color, a value between 1 and 15. You could do the same if you wrote:
setpencolor 1 + random 15
but randompencolor gets straight to the point. To see a list of the turtle’s default colors, type showcolors. The colors are based on the default colors in the low resolution mode of the Apple II! They’re historical (and I’m maybe a little hysterical).
pendown
Similarly to penup, pendown puts the turtle’s pen down, and causes it to draw again.
tree (2 + random 8) / 10
And now that we’re in a random position, we’re going to draw a tree (the first procedure) providing a random :scale value. random cannot generate parts of numbers, only whole numbers, so to get a fraction we need to divide (/) our random result by 10. So, after calculating, the parameter passed to tree will be a value between 0.2 and 0.9
]
And that closing square bracket signals the end of the instruction list provided to the repeat above.
END
That’s the END of the forest procedure and our first (ahem) turtorial (ba-dum).
Let’s give it a go:

Because it’s completely random, it may take a few tries to get a distribution that you like.
Finally, set the title of your creation using the settitle primitive:
settitle "forest
and then save it using the save primitive:
save
And now you can visit your forest again whenever you like.
You’ve entered your first Logo program. Well done!