A Starry turtleSpaces Logo Introduction Part Two: Starwarp

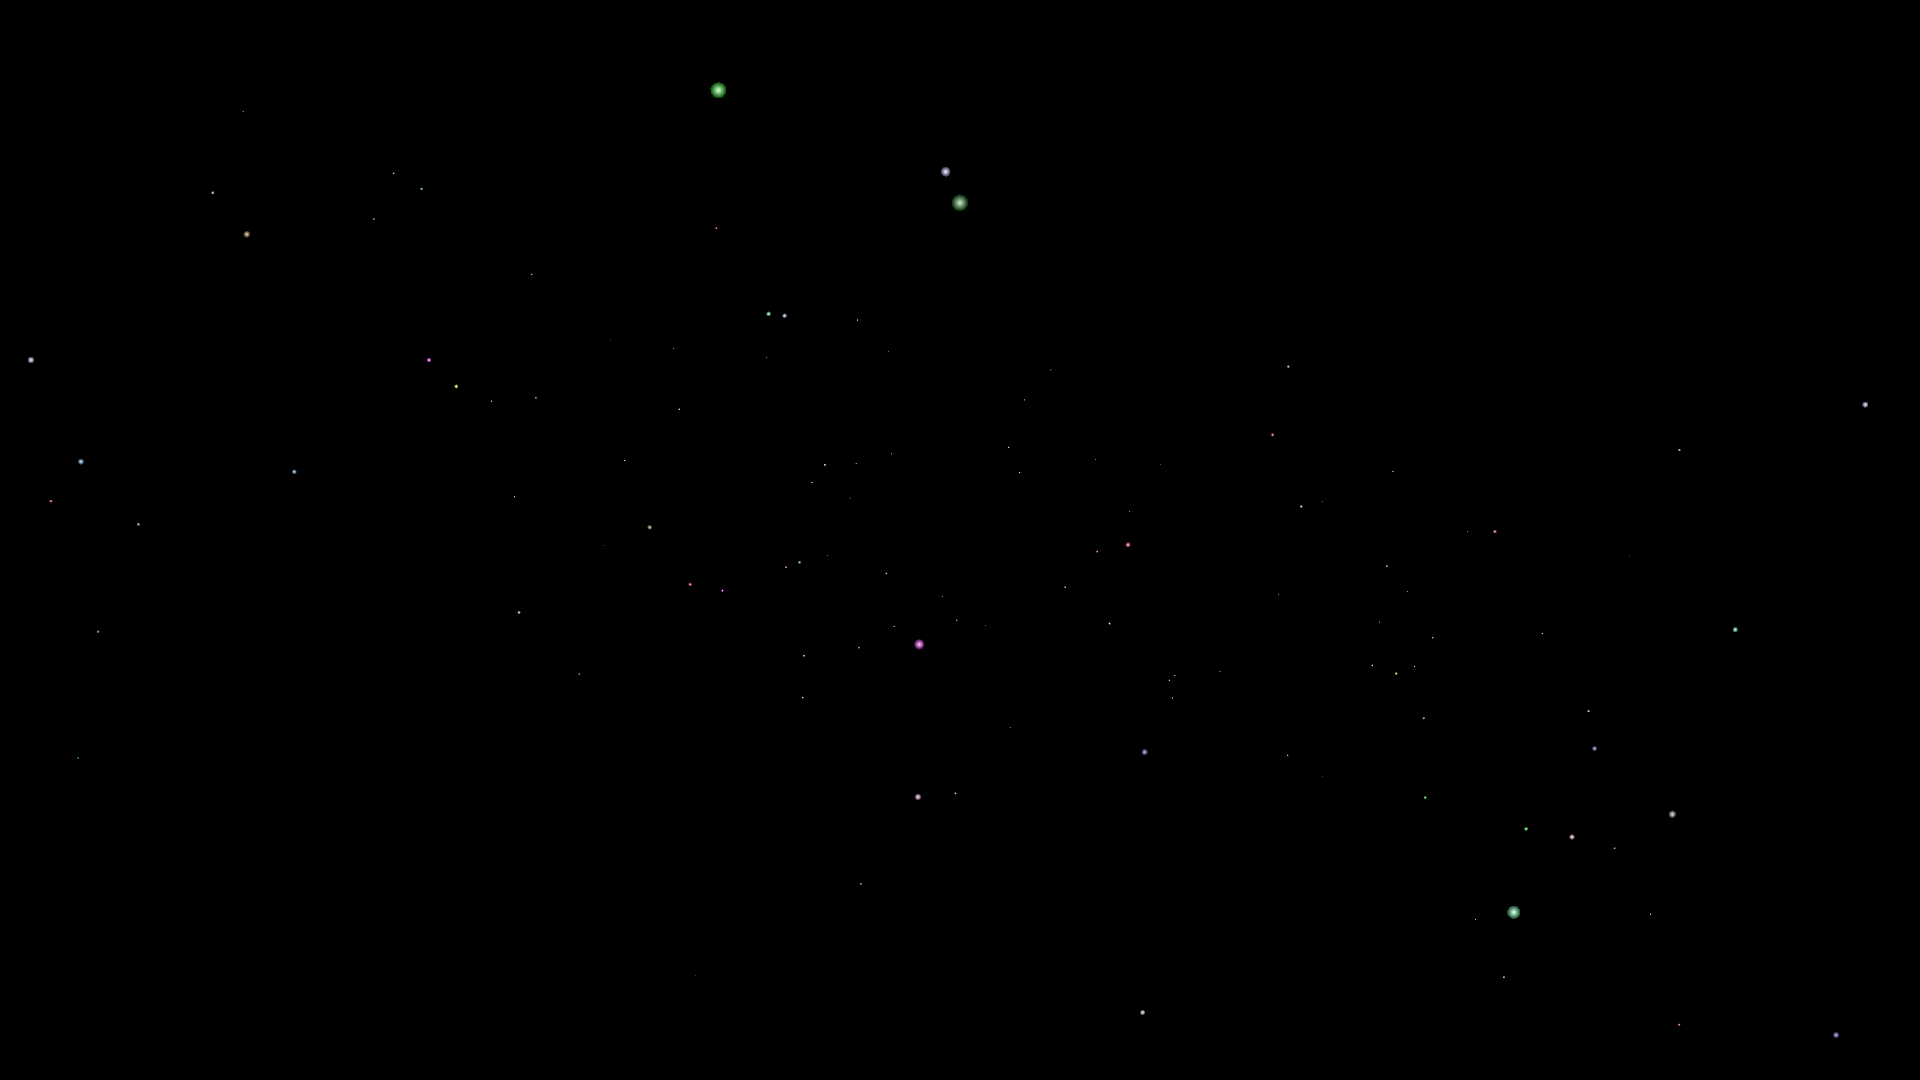
In this second part of our introduction to turtleSpaces Logo, we’re going to take the stars we made in the first part, and create a ‘rolling’ starfield we are going to move through using the camera turtle, to create a Star Trek-style warp effect.

To create this effect, the drawing turtle, Myrtle, is going to create stars deep into the space. The camera turtle, Snappy, will move forward (the camera turtle points into the space, towards Myrtle, by default) following Myrtle as she moves deeper, creating stars.

This tutorial is in three parts: First we’ll create the moving starfield, then we’ll cause old stars to vanish (and explain why we need to do that), and finally we’ll set things up so that the starfield ‘pops’ into view, rather than being shown from the beginning.

To begin, we’ll create a new procedure:

TO starwarp
END

and then we’ll start with some setup commands:

TO starwarp

  reset
  hideturtle
  penup
  lower 3000

  setfillshade 12
  setpenshade -12
  gradient

END

We know all of this already from the first part, except for lower, which causes the turtle to descend, from its point of view.

Then we’ll add the main forever loop, which will repeat, well, forever:

  forever [
  ]

Then we’ll populate it with the commands needed to make the rolling starfield, and explain them:

  forever [
    
    lower 10
    setposition {-1500 + random 3000 -500 + random 1000 zpos}
    randomfillcolor
    setpencolor fillcolor
    spot 0.1 * (1 + random 50)
    cam:forward 10

  ]

This is the basic routine, but it can use a lot of work, which we’ll get to in a moment.

lower 10 – lowers the turtle 10 turtle units. The turtle descends from its position and orientation, like an elevator.

setposition {-1500 + random 3000 -500 + random 1000 zpos} – this is a bit complicated. setposition sets the turtle’s position in 3D space. It takes a list of three values, X Y and Z. It does not change the turtle’s orientation.

The center of 3D space is [0 0 0]. From Myrtle’s default position, to her left is negative on the X axis, to her right is positive. To her rear is negative in the Y axis, to her front positive. Below her is negative in the Z axis, while above her is positive.

And so, we’re passing a list to setposition made up of two random calculations (for the X and Y coordinates) and Myrtle’s existing Z co-ordinate, which is expressed by the zpos primitive, which is a function that returns Myrtle’s current Z coordinate.

Why the curly braces? Well, traditional Logo lists such as [pig duck cow] aren’t dynamically generated — if you want to remove, add or change values inside of them, you need to do so using commands that manipulate the list. But this can be a bit tedious and so we created the concept of ‘soft lists’ (as opposed to traditional ‘hard lists’) which are lists whose contents are evaluated (or solidified) at runtime, when the interpreter actually processes and executes the command to which the list is attached.

And so, with soft lists, each item is usually either a function (such as random) or a value (such as 10). If you want to add a string value to a softlist, you need to precede it with a ” eg “duck or surround it with pipes eg |duck|.

So, when the setposition command is evaluated, the parser (the part of Logo that decides what to do next) sees the softlist, and evaluates its contents, turning it into a hard list. So it generates the two random numbers, and gets the zpos, and then creates a hard list of 3 items, passing it back to setposition.

randomfillcolor – sets a random fill color (as in part one)

setpencolor fillcolor – sets the pen color to the fill color (as in part one)

spot 0.1 * (1 + random 50) – creates a spot of a size from 0.1 to 5

cam:forward 10 – moves the camera turtle (cam is a shortcut turtle name for the current view turtle). Prefixing a command with turtle: causes the named turtle to execute that command.

…and that’s it for version one! Run the starwarp procedure and see what happens.

Pretty cool huh? But it has a few shortcomings, which we will address in part three.

TO starwarp

  ;this procedure recreates the classic
  ;'moving starfield' effect
  
  ;the turtle starts deep into the workspace
  ;(by 'lowering' or decreasing its Z-coordinate)
  ;then creating stars (at least a certain distance
  ;away from the center using the distance function)
  ;and continuing to lower. Meanwhile the camera
  ;moves forward (from its perspective), following
  ;the turtle.
  
  ;Like in reality, the stars are not moving, the
  ;turtles are!
  
  ;On to the code:
  
  reset
  ;reset the workspace
  hideturtle
  ;hide me!
  penup
  ;don't draw
  lower 3000
  ;'lower' into the distance
  
  setfillshade 12
  setpenshade -12
  gradient
  ;gradiented stars
  ;gradiented shapes graduate between the
  ;pencolor / penshade and the fillcolor / fillshade
  
  forever [
    
    lower 10
    ;move the 'star turtle' deeper into the scene
      
    setposition {-1500 + random 3000 -500 + random 1000 zpos}
    ;flat-ish galaxy
    
    ;curly braces denote a 'soft list', a list that
    ;is evaluated and created upon execution
    
    randomfillcolor setpencolor fillcolor
    ;spots and other shapes use the fill color
    ;which randomfillcolor randomly chooses
    ;we set the pencolor to the fill color
    ;for the gradient, because we're only
    ;gradienting the shade
    
    spot 0.1 * (1 + random 50)
    ;make a randomly-sized star
    ;between 0.1 and 5 turtle units in size
    
    cam:forward 10
    ;the camera turtle points towards
    ;what it's looking at, so moving
    ;forward decreases its z position
    ;(in its default orientation)
    
  ]
  ;do this forever and ever
  
END


A Starry turtleSpaces Logo Introduction Part One: Starfield

Traditional Logo had new users build a house as an introduction, but due to turtleSpaces’ 3D nature, starfields are much more impressive, so we’ll start there.

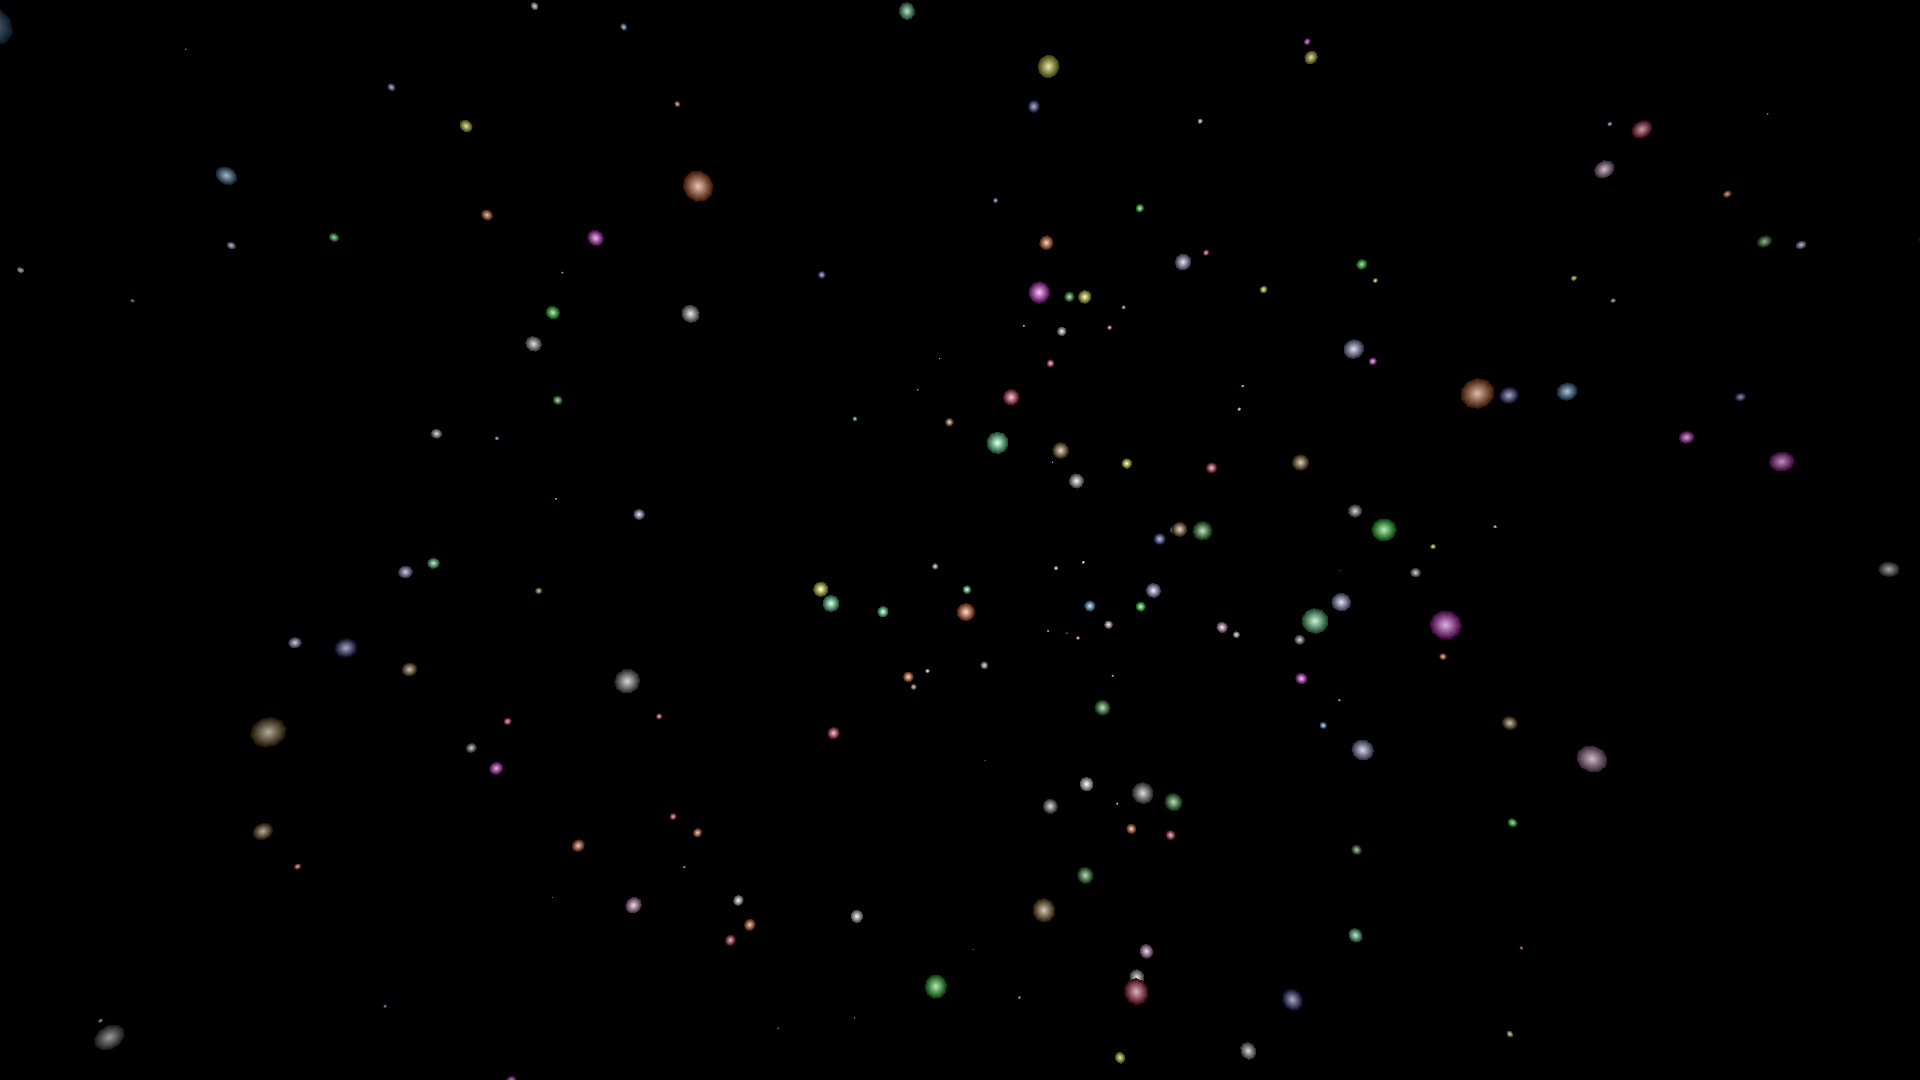
Click and drag the window above to see all the stars!

Cool huh? First, we’re going to create this simple starfield that wraps around the camera position.

We’ll start by creating the procedure:

TO stars
END

Then we’ll add in some setup stuff:

TO stars

  reset
  hideturtle
  penup

  setfillshade 12
  setpenshade -12
  gradient

END

reset – resets the workspace to its default configuration
hideturtle – hides the turtle
penup – doesn’t draw lines. The turtle draws lines as it moves by default

setfillshade 12 – sets the fill shade to 12. Shades have a range of -15 (light) to +15 (dark) where 0 is normal
setpenshade -12 – sets the pen shade to -12 (light)
gradient – causes shapes that support gradients to use them. They graduate from the pen color / shade to the fill color / shade

We don’t need to use the gradients, but the starfield looks so much better with them enabled!

So, now we’ll carry on and create our main loop:

  repeat 1000 [
  ]

This will create 1000 stars, once we fill in the rest of it. Let’s fill in the loop and then go through each command:

  repeat 1000 [
    randomvectors
    forward 500 + random 1000
    up 90
    randomfillcolor
    setpencolor fillcolor
    spot 1 + random 10
    home
  ]

…and that’s it! Not a lot, is it? Let’s go through it step-by-step.

randomvectors – sets a random three-dimensional orientation for the turtle. This is the equivalent of going left random 360 up random 360 rollright random 360 but in an easier and faster method. Why vectors? Because vectors describe the turtle’s orientation in 3D space, as well as the orientation of all other objects in it. Why build-in a shortcut? Because we wan’t to be easy to use!

forward 500 + random 1000 – move forward 500 turtle-units PLUS 0-999 turtle-units. random returns a random value between 0 and one less than the given value, because 0 is one of the (in this case) possible 1000 choices. This gives our starfield depth while making sure the stars aren’t too close!

random is a function, it doesn’t do anything on its own. Try typing random 30 at the prompt and see, you’ll get:

I don’t know what to do with 10

for example. That value needs to be ‘passed’ to another function or command — its output needs to become someone else’s input, in this case +.

Then +‘s output is passed to forward, which then moves the desired number of turtle-units. This is a big part of how Logo works, and is why commands can be stacked on the same line — they gobble up all of the inputs, and once they do they are ‘complete’ and we know to move on.

up 90 – spots are created around the turtle on its z-plane and so we need to tilt the turtle up 90 degrees so that the stars are facing back towards our view point near the center of the space.

(Note that if you used the lower primitive instead of forward, you wouldn’t need to tilt the turtle up.)

(Note also that different shapes may be positioned in different orientations relative to the turtle. The best way to build things is to progressively build them through the REPL (the command-line interface), using the backtrack command to undo any mistakes.)

randomfillcolor – picks a random fillcolor (the color shapes are colored), a value between 1 and 15 that is NOT the current fillcolor. The alternate form of this is complex: make “oldfillcolor fillcolor dountil fillcolor != :oldfillcolor [setfillcolor 1 + random 15]randomfillcolor is nicer. But you could do it the hard way if you want!

setpencolor fillcolor – because we’re using gradients we need to make the pencolor the new fillcolor so that the stars don’t gradient to a different color. fillcolor is a function that returns the current fillcolor.

spot 1 + random 10 – create a spot graphical primitive between 1 and 10 turtle-units in diameter around the turtle. Remember, random 10 will return a value from 0 to 9. If you just did spot random 10 without adding the 1 you might get 0., which while not an error won’t create anything of substance (literally).

home – return the turtle to the home position, which by default is [0 0 0], the center of the space.

Finally, all of this ‘filling’ is a list, passed to repeat to execute. Logo uses lists for all sorts of things, as you’ll see as you progress in your journey through Logo!

Congratulations, you’ve reached the end of this first (ahem) turtorial! Next in part two, we’re going to make a moving star ‘warp’ effect.

Here’s the full commented listing:

TO stars
  ;TO declares a procedure, in this case one called
  ;'stars'. Procedures can be simply called by name
  ;to execute them. So, at the prompt, you can
  ;type 'stars' (without quotes) to execute this
  ;procedure
  
  ;this is a very simple starfield generator and
  ;a good first project for turtleSpaces. All
  ;we're doing is randomly orienting the turtle,
  ;moving forward a random amount and creating
  ;a randomly-sized spot 1000 times.
  
  ;10 commands, one function. Dead simple!
  
  ;But first a little setup stuff...
  
  reset
  ;reset the workspace
  
  hideturtle
  ;hide the turtle
  
  penup
  ;don't draw lines
  
  ;we could omit this but it looks much better this way:
  setfillshade 12
  setpenshade -12
  gradient
  ;gradiented stars
  ;gradiented shapes graduate between the
  ;pencolor / penshade and the fillcolor / fillshade
  
  ;...and that's it for setup stuff!
  ;Now on to the main event:
  
  repeat 1000 [
    ;this means 'do this 1000 times'.
    ;things between square brackets are lists.
    ;repeat is a command that takes the number
    ;of times it is supposed to execute the contents
    ;of a list, and that list itself. What follows
    ;is the contents of that list:
    
    randomvectors
    ;give the turtle a random 3D orientation.
    ;you could do this yourself using a bunch
    ;of movement commands but we like making
    ;things easy!
    
    forward 500 + random 1000
    ;move forward 500 turtle units
    ;plus 0-999 turtle units
    ;(random returns a value between
    ;0 and the number passed to it
    ;excluding that number)
    
    ;random is a function that does not
    ;'do' anything on its own. Try typing
    ;'random 30' at the prompt to see.
    ;It returns a random value, which is
    ;then passed to another function or
    ;a command. In this case, random's
    ;output is passed to the + function,
    ;which then adds 500 to it and then passes
    ;its output to the forward command
    
    ;this is a big part of how Logo works
    
    up 90
    ;spots are created around the turtle
    ;on the z-plane, and so we need to tilt
    ;the turtle up
    
    ;try creating a spot eg 'spot 100'
    ;after the workspace has been reset
    ;to see how the spot is placed relative
    ;to the turtle
    
    ;different shapes may be places different
    ;ways relative to the turtle
    
    randomfillcolorsp
    ;shapes use the fill color
    ;and randomfillcolor picks a random
    ;fill color. You can pick one arbitrarily
    ;using the setfillcolor command
    
    setpencolor fillcolor
    ;because we're using a shade gradient, we
    ;need to set the pencolor to the fillcolor
    ;otherwise it would gradient to the default
    ;pencolor as well
    
    spot 1 + random 10
    ;make a spot between 1
    ;and 10 turtle-units in diameter
    ;(remember, random 10 returns
    ;a value between 0 and 9)
    
    home
    ;return to the home position
    ;(where the turtle started)
    
  ]
  ;perform the above list 1000 times
  ;as you can see, lists can be spread out
  ;across many lines
  
  ;So, 14 commands, a fillcolor and a couple of
  ;randoms and that's it.
  
  ;Click and drag the mouse over the view window
  ;to rotate the camera and see all the stars!
  
END